
Making the Grips
Slide the handle bar grips on to each side of the PVC and cut them off accordingly. Make the PVC the same length as the grips. Make sure to get the PVC size that fits the inner grip diameter the best. It should be a snug fit.
Cut the 6mm accessory cord in half and burn the ends to prevent fraying.
Feed one end of one 6mm cord through the inner PVC grip. Tie the cord in a double fisherman's knot. This is creating your handle. Repeat for the other handle trying to keep the tails of the knots the same length to ensure that the loops are the same.
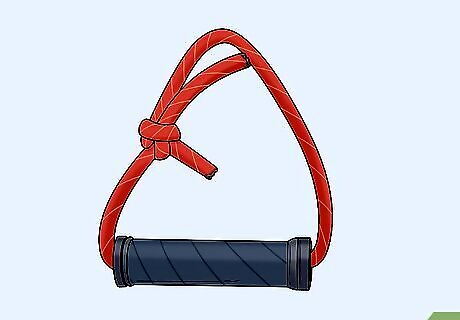
Feed the fisherman's knot into the handle so that it is hidden and out of the way. Now you should be left with two handles that have 6mm accessory cord run through them like a loop, as well as one long piece of thicker rope.
Putting it All Together
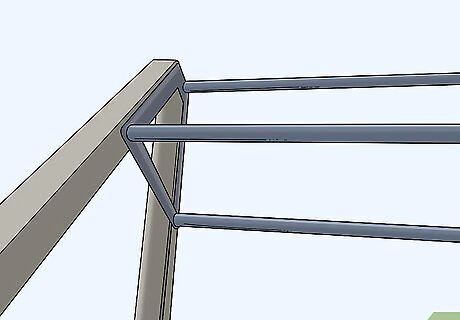
Find a secure anchor point like a thick tree branch or a steel beam. If need be, wrap the webbing loop around an anchor point and clip the carabiner to it. Note: You can also girth hitch it and leave out the carabiner but this can cause wear and weakening of the system.
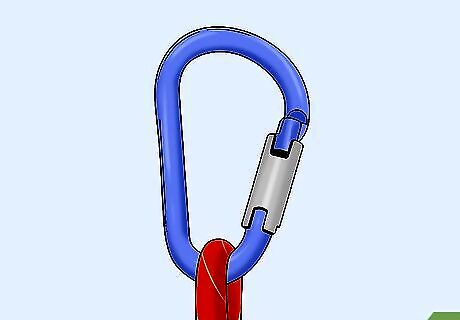
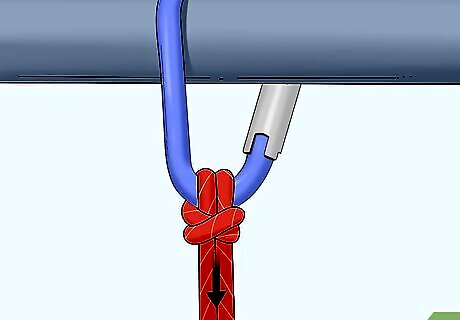
Take the 1/2" rope and fold it in half. Clip the rope into the carabiner.
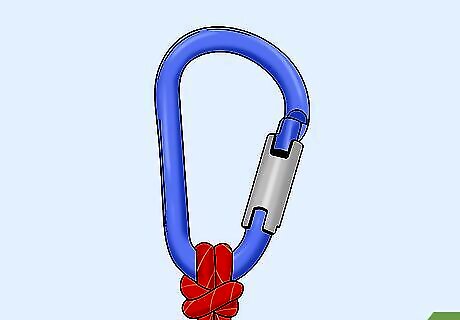
Wrap the handle loops around the 1/2" rope using a prusik knot. It is crucial to make sure the knot is tight. Weight it securely prior to using it.

Repeat for the other side.
Adjust. Simply loosen the prusik a bit and slide it up or down. Make sure that the knot is proper and tight before using it again.


Comments
0 comment