
views
Planning Your Outdoor Enclosure
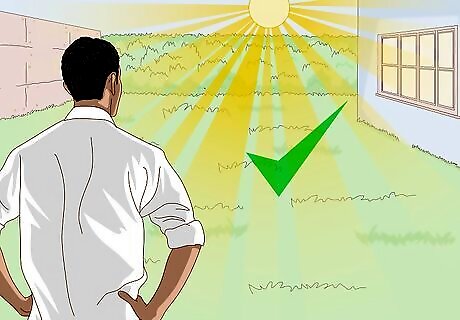
Keep the weather in mind. You should only build an outdoor enclosure for your turtle if you live in an area that is relatively warm year round. A good rule of thumb is to see whether your turtle breed is native to similar climates. For instance, if you have a box turtle it’s a good idea to make sure that box turtles are native to your area before you plan an outdoor enclosure.
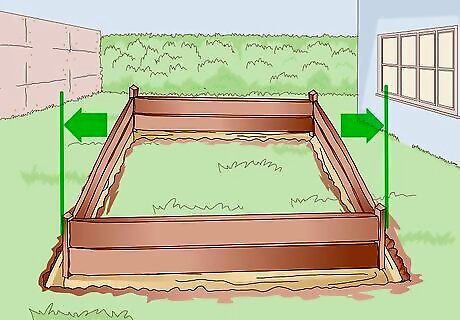
Balance size with functionality. When it comes to outdoor enclosures, bigger is usually better, though a larger size will generally require more maintenance. The size of your yard, and the portion of your yard you’re willing to devote to the enclosure, will determine the size of your enclosure. Turtles do not grow to the size of their enclosure; their adult sizes are independent from the habitat they live in. You need to build a large enough enclosure for an adult turtle when you have a baby turtle. You will need to build a larger enclosure if you intend to house multiple turtles there. A suitable size enclosure for three or four relatively small turtles, like box turtles, should be five feet by five feet in size.
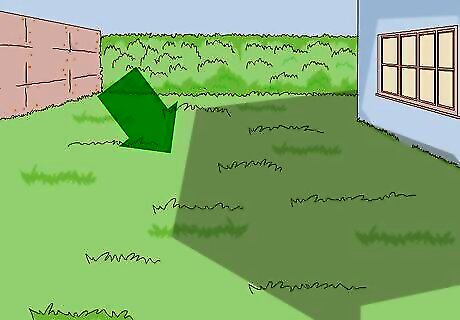
Choose a semi-shaded area. Turtles need direct sunlight both for their health and well-being. They also need a shaded area that they can retreat to whenever they feel the need to be out of the sun. Many people choose to build the enclosure next to their home or a shed, since this creates a shaded area for a portion of the day and acts as a fourth wall for the enclosure. If you do choose to build along the side of your home, east and south facing walls are ideal locations since they receive sunlight early in the morning. This way, turtles can warm up after the night and it will mimic the daylight they’d receive in the wild. Once you pick a spot, watch it for a whole day to see how much direct sunlight and shade it gets. If the spot doesn't get any shade, you'll need to build a couple shaded shelters for your turtle so it has somewhere to cool off.
Securing the Enclosure
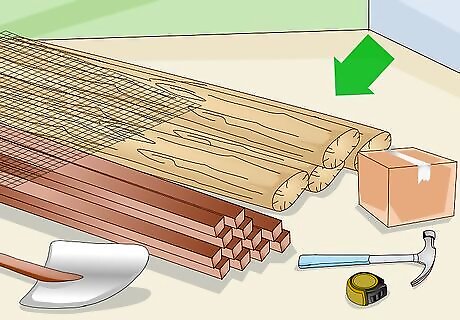
Gather materials. This enclosure will be 8 feet by 8 feet in size. You can choose to enlarge this pen, or change the specifications to fit your needs. This will be an enclosure that will comfortably house three or four small to medium size turtles. Use pressure treated wood since it will last longer. You should not use wood that has been treated with arsenic. Timber that is treated with ACQ (Ammoniacal Copper Quat) is good, while CCA (Chromated Copper Arsenate) should be avoided. You can find what the wood has been treated with on a tag that should be stapled to each piece of timber. For this portion of the project, you will need: 8-foot-long landscaping timbers 8-foot-long two-by-fours 3-foot-tall stakes. 2-foot-long two-by-two lumber A box of nails for wood Hammer Measuring tape Shovel 8 foot by 8 foot section of wire mesh
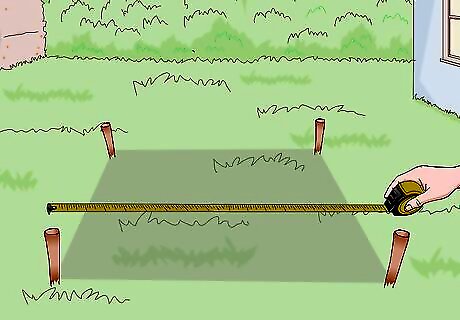
Clear and mark the area. Clear any debris out of the area so you have a clean space to work. Use a measuring tape and some wooden stakes to mark out the area. This will be a square shaped pen.
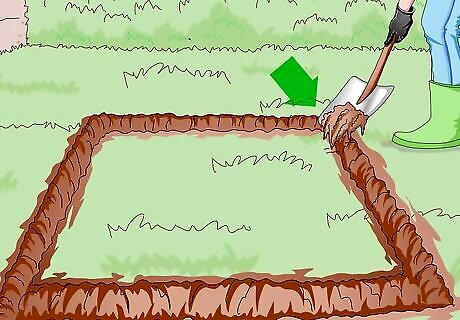
Dig a trench at least one foot deep around the perimeter. You need to dig a trench so you can put the walls down into the ground. Turtles are skilled diggers and can easily escape the enclosure if the walls are not deep enough.
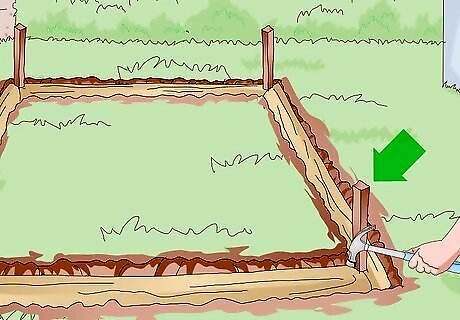
Lay out the base timbers and attach corner supports. With your trench dug, you will place one 8-foot-long landscaping timber into the each eight-foot long ditch. This will create a square shape, and the first part of your support wall. You will use the 2-foot-long two-by-two pieces of lumber to attach the walls at the corners. Use the hammer to nail each corner together. The four corners should meet and be secure.
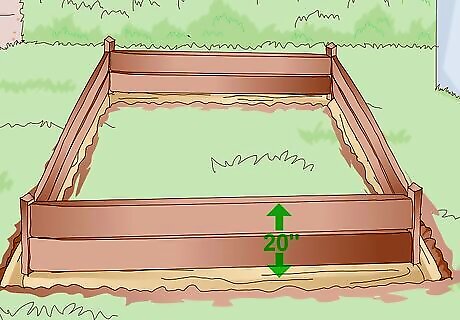
Add height to the walls. Now that you have the corner supports attached, they will be significantly taller than the 8-foot-long landscaping timbers which are only a few inches tall when they are laid in the trenches. Using the 8-foot-long two-by-fours you will add height to the walls by nailing a two-by-four along each side to the two-by-two stakes. This will stack the timbers on top of each other and give height to the wall. You can make the wall as tall as you’d like. The minimum height should be twice as high as the adult length of a turtle. So if you have turtles that reach 10” once they are mature, your wall should be at least 20” high. This ensures that your turtles can’t crawl over the walls and escape. Turtles don’t fully grasp the concept of walls and when they are able to see out of the enclosure, like through wire mesh or glass walls, they may spend their time pushing against the barrier, hoping to escape. A wooden barrier, at least as tall as the turtle’s height, prevents this problem.
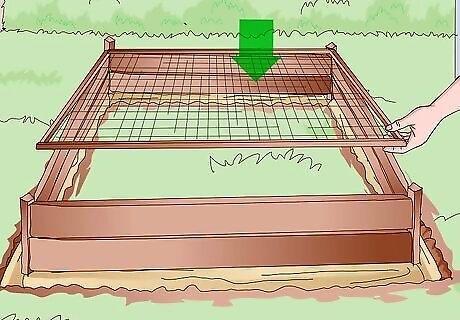
Use wire mesh to cover the enclosure. An outdoor enclosure needs to let sunlight in but not any predators hoping to grab your turtle. Wire mesh is a good barrier since it allows sunlight and rain to fall through while still offering protection. nail the wire mesh directly to the top of the enclosure, but be sure to leave a corner accessible so you can put food and water into the enclosure. You can also build a removable top to the enclosure, but this will take more time and additional materials.
Filling the Enclosure
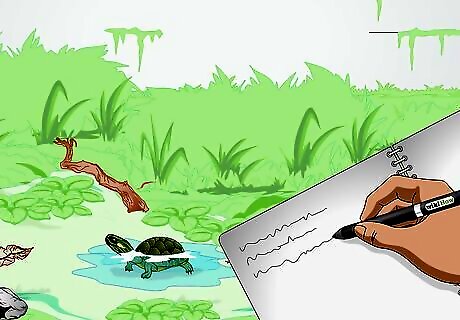
Plan a habitat. The ideal enclosure replicates their natural environment as closely as possible. However, the goal of the enclosure is to keep your turtles in and predators out so it won’t be able to completely mimic their natural habitat. Keep in mind that both aquatic and semi-aquatic turtles need a water and a land area. Research your turtle's natural habitat so you can include the right kind of plants and adjust the water temperature if needed. If your turtle's natural habitat has mostly water or mostly land, make sure their enclosure is similar.
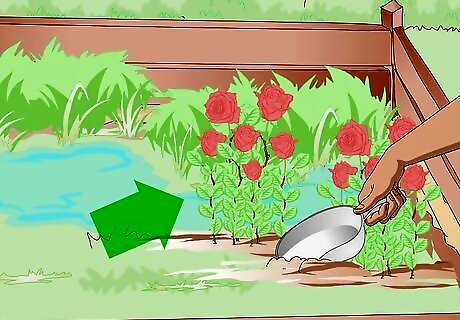
Plant turtle friendly plants. Plants are a great way to add hiding and sleeping areas for your turtles. It will also help to mimic their natural habitat, and make the enclosure more aesthetically pleasing. The types of plants you decide to add will depend on your climate, but make sure every plant is safe and non-toxic for turtles. You can keep the ground covered in grass, or you can add a substrate like mulch. Some edible plants for your turtles include hibiscus, roses, geraniums, dandelions, mulberry trees, and pansies. Do not use pesticides in your turtle enclosure.
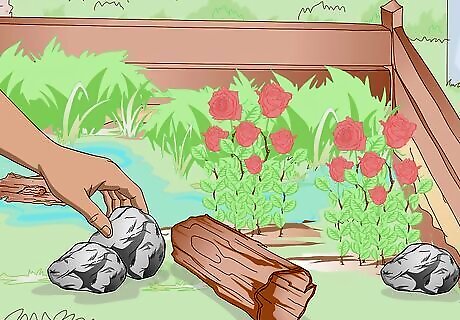
Add rocks and logs. Turtles are cold-blooded, so they need a place where they can bask in the sun and soak up its rays. They enjoy having logs, sticks, and rocks to climb over and then flatter stones or logs to rest and bask on. You can collect a variety of logs and stones to help your turtles feel at home.
Put some interactive toys and objects in your turtle's enclosure. Giving your turtle something to occupy itself with will improve its quality of life. Rotate the toys out every once in a while so your turtle doesn't get bored of them. If it seems like your turtle doesn't like a particular toy, try offering it something else instead. Put a rubber ball in the enclosure so your turtle has something to push around. Give your turtle treat dispensing toys. Place a couple hideaways in the enclosure.
Adding Water Features
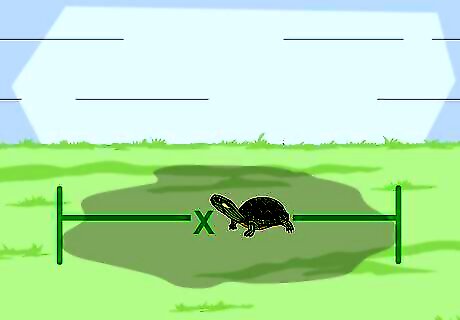
Determine the size of your water feature. All land and semi-aquatic turtles need a supply of clean, fresh water in their habitat. By creating a small pond, you provide your turtles with the water they need to swim, bathe, and drink. The size of your pond will depend on the number of turtles you want to have in the enclosure, and the space available. Pools should be large enough for turtles to exercise and move about freely. Take their adult length and multiple that number by 2.5; this is the minimum depth you’ll want the water to be. The length of the pool should be at least five times as large as their adult length. This gives them room to swim around and bask. For ponds with multiple turtles, you need a larger pond. Smaller ponds accumulate waste and cannot be properly cleaned. For land turtles, you want to create a shallow pond that is no deeper than a foot in the middle. The pond should have gently sloping sides so turtles can enter and exit the water easily.
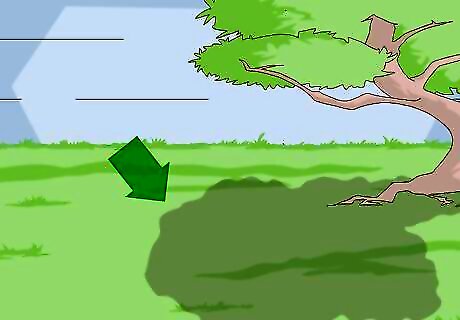
Choose a semi-shaded area. Direct sunlight can cause a small pond to heat to an unsafe temperature, and causes unwanted algae growth. Ideally, you want an area that has both shade and sun coverage during all times of day. Putting the pond alongside your house or a shed will provide sun coverage for several hours a day as well.
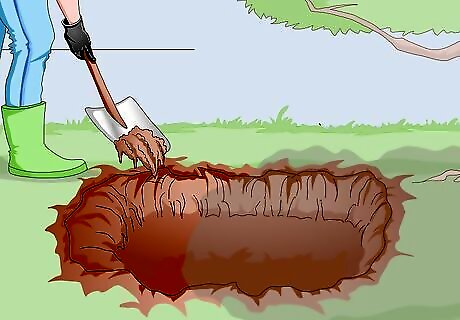
Dig a shallow pool. When you’ve decided where you’d like the water feature to go, you can start to dig. It can be whatever shape you’d like, and the depth will depend on the sort of turtle you have. Red-eared sliders do better in deeper ponds, while others prefer shallower water. Research the type of water your turtle species inhabits in the wild to get a good idea of how deep your pond should be. If you intend to have your aquatic turtles hibernate outdoors during the winter, the pool will need at least a foot of water below the ice to hibernate. Check your local area’s weather to see how thick the ice is in local ponds.
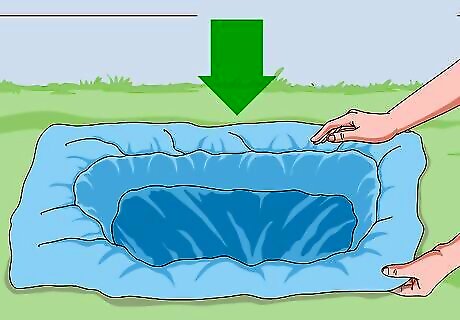
Lay down a pool liner. You can purchase a pool liner online, from a large retailer, or from an outdoor good store. The liner will keep the water from seeping into the ground, which would become a big muddy mess. You will need to follow the manufacturer’s directions for the pool liner. A concrete pool will last longer, but is a more complicated process to undergo. If you prefer to use a waterproof tarp, choose tan or canvas colored tarps instead of black. Black tarps absorb the sunlight and can overheat small pools.
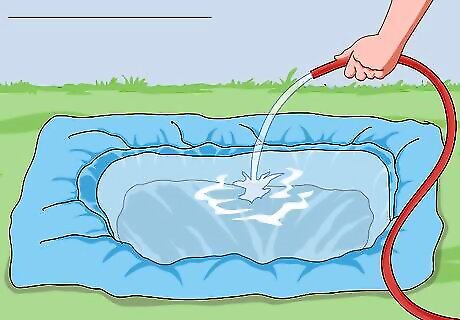
Fill the pond with water. Using a hose, you can now fill the pond with water. Make sure the water temperature is the same as it would be in your turtle's natural habitat. Remember to change out and clean the water whenever it starts looking dirty.
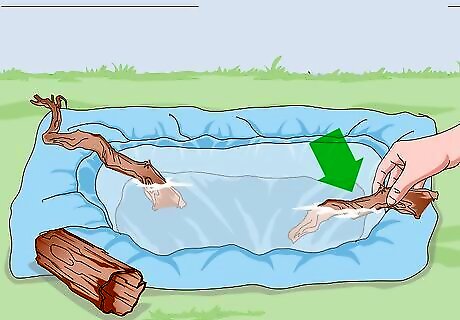
Place logs around the pond. Logs should be placed around the pond so that some can extend into the water. These help the turtles get in and out of the water, and it also provides them with a place to bask. Logs help to mimic the turtle’s natural habitats, and it also serves a decorative function.


Comments
0 comment