views
Cleaning the Panels and Bulbs
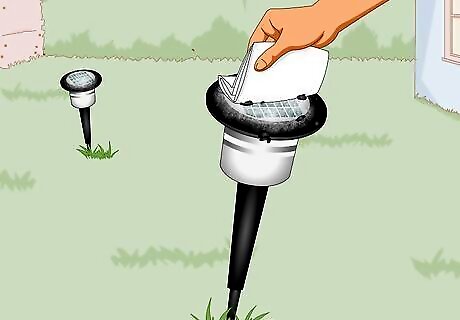
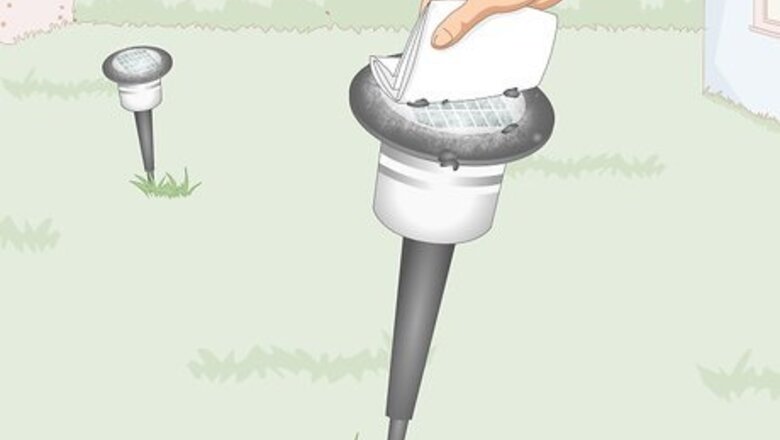
Wipe loose debris off the panel and bulb with a damp cloth. Built-up dirt or dust can inhibit the light’s performance. Lightly dampen a cloth or paper towel. Then rub the panel to remove loose debris. If you clean your panels monthly, then this may be all you need to clean them. Make sure to squeeze out the cloth or sponge before wiping the bulb. Water could damage the electronics if it drips into the panel. Remember to always check the cleaning directions from the manufacturer of your lights. Different products may have different cleaning needs.
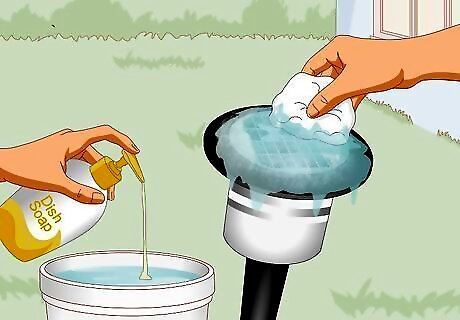
Clean caked on grime with dish soap and water. If the initial wipe-down doesn’t remove all of the debris from the panel, then give it a more thorough cleaning. Wet a cloth or sponge and put a drop of dish soap on it. Then scrub the panel until all the grime is removed. If you use a sponge for this job, don’t use the rough side. This could scratch the panel.
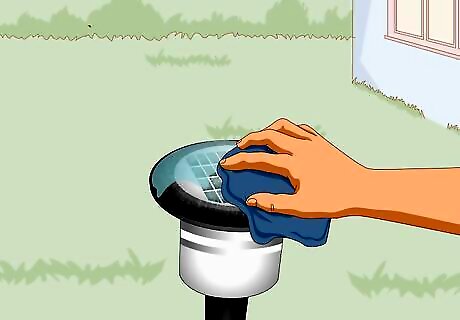
Wipe the panel off with a clean, damp towel. Remaining soap scum attracts more dirt and will cloud up the panel again. Take a clean cloth or paper towel and dampen it with water. Then rub the panel until all the soap is gone. You may have to re-wet the cloth to remove all the soap. You could also run the panel under a faucet, but make sure to keep the water away from the light’s internal electronics. These are underneath the panel and inside the light globe. Keep the water focused on the panel itself and don’t let the underside get wet.
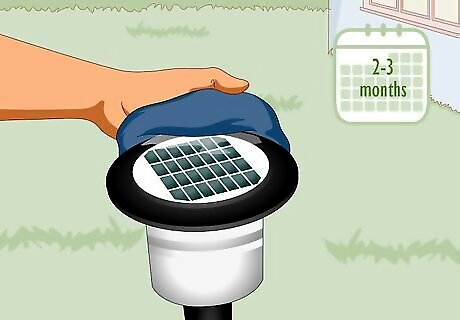
Repeat this cleaning process every 2-3 months for top performance. Outdoor lights accumulate dust and debris, so clean them regularly to prevent buildups. On average, a thorough cleaning every 2-3 months keeps them in good working order. This cleaning schedule may change depending on where you live. In a damp environment, the lights don’t need cleaning as often. In a dry, dusty environment, they might need a monthly cleaning. Monitor your lights and clean them when they’ve accumulated a layer of debris.
Restoring Cloudy Panels
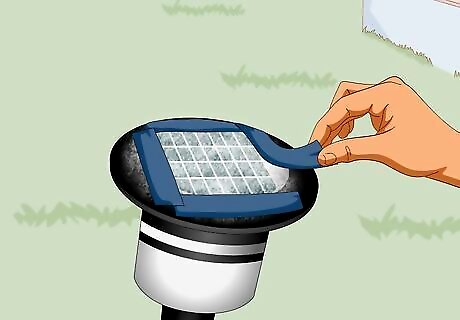
Cover the plastic part of the light with painting tape. This protects the plastic part from damage and staining. Take painting tape and mark off the border of the panel. Then tape over the rest of the plastic part. Painting tape is available at hardware stores. You can also use masking tape. Don’t use a sticky tape like duct or packing tape. This will be difficult to remove and will leave sticky residue behind.
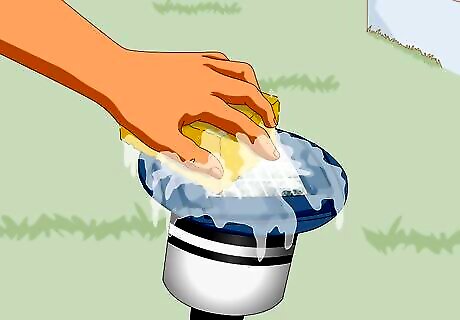
Clean the panel with soap and water to remove any debris. Any leftover debris could get trapped under the lacquer and damage your light, so make sure the panel is completely clean. Dampen a sponge and add a drop of dish soap. Scrub the panel and remove any grime. Then wipe it down with a clean, wet rag to remove any suds.
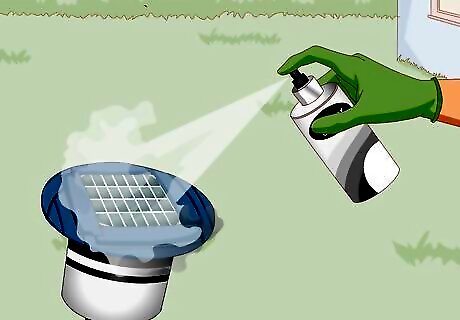
Spray a layer of lacquer onto the panel to remove fading. Lacquer is a finish used to seal wood and make it shine. Get a spray can of it from a hardware store. Shake it well and hold it 6 in (15 cm) from the panel. Then spray a thin layer onto the panel to lighten it. Let the lacquer dry for 30 minutes, then remove the tape when you’re done. Only apply one coat unless the panel is still faded. If so, spray a second coat and let it dry for 30 minutes. Don’t use a type of lacquer that has to be brushed on. This will be too thick. Keep the spray can moving. Don’t let the lacquer pool in any spots.
Removing Battery Corrosion
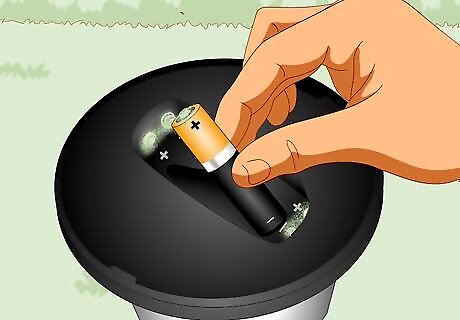
Remove the battery if you see signs of corrosion. Corrosion looks like white sand caked on to the terminals and battery. If you see corrosion in the battery compartment, first put gloves on. Then pop out the batteries. Don’t discard them yet, because they may still work after being cleaned. Wearing goggles while handling corroded batteries is also a good safety measure, just in case any residue splashes up. If you were using alkaline batteries, then throw them out. Put special solar batteries in after you clean the terminals.
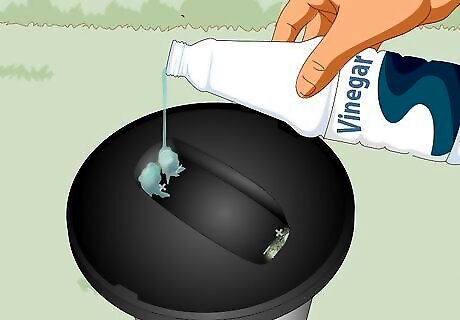
Put a drop of vinegar on the corroded areas. Vinegar helps neutralize and dissolve the corrosion. Apply it to any corroded areas on the battery and terminals. Let the vinegar sit for a minute to soak in. Don’t pour the vinegar out. This could flood the electronics. Only apply a small drop. If you’re worried about pouring too much vinegar, then dip a paper towel into it and rub it on the corrosion instead.
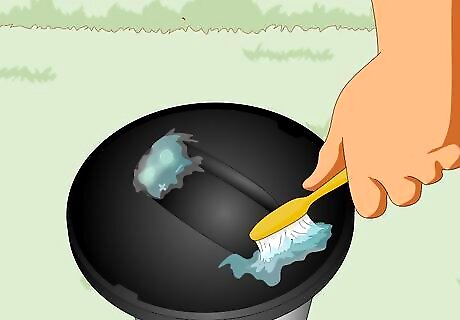
Scrub off the corrosion with a toothbrush. Take a hard-bristled toothbrush and work on all the corroded spots. Scrub in a circular motion to help dislodge the buildup. Wear goggles during this step. The corrosion could splash up as it comes loose.
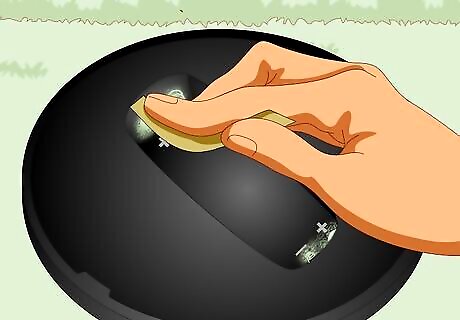
Use fine-grit sandpaper if the corrosion won’t come off. If the corrosion won’t come off with the toothbrush, take 400-grit and paper and rub it. Again, use circular motions to dislodge the corrosion. This should work off any remaining buildup.
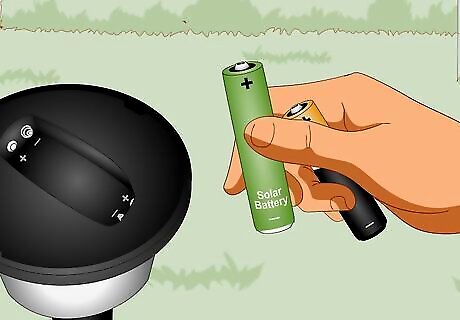
Replace alkaline batteries with rechargeable solar batteries. Alkaline batteries are much more prone to corrosion than rechargeable batteries designed for solar use. If you were using alkaline batteries in the light, then throw them away. Replace them with solar batteries to prevent corrosion in the future. Check with the instructions that came with your lights for recommendations on the best type of battery to use.
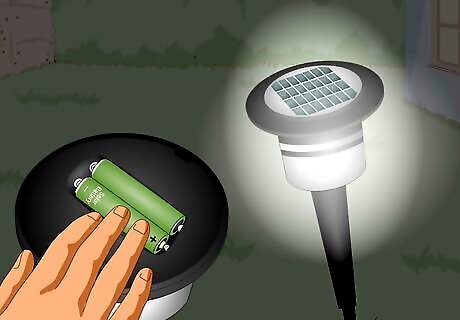
Put fresh batteries in and see if the light works. With the corrosion removed, the batteries can form a connection with the terminals. See if the light works with fresh batteries. If it still isn't working, then your light may have damage and need replacement parts.





Comments
0 comment