views
Connecting to an Xbox 360
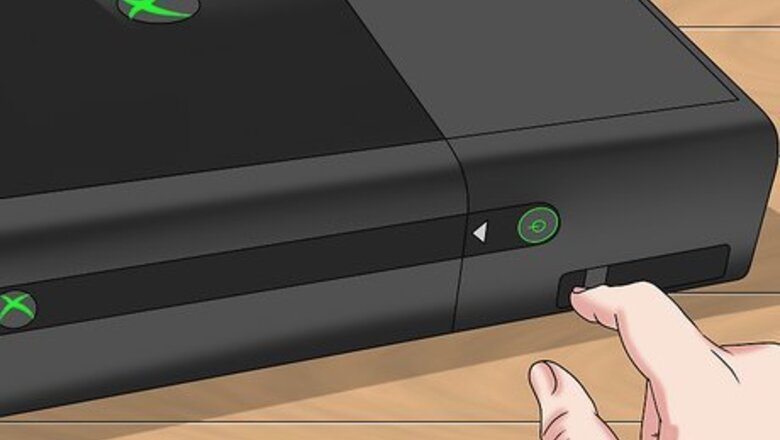
Turn on your Xbox 360. Press the Power button on the right side of the console's face. Make sure your console is plugged into a power source.
Turn on the controller. Press and hold the Guide button, which is the Xbox logo in the middle of the controller. It will start flashing.
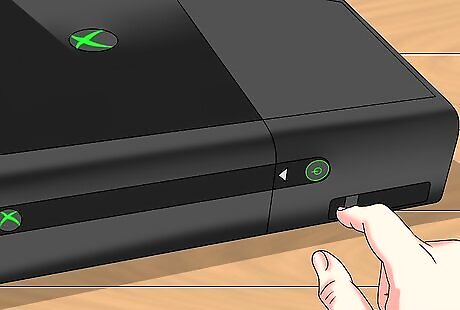
Press the Xbox 360's connection button. It has a >>> icon next to it; pressing it will cause the Xbox 360's light to begin circling the Power button. The connection button is in one of three places, depending on your Xbox 360 model: Original Xbox 360 - Right of the memory card slots. Xbox 360 S - Left of the USB slots that are in the lower-right side of the Xbox 360's face. Xbox 360 E - Bottom-right corner of the Xbox 360's face.
Press the controller's connection button. It's a button with the >>> icon on the front of the controller, between the shoulder buttons (LB and RB). You will have 20 seconds after pressing the button on the console to press the button on the controller.
Wait for your controller to connect. Once the controller's Guide light turns constant and the Xbox 360's Power light stops circling, your controller is synchronized to your console.
Connecting to a Windows Computer
Buy an Xbox 360 USB Wireless Receiver. You can find these on Amazon or in tech department stores like Best Buy. Be sure to buy an officially licensed Microsoft receiver and not a third-party one, since third-party receivers do not work.
Attach the receiver to your PC. It should plug into one of your computer's USB ports. Plugging the receiver into your computer will prompt its drivers to install. If the drivers don't automatically install, you can insert the disc that comes with your receiver to prompt them to install.
Unplug your Xbox 360 from its power source. If you have an Xbox 360, disconnect it from its power source before continuing; otherwise, your controller will attempt to connect to the Xbox 360 instead.
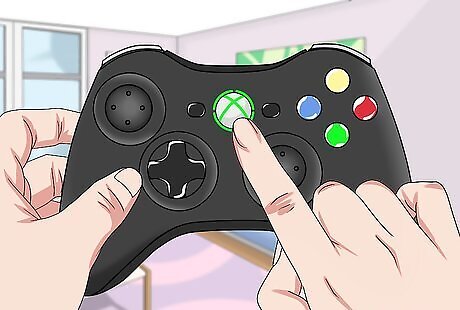
Turn on the controller. Press and hold the Guide button, which is the Xbox logo in the middle of the controller. It will start flashing.
Press the receiver's connection button. It's a circular button in the middle of the receiver. The receiver's light will turn on.
Press the controller's connection button. It's a button with the >>> icon on the front of the controller, between the shoulder buttons (LB and RB). Once the Xbox 360 controller's Guide light stops flashing, it is connected to your PC's wireless receiver.
Test the controller in a game. Your controller's settings will differ from game to game, and you may need to customize your controller's settings in a game before you can use the controller.
Connecting to a Mac Computer
Buy an Xbox 360 USB Wireless Receiver. You can find these on Amazon or in tech department stores like Best Buy. Be sure to buy an officially licensed Microsoft receiver and not a third-party one, since third-party receivers do not work.
Go to the Mac Xbox 360 driver webpage. Go to https://github.com/360Controller/360Controller/releases/tag/v0.16.5 in your web browser.
Click the "360ControllerInstall" link. This is the .dmg file listed just below the "Downloads" heading. The file will download to your Mac.
Install the Xbox 360 driver. Double-click the .dmg file, then click and drag the driver's icon into the Applications folder. If you encounter an error during this process, do the following: Open the Apple menu. Click System Preferences. Click Security & Privacy. Click the lock icon and enter your password if prompted. Click Open Anyway next to the file name. Click Open when prompted.
Restart your Mac. Click the Apple menu Mac Apple, click Restart, and click Restart when prompted. This will ensure that the .dmg file's drivers are incorporated.
Attach the receiver to your Mac. It should plug into one of the USB ports on your computer's housing. If your Mac doesn't have USB ports, you'll need to purchase a USB-C to USB adapter.
Unplug your Xbox 360 from its power source. If you have an Xbox 360, disconnect it from its power source before continuing; otherwise, your controller will attempt to connect to the Xbox 360 instead.
Turn on the controller. Press and hold the Guide button, which is the Xbox logo in the middle of the controller. It will start flashing.
Press the receiver's connection button. It's a circular button in the middle of the receiver. The receiver's light will turn on.
Press the controller's connection button. It's a button with the >>> icon on the front of the controller, between the shoulder buttons (LB and RB). Once the Xbox 360 controller's Guide light stops flashing, it is connected to your computer's wireless receiver.
Open the Apple menu Mac Apple. It's in the upper-left corner of the screen.
Click System Preferences. This option is near the top of the drop-down menu. Doing so opens the System Preferences window.
Click the Xbox 360 Controllers icon. It resembles an Xbox 360 controller. Doing so opens the controller window, where you should see your controller listed in the box at the top of the window. This means that your Xbox 360 controller is connected to your Mac.
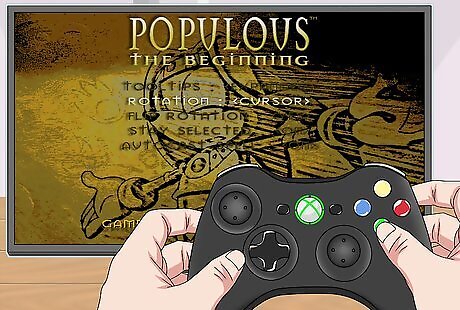
Test the controller in a game. Your controller's settings will differ from game to game, and you may need to customize your controller's settings in a game before you can use the controller.






Comments
0 comment