
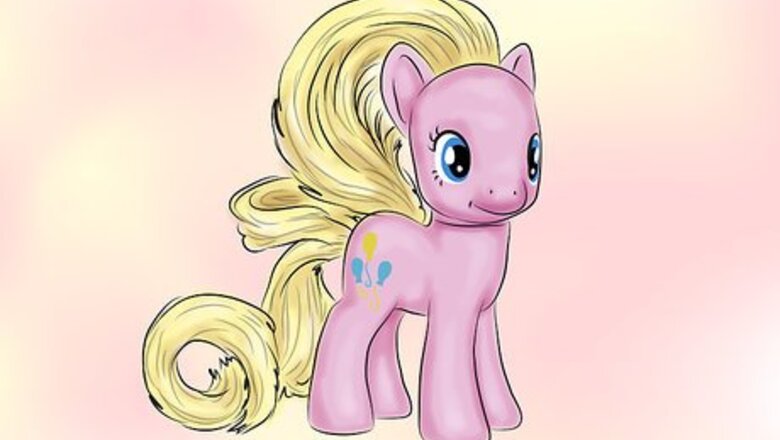

Get your pony. You might want to use something basic. Consider using a Pinkie Pie, since she is an earth pony and doesn't have complex colors or is hard to find.
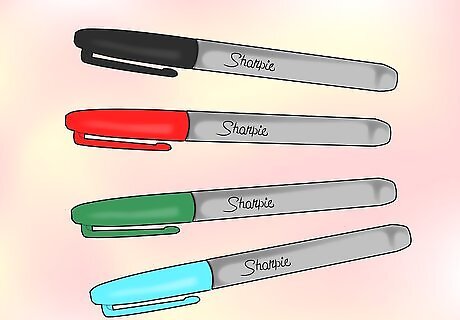
Decide what colors you would like to work with. For example, this pony will have a red mane with a black streak. Color the mane with the desired Sharpie markers.
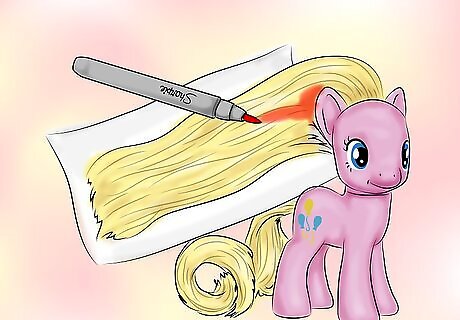
Get some paper. Lay the mane down and start coloring it in.
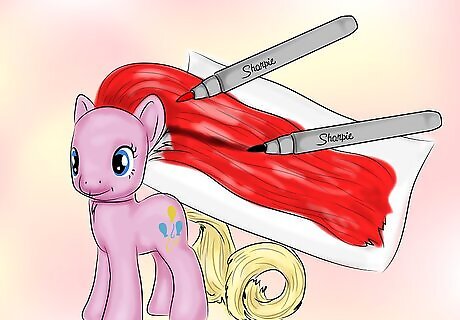
Do the inside of the mane. Add any streaks you want.

Use nail polish remover for removing the cutie mark. Use a cotton bud for this.

Add in a new cutie mark. You can use sequins, paint, or sharpies. But be careful with Sharpie markers.

Recolor the eyes with the sharpies.

Add any other designs or markings, like hoof markings, if you want.
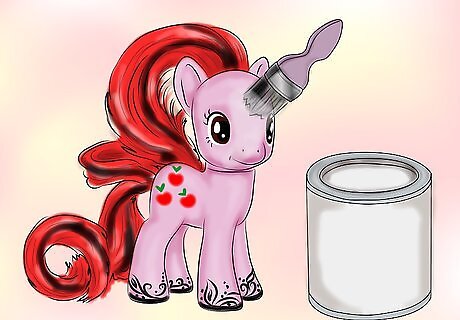
Seal the body with paint sealer.

Enjoy!


Comments
0 comment