

Create a Circle

Open Adobe Illustrator. Any version will do. Wait until the program opens.
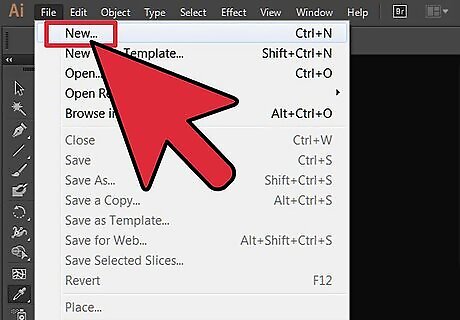
Create a new document. Simply press Ctrl + N. A window will pop out saying "New Document." Just enter your desired size then click Okay.

Grab the Ellipse tool from the toolbar of the new document. It is located on the left side of the screen.
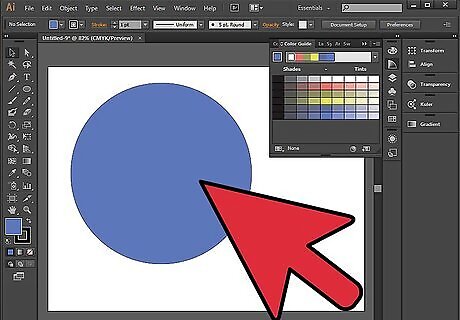
Drag and hold the Shift button to create a perfect circle.
Cut a Hole in the Circle
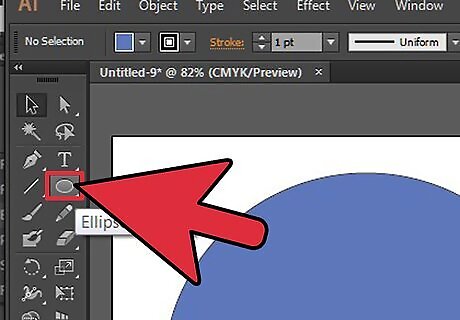
Grab the Ellipse tool again or press L.

Drag and hold the Shift button inside the circle that you created a while ago. This will be the hole of the object.

Turn your object into an outline by pressing Ctrl + Y. This will make the sides of the objects visible. Move the circle inside the object to where you want to cut a hole. Clicking the Ctrl + Y again will bring back the color of the shapes.

Go to Pathfinder. If you cannot see it on the right side of the screen, so just go to Window on the menu bar. Check the Pathfinder and it will appear.

Click "Exclude" on the Shape Mode of the Pathfinder. Make sure that both objects are selected. To select them, press Ctrl + A. The hole has now been cut. You will notice that two objects become one after selecting "Exclude."


Comments
0 comment