views
Removing the Pieces from the Sprue
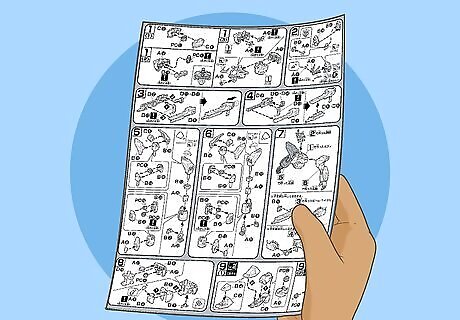
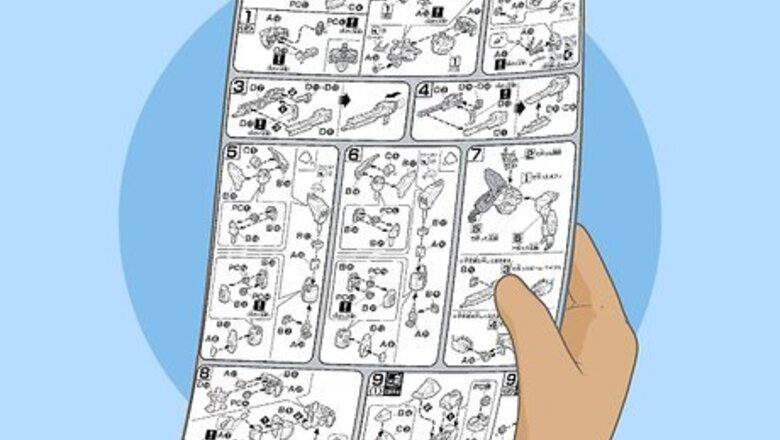
Take your Gundam out of the packaging and read the instructions. Once you get your Gundam model, find a comfortable table or desk to work at. Take the pieces out of the packaging and read through the instructions. Some brands include tips or tricks for their products and every manufacturer formats their instructions differently. Spend a few minutes looking over the info to see if there’s anything unique about your specific model. Depending on how clean you want your pieces to look and how complicated your model is, this process may take 1-2 hours. You don’t have to do it all in one sitting, though! This process can be pretty Zen, especially if you’re working on a model with hundreds of pieces. This is a great opportunity to catch up on a podcast you enjoy or listen to some new music while you work.
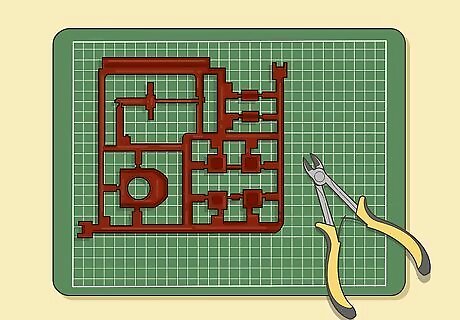
Set a clean cloth or cutting board down and grab some side-cutting pliers. Lay down a cloth or cutting board and set the plastic grid, called a sprue, on top to keep the pieces scratch-free. Grab a set of side-cutting pliers to take the pieces out of the sprue. These pliers look like regular needle nose pliers except one side is flat and the other side has rounded blades.Tip: You absolutely must use side-cutting pliers. There are no real alternatives here. These pliers are unique because when they cut, they only apply stress in the direction of the flat side. This makes them ideal for safely removing your pieces. It may be tempting to just push each piece out of the grid, but you’ll end up with stress marks all over the pieces. This isn’t a big deal if you just build these models casually, but it’s best to use pliers if you’re going for that clean, professional look.
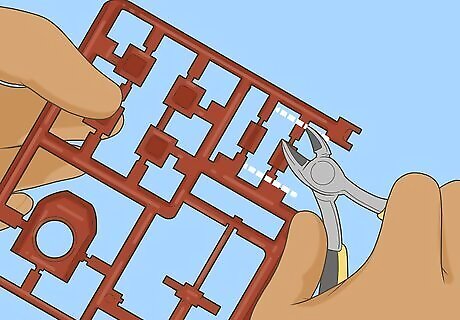
Turn the pliers backwards and snip a piece out just above the connection. You can start with any piece. Flip the pliers so that the flat blade is facing away from the piece you’re cutting out. Wrap the jaws of the pliers around the plastic line connecting the piece to the sprue, 0.01–0.02 inches (0.25–0.51 mm) above the actual piece itself. Slowly close the handles to snap the plastic line off of the piece. If there are multiple lengths of plastic connecting your piece to the sprue, repeat this process for each connection. You must leave a little plastic on the piece where you cut it. If you try to cut each piece clean off, you may end up with permanent scratches on the piece from the pliers rubbing against the plastic. It takes a little longer to do it the right way, but the results will be spectacular! Flipping the blades so that the rounded portion points towards the piece reduces the amount of stress your piece goes through as you’re cutting it out. This minimizes the amount of stress marks you end up with on each piece.
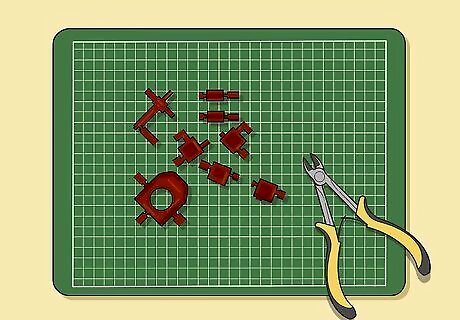
Remove all of the pieces from the sprue and set them aside. Repeat this process for every piece of your model. Point the blades away from the piece you’re cutting and snip the plastic connections just above the junctions where they meet your pieces. Once you’ve removed every piece, set them aside on your cloth or cutting board and throw out the sprue. If you prefer, you can do each piece individually and leave the other pieces in the sprue, but cutting your pieces out is typically the least interesting part of this process. Most Gundam builders just get this part over with before moving on to the fun part where you cut, sand, and finish the pieces.
Cutting the Nubs Off
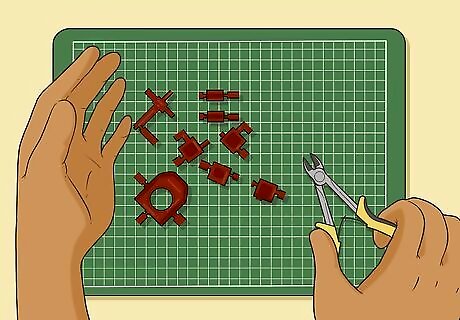
Grab the first piece you want to clean up from your pile. Your work order doesn’t necessarily matter, but if you don’t really enjoy trying to find matching pieces, work in the order of assembly found in the instructions. You can also choose to complete this entire process in layers by repeating each step on every block, or do each piece individually one at a time. Choose a process that makes sense to you! For example, the first step involves cutting with the side-cutting pliers. You can do this on every piece before moving on, or you can complete this entire process on one piece and then start over with the next one. It’s totally up to you.
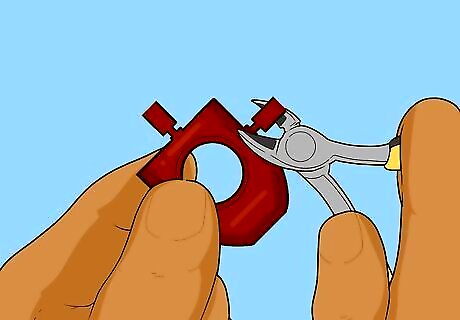
Flip your pliers so the flat edge is down and slide the jaws under the nub. Take your first piece and choose a nub to start with. Take your side-cutting pliers and turn them so the flat blades face the piece. Slide the jaws around the excess nub sticking out from the spot where you cut the plastic connection in the sprue. You couldn’t do this the first time you cut the pieces out because the sprue is strong enough to transfer stress marks on to the plastic pieces. Doing it when there’s only a tiny length of plastic left reduces the odds that you end up damaging the plastic.
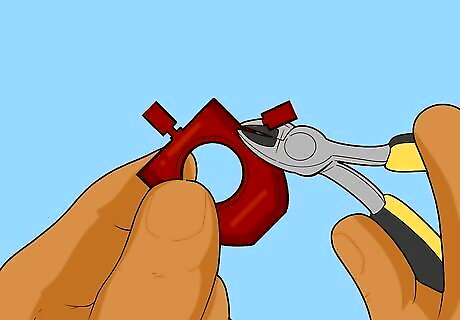
Clip the nub off slowly to remove the remaining plastic from the sprue. Brace the piece in your nondominant hand and hold the pliers steady with your dominant hand. Slowly close the handles around the base of the nub until the plastic pops off. Do this for every nub on your piece.Tip: Don’t worry if there are marks or scratches on the piece after you snap the nub off. This is totally normal and you’ll handle these marks soon.
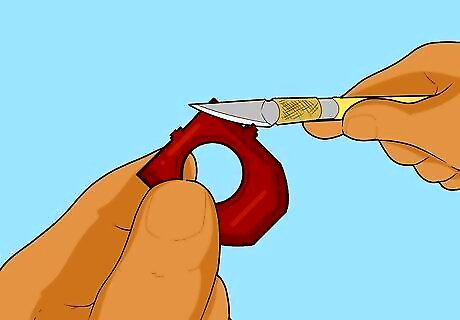
Scrape off any remaining nub with the blade of a utility knife. When you snap the nub off, there will likely be a small bump on the spot you cut off. Grab a small utility or hobby knife and hold the blade against the side of the piece at a 10- to 20-degree angle. Gently rub the surface with your blade to scrape away the remaining portion of the nub. This is a really soft motion; don’t drag the blade hard against the plastic surface. Don’t worry about cutting the plastic. So long as you use a light touch to do this, your pieces will be fine. The components of these models tend to be fairly strong.
Sanding the Surface
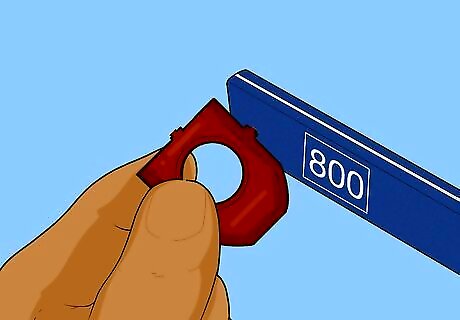
Wear the stress marks away with an 800-grit sanding stick. Removing the nub will leave a few black or white stress marks behind on the plastic piece. To remove these marks, grab a sanding stick designed for model building and painting. Take the flat side of the sanding stick and rub it back and forth over the stress marks for 20-30 seconds until the marks go away.Warning: You cannot use a regular sheet of sandpaper for this. The surface area is too big and unwieldy for these 1–2 in (2.5–5.1 cm) pieces. You will find these sanding sticks in most board game stores, gaming shops, and craft stores. You can also find them in some art supply stores. They look almost exactly like nail files. Whether you end up with black or white stress marks depends on the color of your piece. Darker plastics tend to get white stress marks and vice versa.
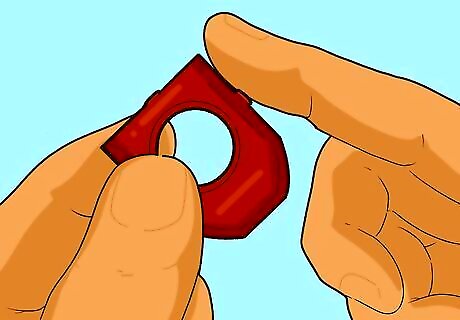
Feel the plastic to see if there are any rough edges and re-sand if needed. Run the pad of your index finger over the area you sanded. If the surface is smooth, you’re done with the 800-grit stick. If there are still some bumps, keep sanding the piece gently until the surface is smooth. Don’t worry about scratches—you’re only concerned with the stress marks right now. You need to sand these out before you can remove the scratches.
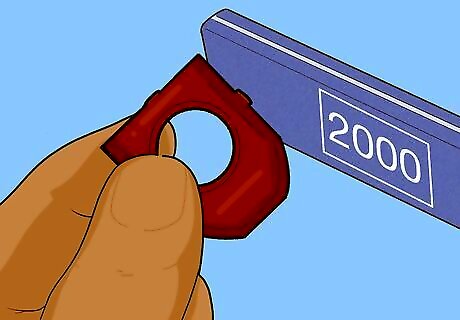
Use a 2000-grit sanding stick to finish the surface and remove scratches. Once the surface is flat, inspect the area you sanded. If it looks perfect, you can stop here. However, there are probably a few scratches from the 800-grit sandpaper. To remove these, gently sand the surface for 30-45 seconds with a 2000-grit sandpaper stick. This should remove all of the scratches. You typically don’t need to complete the rest of these steps if the plastic is white or you plan on painting it white. Blemishes won’t be visible on white pieces by this point.
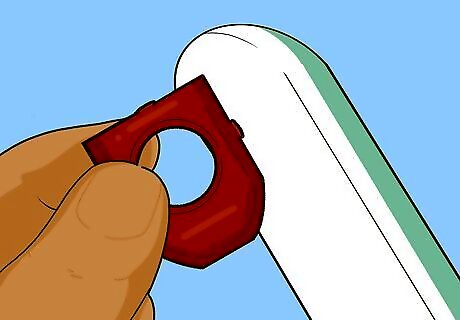
Brush the surface with the smooth side of a finishing sponge if necessary. If you still see discoloration or small sanding marks in the plastic, grab a double-sided sanding sponge (usually marketed as a finishing sponge). Take the soft side of the sponge and gently rub it back and forth against the plastic to buff it out. Keep doing this until the piece looks smooth and perfect. You can use a clean rubber eraser if you don’t have a finishing sponge or you don’t feel like buying a specific tool just for minor buffing.
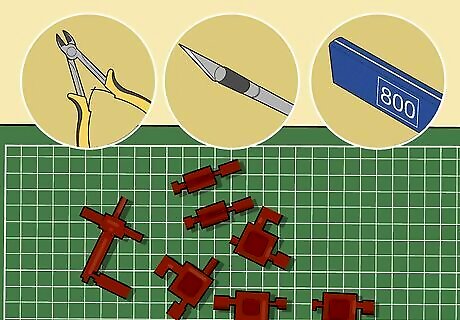
Repeat this process with the other pieces to get your model ready for assembly. Once you finish your first piece, set it aside on another part of your cutting board or towel to keep it separate from the other pieces. Pick your next piece up and repeat this entire process with the rest of your model components to get it ready for assembly. It’s totally fine if you want to do all of your pieces in portions. For example, you can use the utility knife on all of the pieces, then use the 800-grit sanding stick on all of the pieces, etc. It doesn’t really matter how you work so long as you complete each step on every piece.




Comments
0 comment