
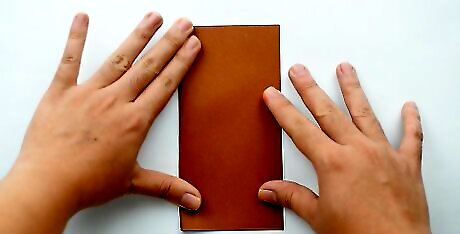
Cutting with Just Folds and Fingertips
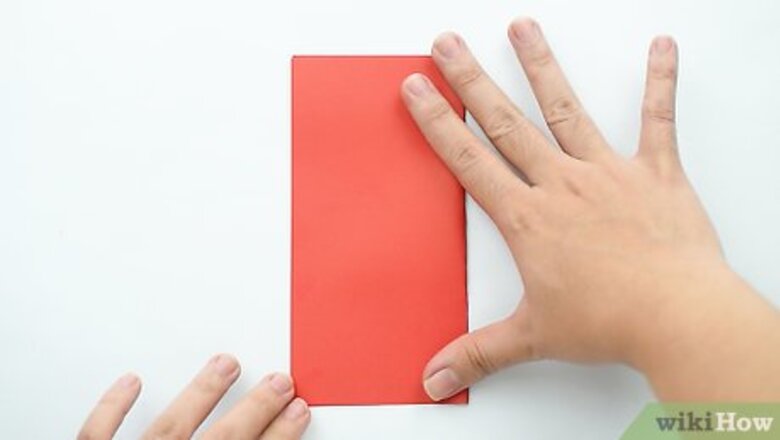
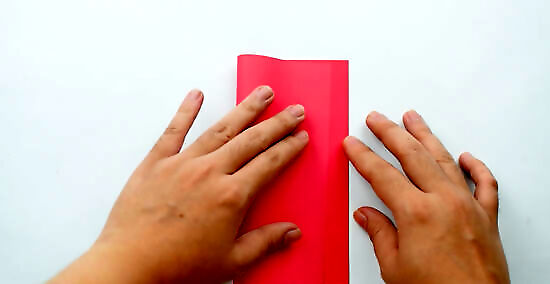
Fold the paper over right along the line where you want to cut it. Then, sharpen the crease by pinching the nails of your thumb and index finger against the fold and zipping them from end-to-end along the cut line. If you need help making a straight fold along your cut line, slide a ruler against the line and fold the paper against and over the top of it. You can also sharpen the crease by pressing the folded-over paper against a table with one hand and firmly zipping your thumbnail along the fold with your other thumb.
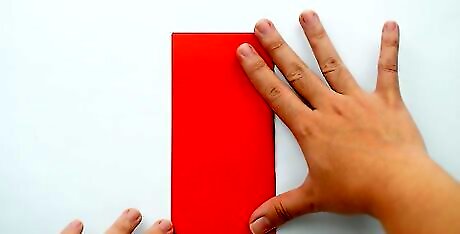
Fold the paper back and forth along the cut line several more times. In other words, fold the paper in one direction along the cut line, then fold it in the opposite direction along the line. Each time, use your fingernails to sharpen the crease. Do this at least three times in each direction—the more back and forth folds you make, the weaker the paper fibers will become along the crease. Make sure you’re folding back and forth over the same crease, instead of creating separate creases right next to each other.
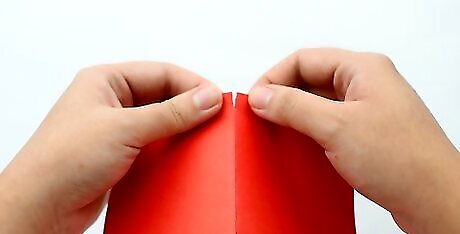
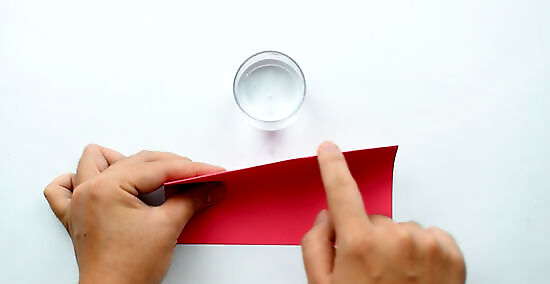
Create a small rip at one end of the crease with your fingertips. Use both thumbs and index fingers to pinch the paper on either side of the crease, right at the edge of the paper. Push one pair of fingers away from you while you pull the others toward you in order to begin a tear along the cut line. This initial rip doesn’t need to be more than about 0.5 in (1.3 cm) long.

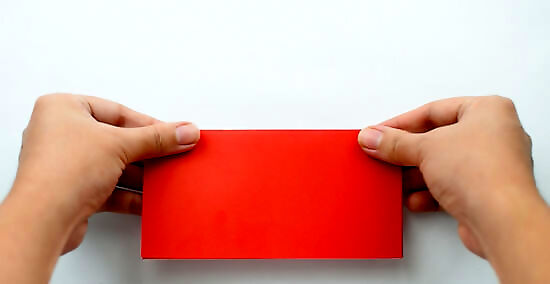
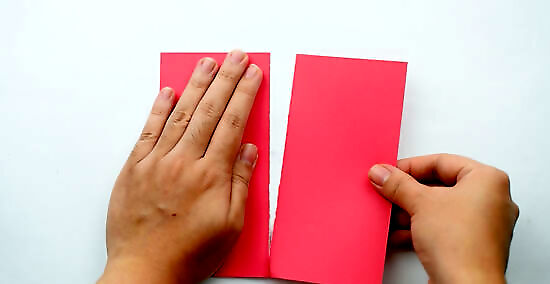
Use your palms and fingertips to pull the paper apart. Press your palms flat on either side of the cut line, with your index fingers right near the starter cut you made. Slide your fingers away from each other while keeping your palms on the paper, so that it splits apart along the cut line. Reposition your hands further down the paper, if necessary, to complete the cut. Alternatively, you can place one palm flat on the paper so that your thumb rests right along the cut line. Then, lift and pull the paper on the other side of the cut line with your other hand. Reposition your thumb along the cut line as needed.
Tearing Paper along a Ruler
Fold the paper crisply along your intended cut line. Run your finger over the fold to give it a sharper crease. If you want, you can also fold it in the opposite direction along the same crease in order to further weaken the paper fibers. This method works best when you want to cut a straight line that is less than 12 in (30 cm) in length—that is to say, shorter than a standard ruler.
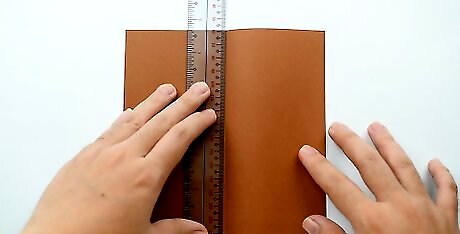
Lay the edge of a ruler right against the crease. Place the ruler so that it’s laying on top of the smaller section of paper. For example, if you want to cut 4 in (10 cm) from the length of a sheet of standard copier paper, lay the ruler on top of the smaller 4 in × 8.5 in (10 cm × 22 cm) section that you plan to remove. If you’re using a ruler with a sharper edge—for instance, a wooden ruler with an embedded metal strip—lay that side against the crease.
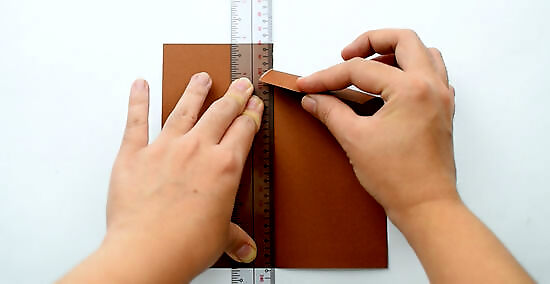
Press down on the ruler and lift the paper to begin cutting. With one hand, push firmly on the ruler to hold it up against the cut line. Grasp the paper on the other side of the cut line with your other hand, near the edge of the sheet. Pull up where the crease meets the paper’s edge to start tearing the paper along the ruler. Maintain firm pressure on the ruler the entire time. It’s easier to grip and rip the larger section of paper, which is why you should place the ruler on the smaller section.
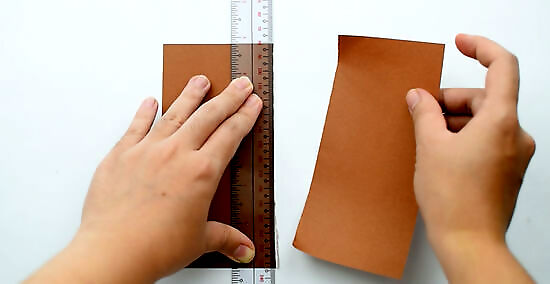
Pull the paper slowly or quickly along the ruler to finish the cut. Maintain firm pressure on the ruler with one hand, and keep lifting the paper with the other hand to complete the cut along the crease. You may prefer to progress slowly, or to lift and tear in a quick motion—try both methods and compare your results. Tearing paper with a ruler is similar in this way to removing an adhesive bandage—some people like to peel slowly, while others believe you should “grip it and rip it.”
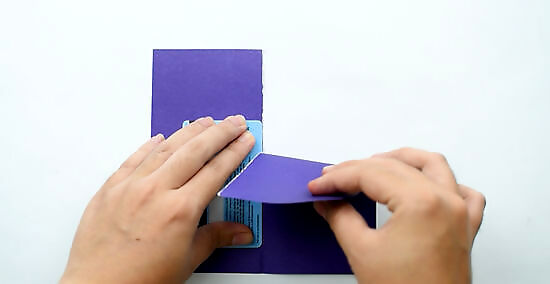
Use a credit card if you can’t find a ruler. Press the credit card against the seam, then slowly tear the paper about two-thirds of the length of the credit card. After that, reposition the credit card along the seam so that the top third of it overlaps the cut you started, then press it down firmly and tear some more. Repeat this until you complete the cut. You can also try using a hardcover book or CD case in this fashion.
Try using a squared table edge as another alternative. Lay the seam right along the edge of the table, so that the bigger section of the paper is dangling off the side. Hold the smaller section firmly against the table with one hand, and pull down on the bigger section with the other hand. Reposition your holding hand as needed in order to complete the cut. This method makes a straight cut more often than not, but it’s not as reliable as using a ruler to make your cuts. If the table has a rounded edge, this method won’t work.
Ripping a Damp Seam
Fold the paper where you want to cut it. For example, fold all the edges around a picture, or just fold down one side of a page. Create a sharp crease by folding the paper one way, then folding it back on itself the other way. Folding the paper back and forth along the cut line weakens the fibers in the paper, making them easier to separate.
Wet the crease that you have created by folding. You can do this by dipping your fingertips in some water, or you can lick the paper along the fold line. Repeat this on all sides where you have made creases. Moisten the paper, don’t soak it. If it gets too soggy, the paper will just fall apart instead of tearing smoothly along the crease. Moistening the seam further weakens the paper fibers.

Place your hands on either side of the crease and separate the paper. Put your index fingertips alongside the crease where it meets an edge of the sheet, and lay your palms flat on the paper. Use your fingertips and palms to separate the paper along the seam from edge to edge. Reposition your hands as you work, especially with larger sheets of paper. Moistening the paper may damage writing or drawings on it. Otherwise, after giving the paper a few minutes to dry out, you’ll likely be unable to tell that you moistened it.


Comments
0 comment