views
Defrosting Food in Cold Water
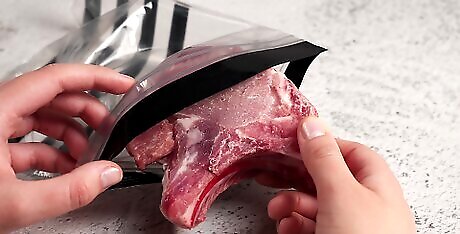
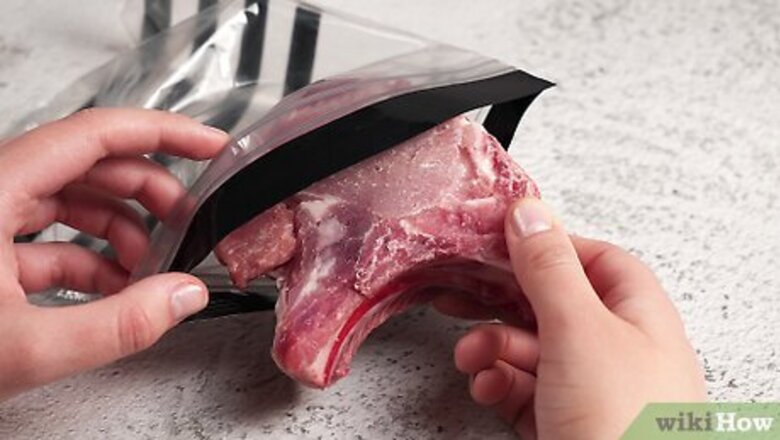
Place your food in a leak-proof plastic bag. Open your freezer door with your plastic bag in hand. Place the frozen food inside a sealable plastic bag that will comfortably fit your food. You can use multiple plastic bags if you’d like to thaw multiple items at once. If you take the food out of the freezer and do this on the countertop, you could introduce bacteria into the bag, so do it in the freezer to keep your food safe.Tip: This method is excellent for meat or cooked meals that you need to reheat, but it isn’t preferred for cheese, bread, or baked goods. Ideally, you froze your food in an airtight plastic bag and won’t have to do this. If you stored it in aluminum foil though, you have to take the foil off and put it in a bag. This is faster than refrigerator thawing and safer than hot water thawing.
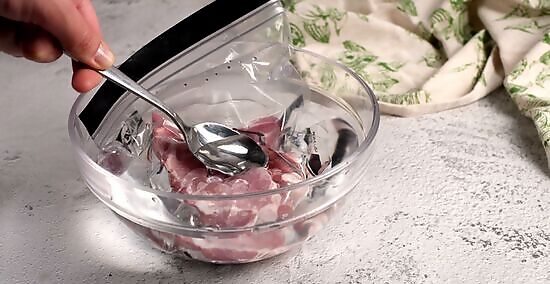
Put the bag in a large bowl and fill it with cold tap water. Take a large glass or metal bowl out of your cabinet. The container must be big enough to fully submerge your food in the water. Place your frozen food item at the bottom of the bowl. Turn your sink’s water on the coldest setting available and fill the bowl with the water. Depending on how good the water lines in your home are, you may need to wait 20-30 seconds to give the cold water time to reach its lowest temperature.
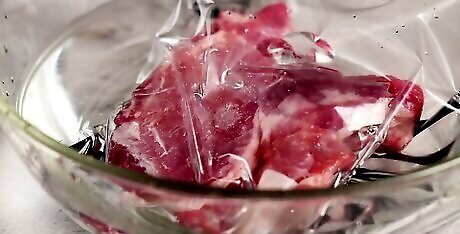
Thaw your food in the cold water for 2-3 hours. Once your bowl is filled with water, submerge your food in the water. Leave the bowl in your sink or on your countertop. The size, type, and density of your food will determine how long it takes to thaw. A 3–4 lb (1.4–1.8 kg) package of meat will take 2-3 hours to thaw, but smaller items may thaw in as little as 1 hour. Larger items, like frozen turkeys, may take up to 12 hours to thaw. You can tell if smaller food items are thawed by simply touching them. If they’re as soft as they’d be if they weren’t frozen, you’re good to go. Larger items may be frozen in the center though, making this method a poor choice for thicker foods. If you're in more of a hurry, place the bagged item into a colander or something similar that will allow the water to drain. Then, allow cold water to run over the over the bag, turning the item every few minutes until it's thawed. Use a spoon or spatula to weigh the food down if it’s floating at the top of the water.
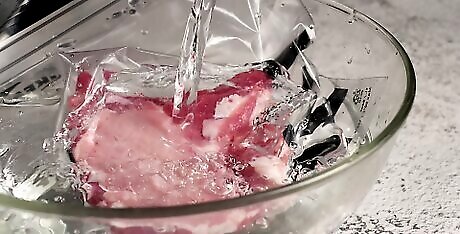
Change the water out every 30 minutes to prevent it from warming. The goal when thawing food in cold water is to keep the water significantly colder than room temperature so that dangerous bacteria doesn’t grow in your food. To keep the water temperature under 40 °F (4 °C), which is the threshold for dangerous bacteria, drain the water while refilling it in your sink once every 30 minutes. This will ensure that your food stays cold as it thaws. Cook your food immediately after it’s fully thawed.
Microwaving Food on Defrost
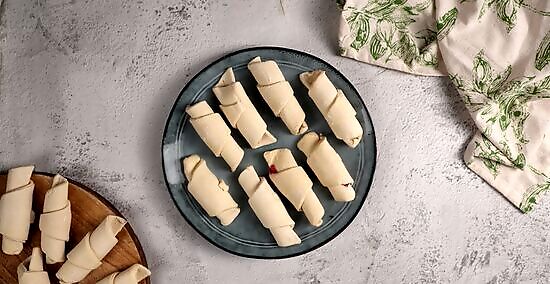
Remove your food from its packaging and put it on a microwave-safe plate. Select a microwave-safe container that will comfortably fit your food item. Glass is always a safe choice, and unpainted ceramic will work as well. Avoid plastic or Styrofoam containers. Remove the food from its packaging and place it on the plate, bowl, or container. This method works with bread, frozen noodles, broth, fruit, and vegetables. It isn’t the best method for meat though, as frozen meat tends to thaw really unevenly in the microwave. If you aren’t sure if a container is microwave-safe, flip it upside down and look on the bottom to see if it says “microwave safe.” It may also have the international logo for microwave-safe, which is 3 wavy lines. If you do thaw meat in the microwave, only thaw cuts of meat that are less than 2 pounds (0.91 kg).Warning: Never microwave frozen food in a plastic bag or aluminum foil wrap. You’ll absolutely ruin your food and you could even start a fire in your microwave.
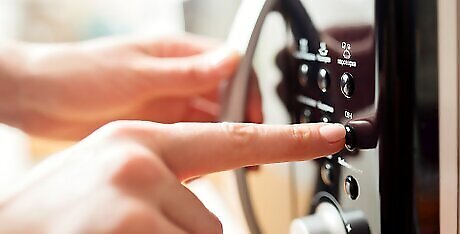
Use the defrost setting with the proper weight for items with a dedicated defrost button. If the food that you’re thawing has a dedicated button on the microwave, click “defrost” and then hit the corresponding button. Then, enter the weight of the food item that you’re thawing to automatically defrost your food. Flip it in the microwave when the microwave automatically shuts off halfway through the cook time. For example, if there is a “Chicken” button your microwave, and you have a 1.5 lb (0.68 kg) filet, put the plate in the microwave and press “Chicken.” Then, enter “1.5” with the number pad and press enter. When the microwave stops, flip the chicken over with tongs or a spatula and press “Start” again to finish thawing it.
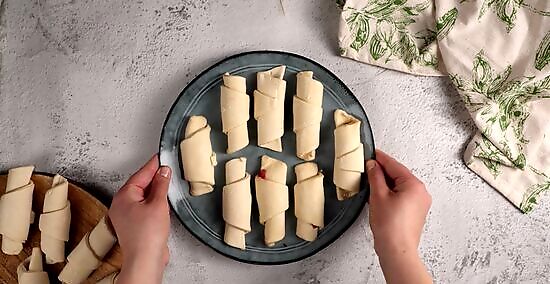
Microwave food items without unique buttons on 50% power for 2-3 minutes. For food items that don’t have automatic buttons, it’s usually more efficient to microwave on partial power instead of using the defrost setting. Use your microwave’s “Power” button to adjust the setting. Place your plate in the microwave and heat it on 50% power for 2-3 minutes based on the size and thickness of the food. Frozen broccoli or chopped spinach will likely require 2 minutes, while frozen cucumbers or potatoes will likely take 3 minutes or more. Doing this is largely a trial-and-error process. You’ll need to inspect the food carefully when flipping it or taking it apart in the microwave to determine when it’s thawed and estimate additional cooking times.
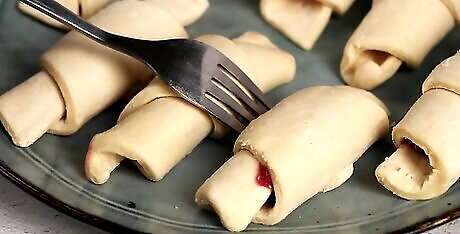
Split items without dedicated buttons apart with a fork or spoon after 2-3 minutes. Once you’ve run your first heating cycle, open the microwave door. Use a fork, spoon, or spatula to spread the food out, split it up, and break it apart on your plate. Since microwaves tend to heat unevenly, it’s essential that you move it around on the plate after heating it for 2-3 minutes. If you have a frozen chunk of veggies or noodles, split them apart with the point of your fork. Do this carefully though, since the tension may lead to noodles or veggies flying off of your plate.
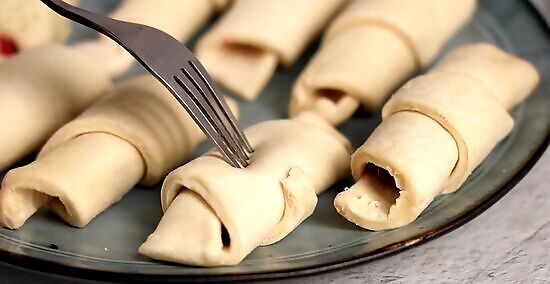
Heat items without dedicated buttons for another 1-3 minutes on 30% power. When you go to split up your food or move around, check to see how frozen it is by poking it with your fork, spoon, or spatula. If it’s still really solid, heat it for another 3 minutes. If it’s mostly thawed, heat it for another 1 minute. Heat it on 30% power to ensure that you don’t overheat your food. Cook your food immediately after it’s been thawed in the microwave.
Defrosting Baked Goods in the Oven
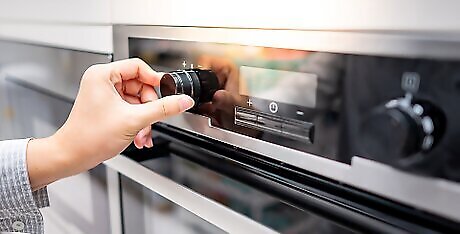
Preheat your oven to 325 °F (163 °C) and prepare a baking sheet. Look in your pantry for a rimmed baking sheet. Take it out and preheat your over to 325 °F (163 °C). Do not use a different temperature for different types of bread.Tip: You don’t have to use aluminum foil to line your baking sheet, but you can if you’d like. Breaded items shouldn’t stick to the aluminum foil if they’ve been cooked before, but you can line it with cooking spray if you want to play it safe. You can certainly defrost bread entirely in the microwave, but it may get soggy as the ice crystals melt into the bread. This method may not work with baked goods that contain filling, like pie or donuts with cream filling.
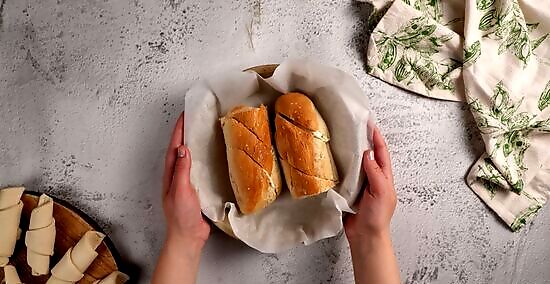
Heat full loaves of bread for 15-30 minutes based on their size. Place your frozen loaf of bread on the baking sheet. If you’ve got a massive loaf of bread, cook it in the oven for 25-30 minutes. For smaller, thinner loaves, heat them for 15-20 minutes. Take your bread out of the oven using your oven mitt and cut it as you please. You do not need to microwave entire loaves of bread before putting them in the oven. You should microwave smaller baked goods and sliced bread first if you want them to be soft.
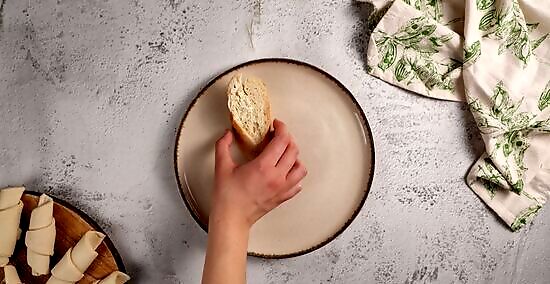
Microwave sliced baked goods on high for 15-25 seconds before baking them. Grab a microwave-safe container, like glass or unpainted ceramic, and set your bread or other baked goods on it. Microwave them on high for 15-25 seconds based on the number of slices that you’re thawing. If you want toasted bread, you can skip this step and heat your bread in the oven from frozen. Microwaving the baked goods ensures that some of the ice from the freezing is absorbed in the bread, making it softer. You don’t need to microwave loaves before heating them in the oven.
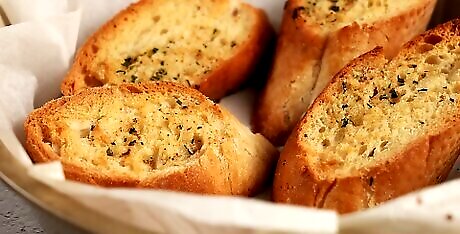
Bake your sliced bread and smaller baked goods for 5 minutes at 325 °F (163 °C). Once you’ve microwaved your sliced baked goods, transfer the bread or baked goods on to your baking sheet. Spread your slices or individual pieces out on the baking sheet face-down for a crispier bread, or lean the slices against one another like they’re in a loaf for softer insides. Bake your slices or individual pieces for 5 minutes before removing them from the oven. Even if they aren’t sliced, this method works for smaller baked goods, like individual scones, muffins, or croissants. Use an oven mitt to safely remove the pan from the oven.
Thawing Meat in a Hot Water Bath
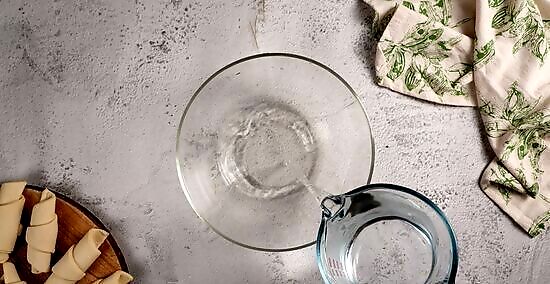
Fill a large bowl with hot water. Take a large glass or ceramic bowl out of the cabinet. Turn the water to your tap on the hottest setting and give it 1-2 minutes to heat up all the way. Fill the bowl with your water and use a thermometer to see if it’s hotter than 125 °F (52 °C). If it is, you’re good to go. If it isn’t, put the water in a pot and heat it on your stove until it’s hotter than 125 °F (52 °C) before putting it back in the bowl.Warning: This method only works with thinner cuts of meat that are less than 2–3 pounds (0.91–1.36 kg) and take 15 minutes or less to thaw. Thicker meats will take too long to thaw using this method and you may end up giving bacteria time to grow on the outer layers of your meat. This method is the riskiest of all possible options, since bacteria can grow on the outer surfaces of your meat as the water cools. If done properly, it’s perfectly safe though. To keep your meat safe, the water must stay above 100 °F (38 °C), so you’ll need to stir the water to avoid pockets of cooler water and replace the water as it cools.
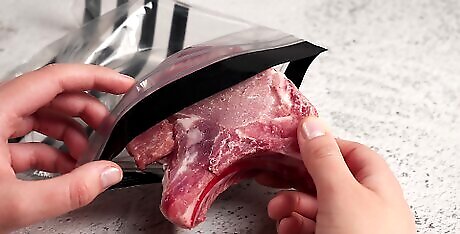
Put your meat in a leak-proof plastic bag. If you stored your meat in a leak-proof plastic bag, you don’t need to worry about changing the packaging as long as it’s airtight. If you stored in foil or wax paper though, take a large plastic bag to your freezer and open the door. In the freezer, place your meat in the plastic bag and seal it. Putting the meat in your bag while it’s still in the freezer will ensure that no room-temperature air from your room gets into the bag. Try to force as much of the air out of the bag as possible before sealing it. You need to submerge the meat, and if you leave a bunch of air inside, the meat will float to the top.
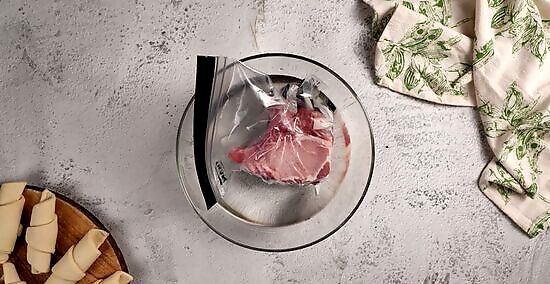
Submerge your meat in the water and weigh it down with a slotted spoon. Place your plastic bag in the water. Use a slotted spoon to push it to the bottom of the bowl. If the bag floats to the surface of the water, open the bag a little at the top. Squeeze the bottom of the bag to force the excess air out and then seal the bag.
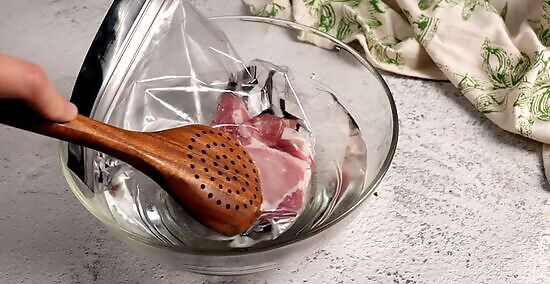
Stir the water with your spoon and monitor the water temperature. Use your slotted spoon to gently stir the water right above your meat. The cold cut of meat will make the water surrounding it colder than the water in the other parts of the bowl, so stirring lightly keeps the hot water circulating around the meat. Use your thermometer to check the temperature of the water once every 1-2 minutes. Stirring also speeds up the thawing process, which is important since you’re warming the meat to thaw it.
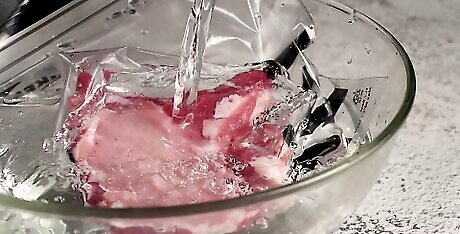
Refill the water as needed to keep it above 100 °F (38 °C). As you stir, continue to monitor the temperature. If the water falls below 100 °F (38 °C), add more hot water to the bowl after putting it in the sink. Continue filling the bowl until you’ve replaced most of the water and moved the temperature back up beyond 125 °F (52 °C). This will ensure that the water doesn’t get cool enough to promote bacteria growth. You may need to replace the water 2-3 times depending on how thick your meat is, and how hot your tap water is.
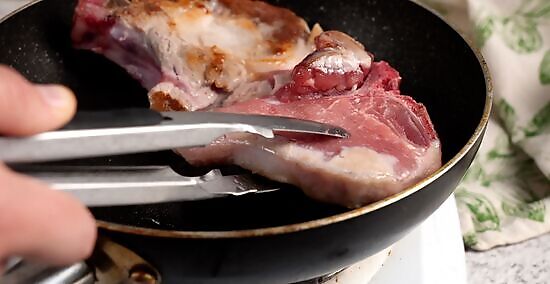
Remove your meat after 10-15 minutes and cook it immediately. As soon as your meat appears to be thawed, remove it from the bowl. Work quickly to get it in the oven, microwave, or on the stove before any bacteria can start growing. For most filet, wing, or breast cuts, your meat should be thawed after 10-15 minutes. You can touch the meat by lifting it out of the bowl with your slotted spoon and pressing it lightly. If it’s soft and seems like it’s no longer frozen, it’s ready to be cooked.




Comments
0 comment