views
Blowout Hairstyle for Women
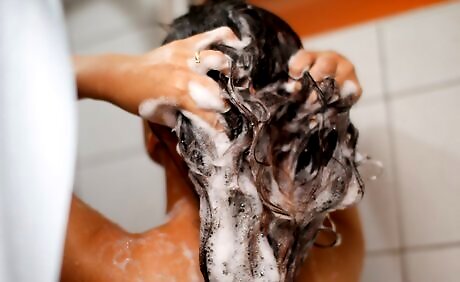
Wash and condition your hair. Achieving the perfect blowout requires clean hair, so the first step is to wash your hair with a good quality shampoo that's suited to your hair type. For example, if you have flat, limp hair opt for a volumizing shampoo or if you have very dry, frizzy hair go for a moisturizing shampoo. Rinse out the shampoo, then apply conditioner to the ends and mid-lengths of the hair. Don't apply conditioner to your roots as this can weigh your hair down and leave your blowout looking flat. Rinse out the conditioner with a blast of cold water to lock in extra shine.

Blot hair dry. Trying to blow-dry dripping wet hair is a bad idea, as it will take forever and expose your hair to unnecessary heat damage. So once you're out of the shower you should blot the excess moisture from your hair using a clean, dry towel. Never rub your hair with the towel as this can be very damaging to the hair and will cause it to frizz.
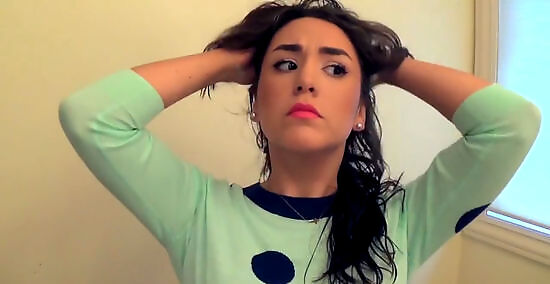
Apply product. The next key step in achieving a smooth, sleek blowout is to apply some good styling product to the hair, while it's still damp. The type of styling product that works best for you will depend on your hair type. For example, if you have very straight hair which tends to lie flat against your scalp, a volumizing mist applied to the roots and lengths of the hair can work wonders. If you have dry, frizzy hair, a smoothing serum or cream will keep hair looking sleek. Never apply serums or creams to the roots as this will weigh the hair down. If possible, apply a styling product with added heat protection properties, as this will help to prevent hair damage during the blowout.
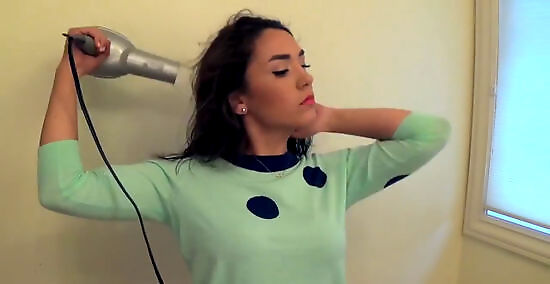
Begin to rough dry your hair. Turn your hairdryer to the medium heat setting (the high setting is usually too hot for anything but extremely thick, coarse hair) and begin to roughly dry your hair, using only your fingers. This will speed up the blowout and prevent excess pulling with the hairbrush. As you dry, make sure to point the nozzle of the hair dryer towards the floor, rather than upwards, as this will encourage the hair cuticle to lie flat, thus minimizing frizz and maximizing shine. Concentrate on drying the roots of the hair at this point, as it will be difficult to get close to the hair nearest the scalp when you start using the hairbrush. Stop rough drying when your hair is about 75% dry.
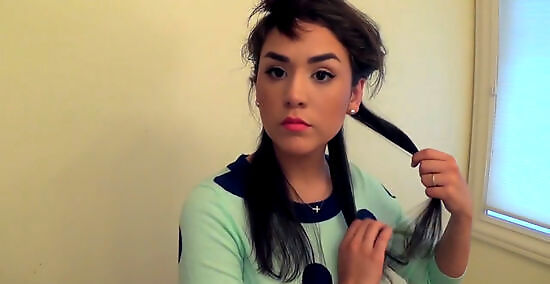
Brush out your hair and divide it into sections. When you have finished rough drying, brush out your hair to remove any knots or tangles. Start at the ends and work your way up, as this causes the least damage. When hair is detangled, begin dividing it into sections. How many sections you need will depend on the thickness of your hair. Some people will only need two sections, while others will need as many as eight. Use a clip or hair tie to secure each section.
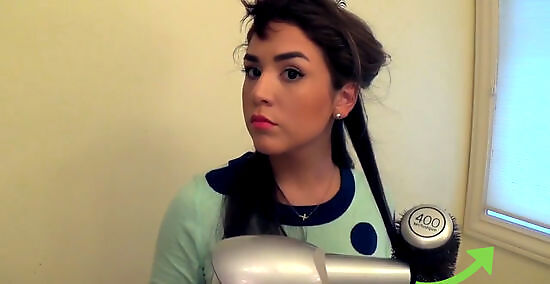
Blow dry using a round brush. Divide each section of hair into 2 inch (5.1 cm)-wide pieces and begin blowdrying with a mixed-bristle round brush (which smooths and straightens). Pull the brush through each 2 inch (5.1 cm) piece of hair, following the brush with the hairdryer and remembering to keep the nozzle pointed downwards. The key to a perfect blowout is to keep the hair pulled as taut as possible as you dry. When you get to the tips, your can either turn the brush outwards to get flicked out ends, turn it inwards to get curled-in ends, or pull it straight out from the head for poker straight hair. Blow dry each piece three times from roots to ends. Begin your blowout at the front sections of hair as these are the parts that people will see first and are therefore the most important. If you start at the bottom and wait until the end to dry the front sections, your arms will be tired by the time you reach them and you won't do as good a job.
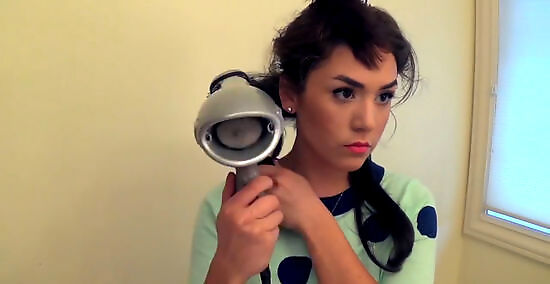
Move on to the next section. Once the section you are working on is completely dry, you can move onto the next. Remember to work from the front to back and from top to bottom. When you have completed a section of hair, your can either leave it hanging loose, or you can roll it into a loose curl and secure it with a clip. If you want to add extra volume, try wrapping each completed section of hair around a large velcro roller. This will add body to the hair as it cools and sets.
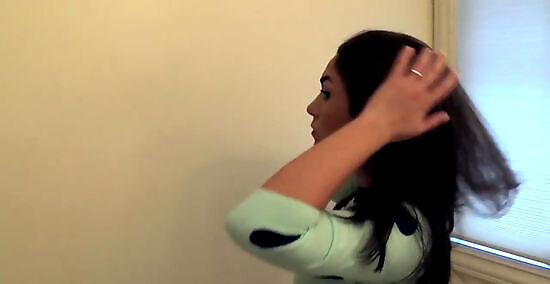
Set your hair and add some finishing product. Once the final section of hair is completely dry, remove all of the clips or rollers, shake out your hair and give it a final blast using the cold setting on your hairdryer. If you spot any remaining frizzy or kinky bits, you can cheat a little by running over them with a straightening iron. Just don't use the iron on your whole head, as this will affect volume. Finally, spritz or squirt some shine serum into your hands and rake your fingers through your hair. This is better than applying the product directly to the hair, as it distributes it more evenly.
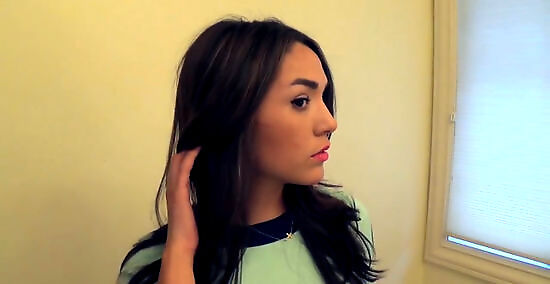
Maintain your blowout. A blowout hairstyle can last for several days if you learn how to maintain it properly. Use dry shampoo to eliminate any greasiness and add volume and texture to your hair on the days following your blowout. Use a thick, plastic shower cap to prevent steam from frizzing up your hair in the shower. At night, loosely twist and pin your hair into sections and wrap a silk scarf around your head to avoid the friction that causes tangles and frizz. Alternatively, try sleeping on a silk or satin pillowcase.
Blowout Hairstyle (or Temple Fade) for Men
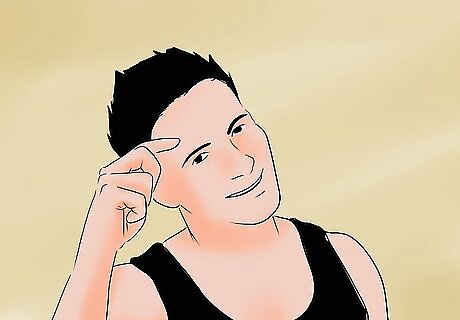
Understanding the blowout haircut. The blowout hairstyle, also known as a temple fade or taper fade, first became popular in the 1990s, but has recently become famous thanks to Paul-D from Jersey Shore.The blowout hairstyle consist of short sideburns and longer sides with a large amount of hair on the crown, which is usually gelled upwards. As the result, this hairstyle may cause the wearer to look like they've been electrocuted!
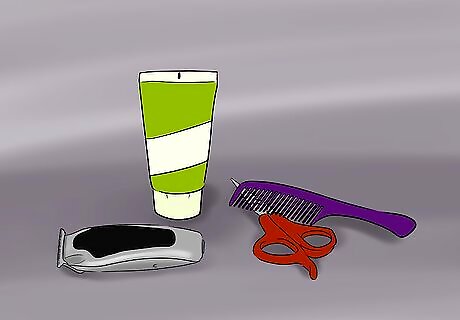
Gather the right equipment. To achieve a blowout haircut, you will need the proper equipment. This includes a hair clipper with at least 5 hair guards, a t-liner outliner, a pair of hair shears, hair combs and some hair gel.
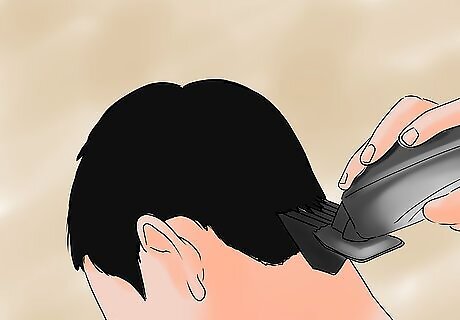
Create the first guideline. Using the t-liner, create the first guideline on the back of the neck and the beginning of the sideburns. The length of the hair in this guideline varies according to personal preference, but it will usually be somewhere between 0 levels and 1 levels.
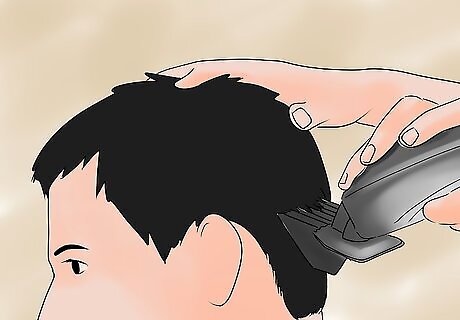
Create a second guideline. Next grab your number four guard with the clippers closed and create a second guideline which extends about 2.5 inches (6.4 cm) above the original guideline. This will help you to see how much room you have to work with.
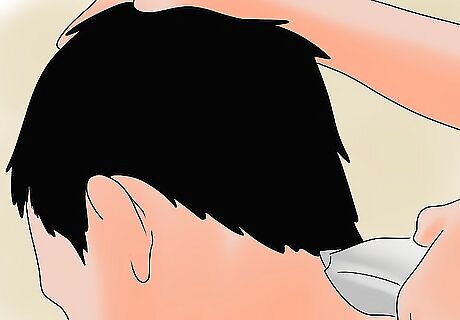
Blend the two guidelines together. Using a number 3 clipper guard, start blending the first and second guidelines together, using an outward motion.
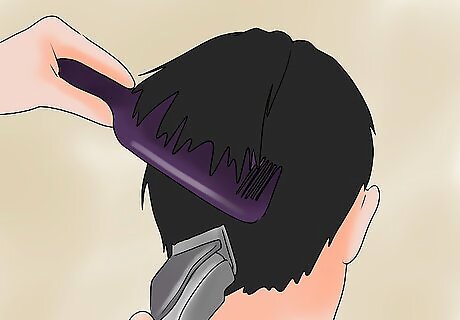
Soften the blowout. To avoid having your blowout look like a mushroom cut, use a clipper over comb technique to cut the hair next to the guidelines. This helps to soften the blowout by creating a taper effect.
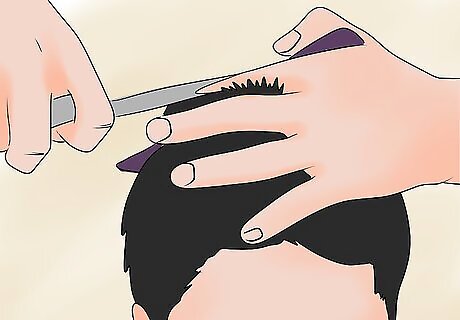
Complete the shear portion of the haircut. Once you have finished tapering the back of the neck and the sideburns, use the hair shears to cut the hair on top of the head and above the ears to the desired length. It can be as long or short as you wish.
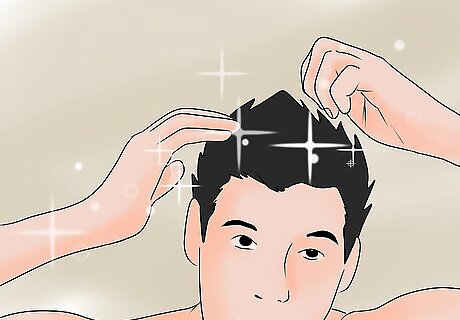
Finish with some product. Once you have finished with the shears and are happy with your blowout haircut, use some hair gel to spike the hair on top of your head to give it a neater, more polished look.







Comments
0 comment