
Using Toothpaste
Choose a basic toothpaste. There's no need for the sparkles, swirls, and exotic flavors of some oral care products. Instead, opt for a basic white paste to polish your CD. All types of toothpaste contain enough abrasive minerals to get the job done! Basic toothpastes are cheaper than their flashier alternatives. This can be especially helpful if you have several CD's to polish.
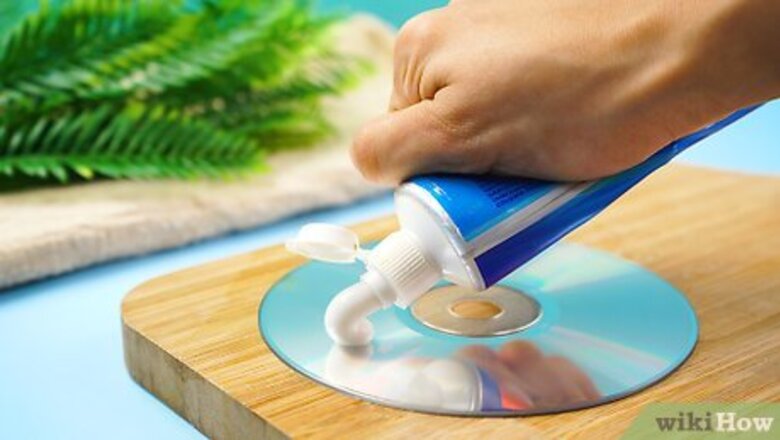
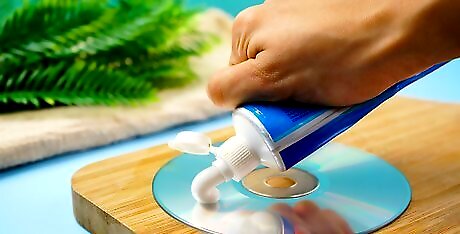
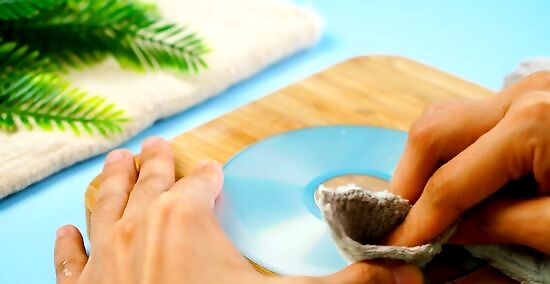
Apply toothpaste to the CD surface. Squeeze a small dab of toothpaste onto the scratched surface of your CD and spread it evenly over the surface of the CD with your finger.
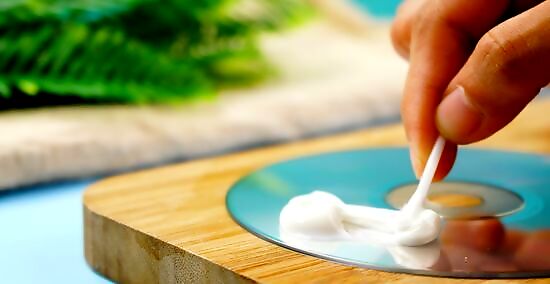
Polish the CD. Using a radial motion, slowly work the toothpaste around the CD. Start at the center and move in a straight line outward.
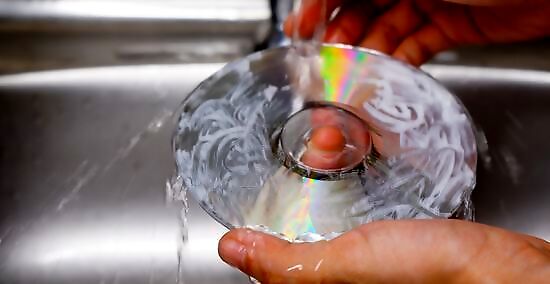
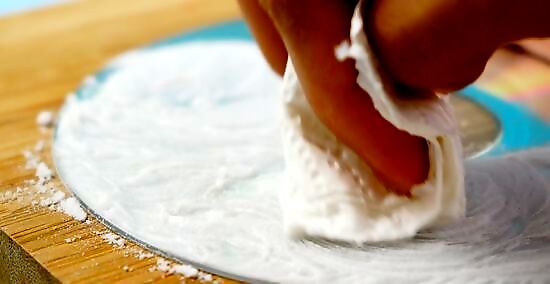
Clean and dry the CD. Run the CD under some warm water and rinse thoroughly. Then, using a soft, clean cloth, dry the CD and double check to make sure you've removed all traces of toothpaste or moisture. After you've cleaned and dried the CD, use a soft cloth to buff the surface of the CD.
Polishing with Abrasive Compounds
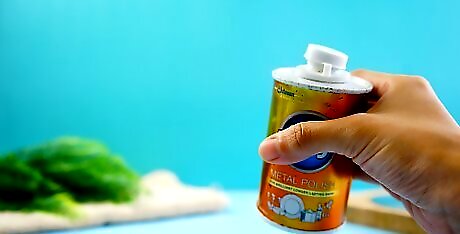
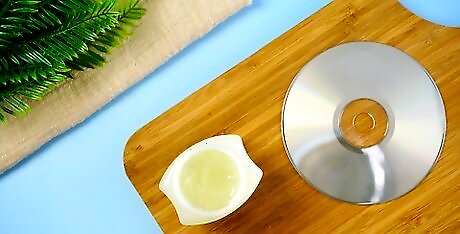
Decide which compound you will use. A number of common household products can be used to polish the CD, but 3M rubbing compound and Brasso are probably the most tried and true. You can also use fine-grit polishing compounds designed for cars or hard finishes. If you're using Brasso, make sure to do so in a well-ventilated area, and avoid breathing in the fumes. Always read the safety instructions and warnings on any chemical product as many (such as rubbing alcohol) are flammable and/or can cause skin, eye, or respiratory irritation.
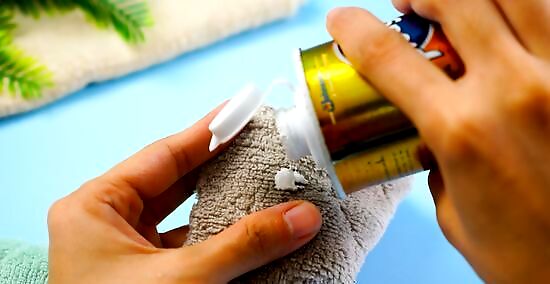
Apply the polishing compound to a cloth. Put a small amount of 3M compound or Brasso on a soft, clean, lint-free cloth. An old shirt or an eyeglass-cleaning cloth will both work well.
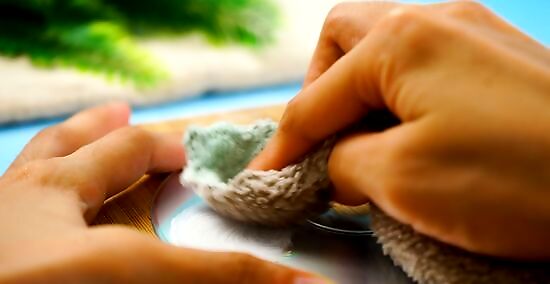
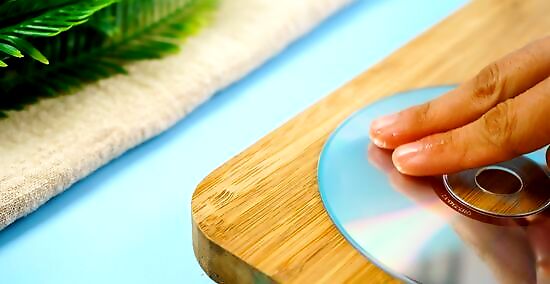
Polish the CD. Use a gentle, radial motion, to rub the compound into the scratch. Start at the center and rub out to the edge, like spokes on a wheel. Do this 10 or 12 times all around the CD. Try to focus your efforts solely on the scratch or scratches that you have identified. When polishing the disc, make sure to lay the disc on a flat, firm surface that's non abrasive. Data is stored on the foil or dye layers on the top of the disc (label side) and the protective top layer can easily be scratched or perforated. Pressing a disc on too soft a surface may crack it or cause it to de-laminate. Rubbing in a circular motion (as opposed to a radial motion) can cause small scratches that throw off the laser tracking system in the player.
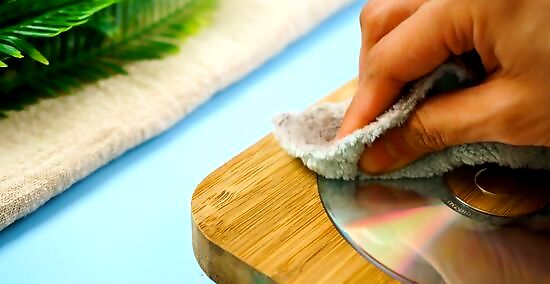
Remove the polishing product from the disc. Rinse the disc thoroughly with warm water and let it dry. Make sure to remove all of the compound and let the disc dry completely before trying to play it. With Brasso, wipe off excess product and let the rest dry. Then, using a clean cloth, gently wipe the disc again.

Test the disc. If the problem persists, polish again for up to 15 minutes, or until the scratch is almost completely buffed out. The surface around the scratch should begin to look shiny with many tiny scratches. If you still do not notice any difference after polishing for a few minutes, the scratch may be extremely deep, or you may be polishing the wrong scratch. If the disc is still not operational, take the disc to a trained professional at a gaming store or CD repair shop.
Finishing With Wax
Determine whether or not wax is an option. Sometimes you'll need to physically remove plastic from the disc by polishing. However, removing a lot of plastic can affect the refractive property of the lens making the data unreadable. Waxing scratches is useful because even though the defects are visible to your eye, the laser sees around/through them.
Wax the scratches. Apply a very thin coat of Vaseline, chap-stick, liquid car wax, neutral shoe polish, or furniture wax to the CD's playing surface. Let the wax sit in the scratches for a few minutes—remember, the idea is for the wax to fill in the scratch so it can be read again.
Wipe away the excess wax. Using a clean, soft, lint-free cloth, wipe in a radial (inside-to-outside) motion. If using wax, follow the manufacturer's instructions (some need to dry before you wipe them off, while others should be wiped off while still wet).

Test the disc again. If the wax or Vaseline does the trick, burn a new disc immediately. The waxing method is only a temporary solution meant to get the CD working long enough to transfer the data to a computer or new disc.
Masking Tape Method
Hold the disc with its shiny side up in clear view of a bright light.
See if any holes are visible on the shiny side.
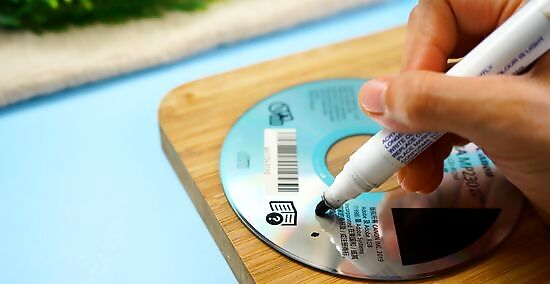
Flip the disc and mark the areas holes with a permanent marker.
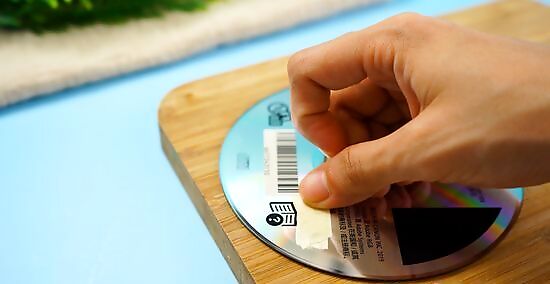
Take 2 small strips of masking tape and stick them on top of each other over the area you have just marked. Note: The CD might make a noise while running but you'll be able to access at least 70% of the data on it.


Comments
0 comment