views
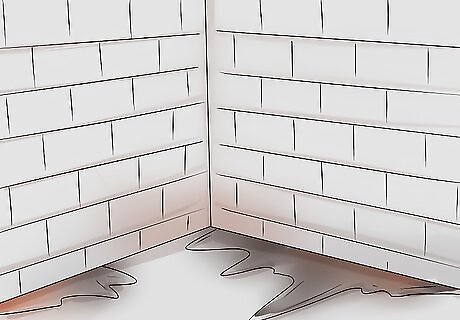
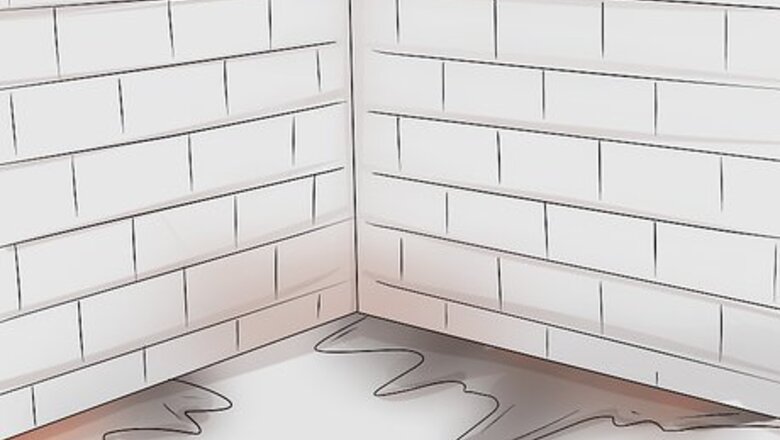
Before finishing any basement project, check for moisture issues - leaks, excessive moisture, mold/musty spots, staining on concrete, bugs & spiders that thrive in damp areas, foundation cracks, window leaks, exterior drainage issues etc.
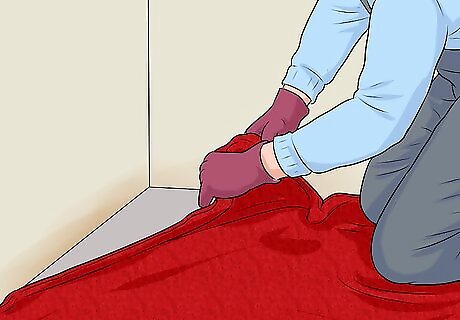
Remove any existing flooring material that will trap, block or absorb moisture such as vinyl, carpet or wood flooring. If you have asbestos tile, see the Environmental Protection Agency website for details.

Make repairs, fill cracks and seal concrete where necessary.

For any low spots in the floor greater than 1/4", level with self-leveling liquid compound. This is most important if installing a wood floor finish.

Determine the quantity of subfloor panels, leveling kits, and 1/4" spacer material for the project. For subfloor panel quantities, take the square footage of your room and divide by 3.3. This equals the number of subfloor panels required.

Prepare tools and materials necessary to install the subfloor panels (see the "Things You'll Need" section below).
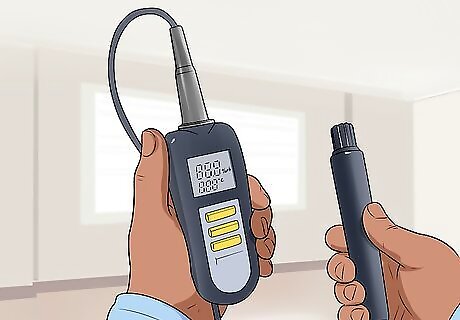
Acclimatize the subfloor panels and wood flooring if applicable, to the temperature and humidity in the room where they will be installed.

Sweep or vacuum floor to ensure a smooth surface.
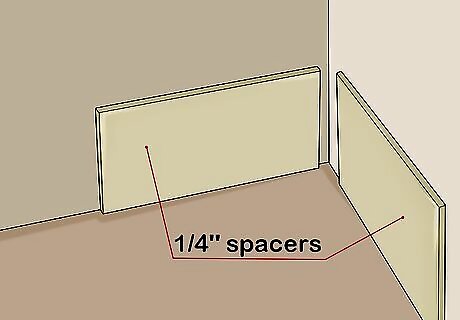
Install 1/4" temporary spacers along wall edges.
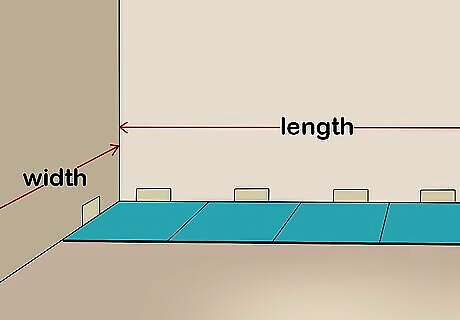
Start at the longest wall and pre-measure the length and width of the floor area to ensure the last panel pieces in each row end are greater than 6" in width. Measure to include the ¼ spacer material. Adjust the starting panel of each row to accommodate for the end of row panel width.
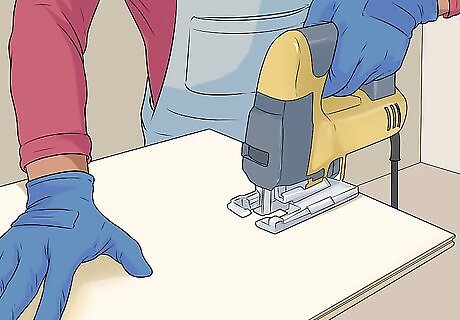
Cut panels and spacer material outside or in a well ventilated garage.

Check your starting corner for squareness. If your starting corner is not at a 90-degree angle into the room, then the wall edge of your first row of panels will require cutting.

In your starting corner, lay the first panel with the groove sides flat against the 1/4" spacer material.

Slide the next panel against the starting panel by press-fitting the groove of the second panel into the tongue of the first panel tightly in place.
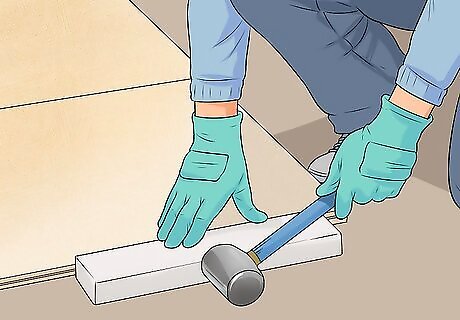
Use a tapping block and hammer to ensure a snug fit. Repeat until the row is complete.
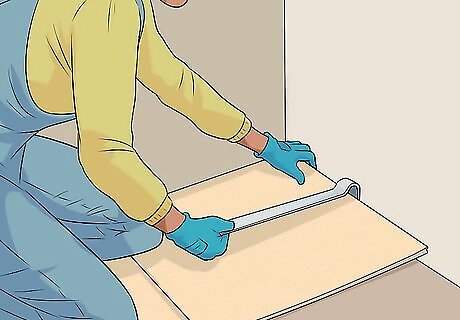
Cut the last panel of the row to fit into place, allowing for the 1/4" gap. Use the pull bar to pull the last panel into place.
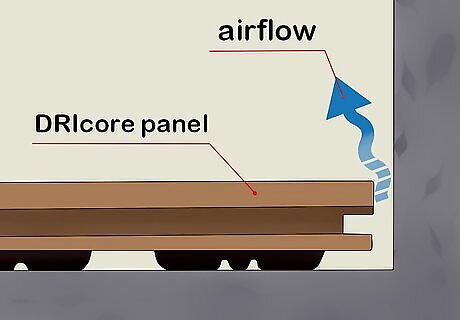
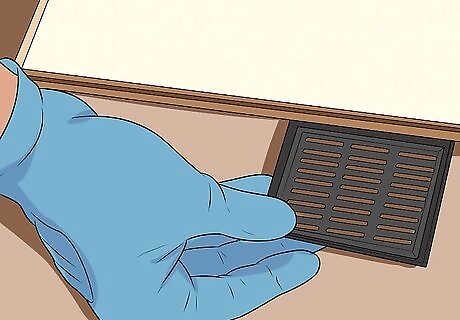
Cut an opening the size of the inside measurements of the register cover into 1 panel every 10’ in panels that line exterior wall edges, to allow for airflow. Allow for 6�? away from the wall side edge of the panel to start this opening.
Check each row for leveling and use leveling shims where required.

Stagger panel seams of alternating rows by using off-cuts from previous rows as starting panels for these rows.
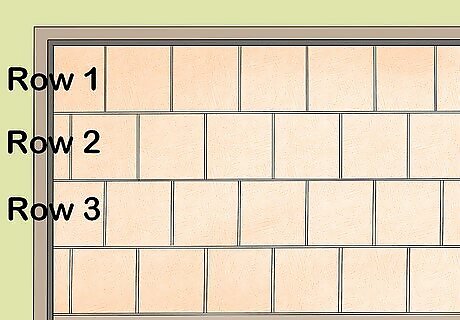
Rows #1 and #3 look the same. Alternating rows #2 and #4 are staggered.
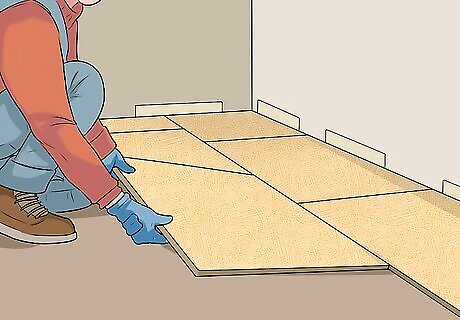
Only work with 2 rows at a time. This will make adjusting panels or shimming for leveling easier.
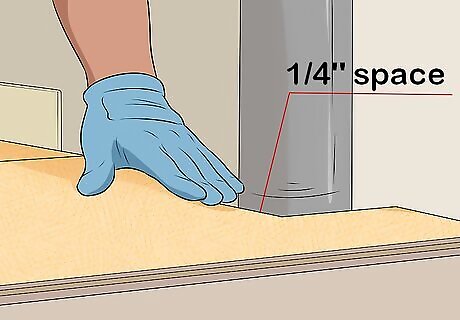
Continue to install panels, staggering seams until the room is completed. Leave 1/4" spacing for pipes, stairs or other affixed obstacles in the room.
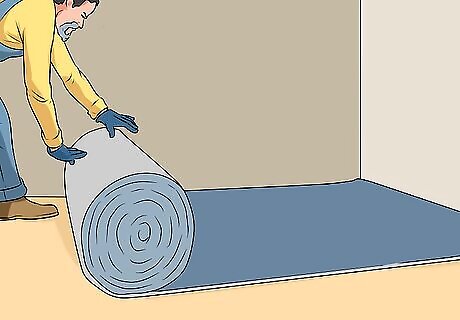
Finish with your choice of finished flooring including openings for the vent covers.

Install vent covers in the openings along outside wall edges every 10'.
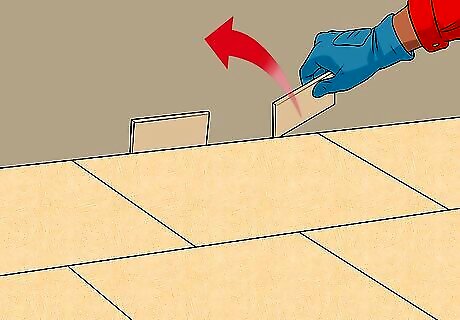
Remove temporary spacers.


Comments
0 comment