views
- There is a small chance that you can permanently disable your Wii U system in a way that is unrecoverable. Install Homebrew at your own risk.
- You will need a 32 GB or larger SD card (a micro SD card with an adapter is fine), a computer, and a Wii U with internet access.
- You can also install Homebrew on your Wii U's Virtual Wii Channel.
Downloading the Files You Need
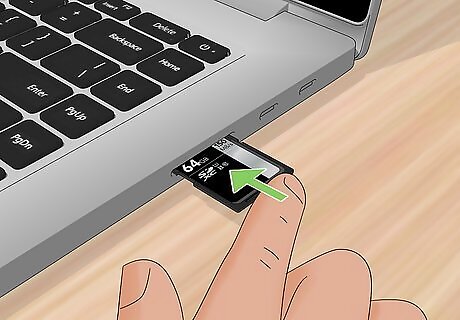
Insert a blank SD card into your computer. You'll need to load a few files on an SD card from your computer in order to install the Homebrew channel on your Wii U. Insert an SD card that's blank or that you don't need for anything else into your computer's card reader. If you don't have a card reader, you can get a USB adapter for a few dollars online.
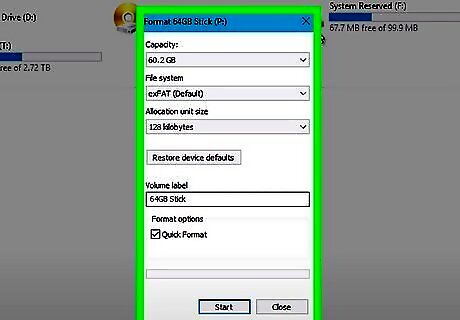
Format the SD card as FAT32. Most SD cards will already be in this format, but it doesn't hurt to check before you get started. Formatting the card will delete all of its contents. Windows - Press Win + E and right-click your inserted SD card. Select "Format" and then choose "FAT32" as the "File system." Mac - Open the Disk Utility from the Utilities folder in your Applications folder. Select your SD card from the left frame. Click the "Erase" button at the top of the window, then select "FAT32" from the "Format" menu. Linux - Open GParted. If you don't have it, you can install it from your package manager (or if you have Ubuntu, you can use the live CD), open it, and click the drive that closely matches the size of the card (16 GB may show up as 14.5 for example), and if the file system does not show up as "fat32", go to the "Partition" tab, click "Format to", and select "fat32". Then click the check mark.
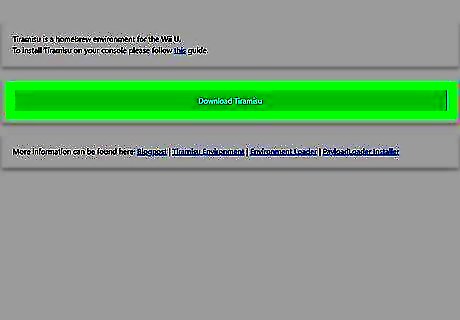
Download the Homebrew environment from Tiramisu. Tiramisu has assembled a zip file that contains all the files needed to hack and install Homebrew on your Wii U already pre-organized exactly how they need to be organized on your SD card. Use the following steps to download the Homebrew environment from Tiramisu: Go to https://aroma.foryour.cafe/ in a web browser. Click Download Payloads", "Download Base Aroma", and if you want any, select any Additional Plugins or Modules, select "Download Additional Plugins and Modules
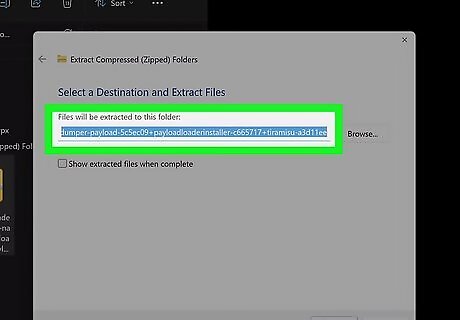
Extract and copy the contents of the Tiramisu ZIP file to the root of your SD card. Go ahead and extract the contents of the Aroma zip files you just downloaded. If your SD card is already inserted in your computer, you can copy the contents directly to the SD card, or you can extract the contents to your computer's hard drive and then copy the files to your SD card. Make sure you copy the contents to the root of the SD card. If you have any other folders or directories on the SD card, do not put the contents of the Aroma zip files in those folders.
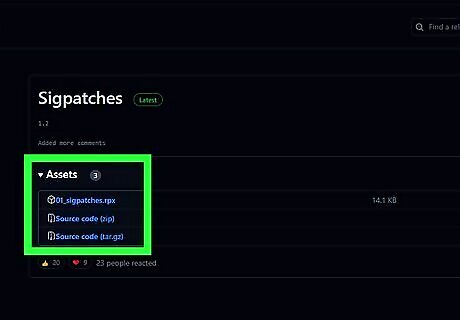
Download the PayloadLoaderInstaller. You will also need to download the PayloadLoaderInstaller and copy it to the SD card. Use the following steps to download the PayloadLoaderInstaller. Go to https://github.com/wiiu-env/PayloadLoaderInstaller/releases Click the Zip file at the top of the list of assets.
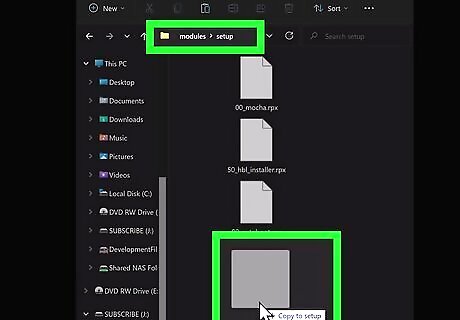
Extract the Contents of the zip file to the "wiiu" folder on the SD card. By default, your downloaded files should be your Downloads folder. Make sure you copy the PayloadLoaderInstaller to the "wiiu" folder on your SD card. Use the following steps to do so: Extract the "PayloadLoaderInstaller.wuhb" file from the PayloadLoaderInstaller Zip file you downloaded. Right-click the PayloadLoaderInstaller.wuhb file and click Copy. Open your SD card. Open the wiiu folder. Open the apps folder. Right-click anywhere in the folder. Click Paste. If your computer asks if you want to overwrite an existing file, click Yes.
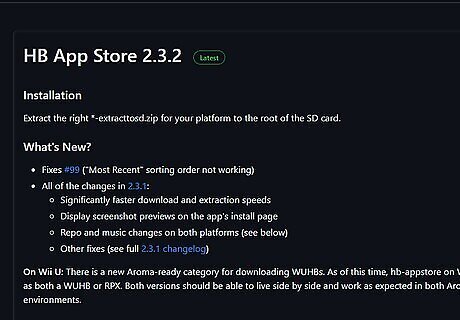
Download any Homebrew apps you want to use. The Homebrew channel doesn't come with any software, it simply allows you to use Homebrew software. You'll need to download this software yourself and add it to the SD card. Homebrew apps are usually added to the "apps" folder on your SD card. There are a variety of Homebrew apps that you can find online designed for the Wii U. Below are a few examples you can look for to get started: loadiine_gx2 - This lets you load out-of-region games and modded games. You can download it from here. Save Mii Mod WUT Port: This allows you to manage your Wii U and vWii save data. Download the zip file by clicking here and then copy the zip file to the root of your SD card. Bloopair: This lets you pair connect wireless Bluetooth controllers with your Wii U. You can download it from the Aroma website if you haven't done so already. WUDD - This is the Wii U disc dumper, allowing you to create local copies of your Wii U games. Download it from here. HB App Store: This is the Homebrew App Store that lets you browse and download Homebrew Apps to your Wii U. Download the "wiiu-extracttosd.zip" file from here and copy the zip file to the root of your SD card.
Backing Up Your NAND
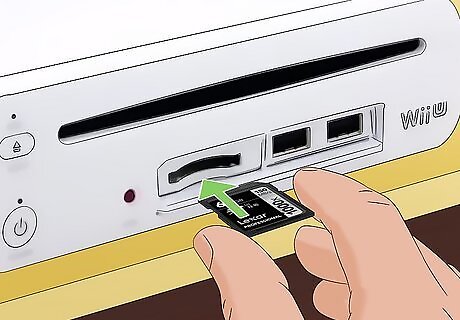
Insert the SD card in your Wii U. Once the SD card is ready, you can eject it from your computer and then insert it in your Wii U. Open the front panel on your Wii U. Insert the SD card into the SD card slot with the label facing up.
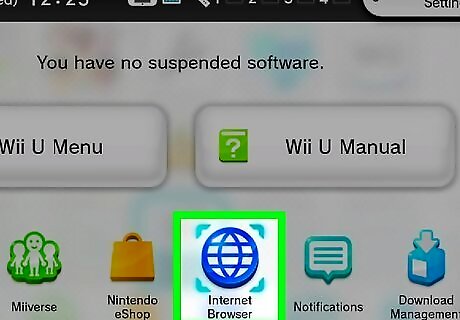
Open your Wii U's Internet Browser. You'll be performing the exploit using your Wii U's web browser. You can find the button for this at the very bottom center of the Wii U main menu.
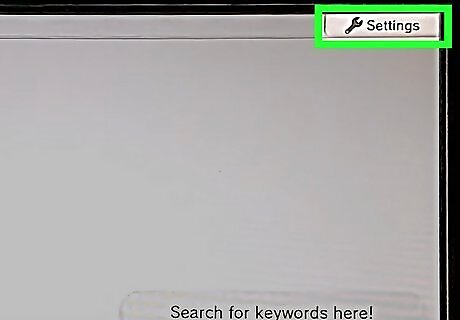
Reset your web browser's save data. This will prevent your web browser from freezing when you run the exploit. Use the following steps to reset your browser's save data. Tap the Settings button in the upper-right corner of the start page. Tap Reset your data.
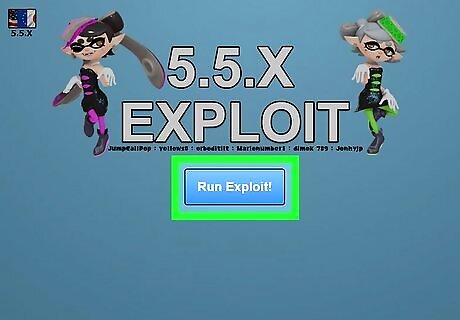
Run the browser exploit. Use the following steps to do so: Navigate to wiiuexploit.xyz in the Wii U web browser. Click or tap Run Exploit or hold the "B" button until you see a menu.
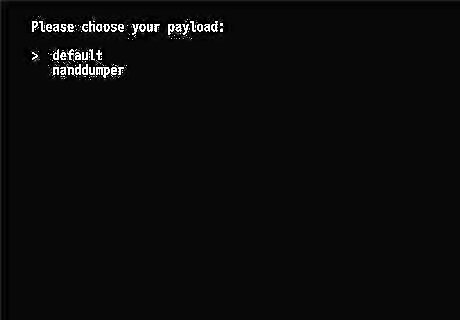
Launch the Nanddumper. To do so, navigate to Nanddumper in the menu and press A.
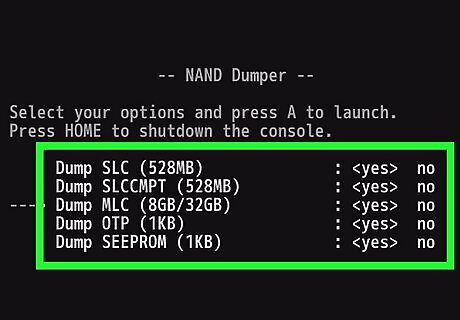
Backup your NAND to your SD card. Backing up your NAND can help you restore your Wii U or Virtual Wii system if you accidentally brick it. However, doing so requires additional hardware and micro-soldering skills. Your NAND is either 32 GB or 8 GB depending on what model you have. If your SD card is not big enough to back up your entire NAND, you can skip backing up your MLC files, which include your game, and save data. Select the following configuration in the menu and press A to start backing up your NAND to your SD card: Dump SLC: Yes Dump SLCCMPT: Yes Dump MLC: Yes if you have space on your SD card, No if you do not. Dump OTP: Yes Dump SEEPROM: Yes
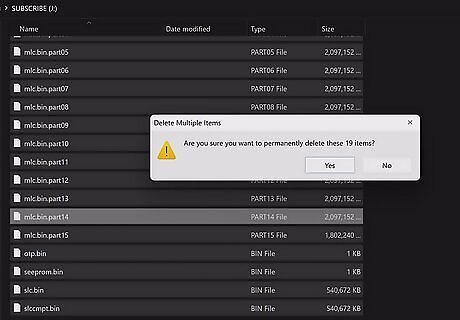
Back up your NAND files to your computer. Once the NAND dumping process is complete, go ahead and power off your Wii U and remove the SD card. Insert the SD card in your computer and copy the following files to your computer and delete them off your SD card in order to free up space: Do not lose these files: slc.bin slccmpt.bin seeprom.bin otp.bin Every mlc.bin.part file (if you choose to backup your MLC).
Installing HomeBrew on Your Wii U
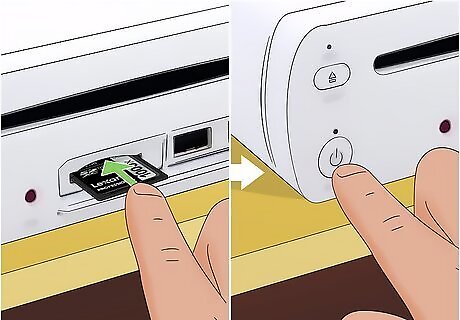
Insert the SD card back into your Wii U and power it on. If your SD card is not currently inserted into your Wii U, go ahead and insert it into you Wii U and power it on.
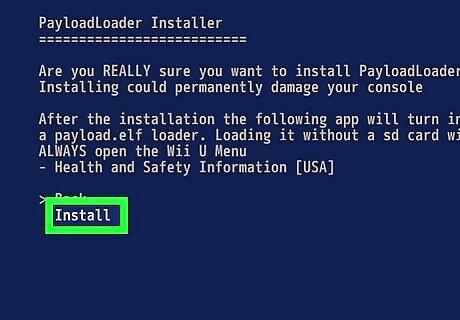
Install the PayloadLoader. The PayloadLoader will allow you to access Tiramisu by running the Health and Safety Information app. Use the following steps to install the PayloadLoader. Open the web browser and navigate to wiiuexploit.xyz once again. Select Run Exploit. Press and hold the "X" button until the Environment Loader appears. Navigate to the Aroma environment using the D-pad and press "A". Press A to launch the Wii U Menu with CFW. Launch the PayloadLoaderInstaller (the app with the big blue A) from the Wii U Menu. Select Install / Update using the "A" button. Select Install and press "A." Press "A" to shut down the console once the installation is complete.
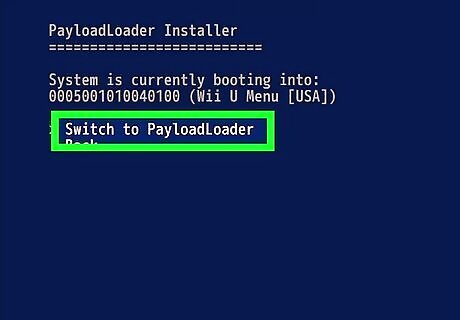
Set Tiramisu to autoboot upon boot up. Currently, you will need to go into the Health and Safety Information app every time you want to launch Aroma. If you want it to boot up automatically upon boot up, use the following steps to set it up: Boot up the Wii U. Launch the Health and Safety Information app from the Wii U menu. Press and hold "X" to open the Environment Loader menu. Navigate to the Aroma environment using the D-pad and press "A". Press A to launch the Wii U Menu with CFW. Launch the PayloadLoaderInstaller (the app with the big blue A) from the Wii U Menu again. Select Check and press "A." Select Boot Options. Press "A" to select PayloadLoader. Press "A" to shut down the console once the process is finished.
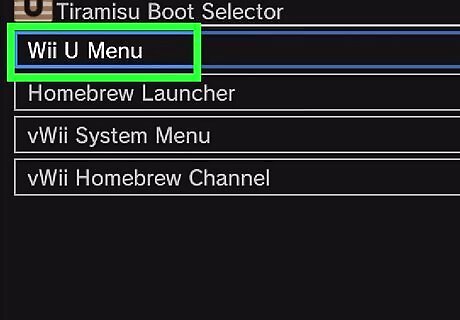
Set up the Environment Loader, PayloadLoader and Aroma. This will make the Aroma environment start automatically when your console autoboots the Health and Safety Information app. Use the following steps to do so: Power on your Wii U. Navigate to aroma using the D-pad and press "Y" to set it as the default environment. Press and hold "X" while your Wii U is booting up to enter the Environment Loader in the future. Press "A" to launch into Aroma. You may get a red warning screen about how updates aren't blocked properly. Press "A" to continue anyway. Press "Y" to set the Wii U Menu as the default autobooting option. Press and hold "Start" while your Wii U boots up to enter the Aroma Boot Selector in the future. Press "A" to launch into the Wii U Menu.
Blocking Wii U Updates
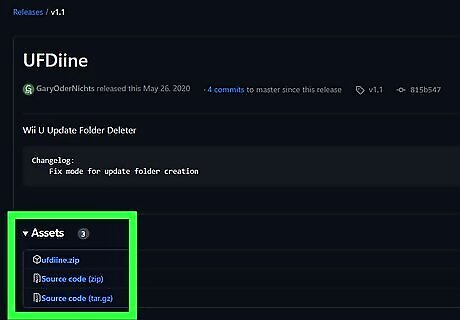
Download UFDiine. UFDiine is a Homebrew app that allows you to delete the Update folder to prevent your Wii U from updating. Homebrew relies on a system exploit to run. It is possible that Nintendo could release a system update that patches the exploit out of the system. It is recommended that you block updates to prevent this from happening. Use the following steps to download UFDiine: Go to https://hb-app.store/wiiu/UFDiine-wuhb on your computer Click Download to download the file to your computer.
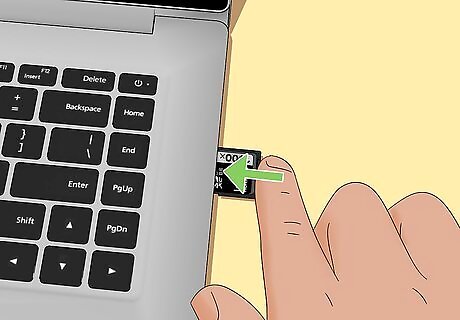
Insert the SD card into your computer. Remove the SD card from your Wii U and insert it into your computer.
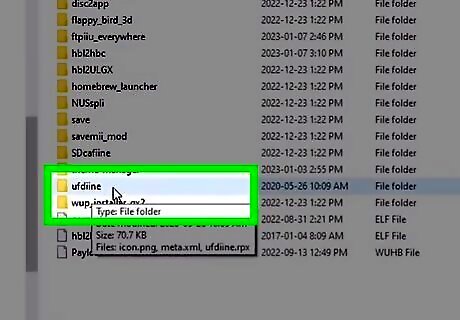
Copy the "ufdiine.zip" file to the root of your SD card. By default, your downloaded files can be found in your Downloads folder. Copy the entire ZIP file and paste it into the root of the SD card. Do not paste it into any other folders on your SD card.
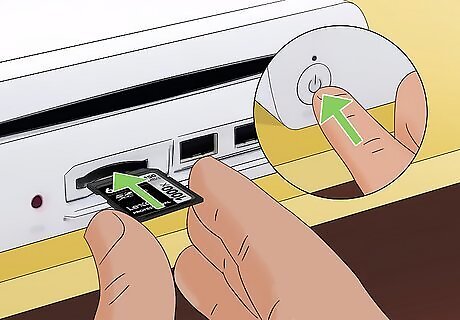
Insert the SD card into your Wii U and power it on. Your Wii U should boot into Aroma automatically. If you Wii U does not boot into Aroma automatically, select it and press "A." Launch UFDiine (the app with the garbage can) from the Wii U Menu.
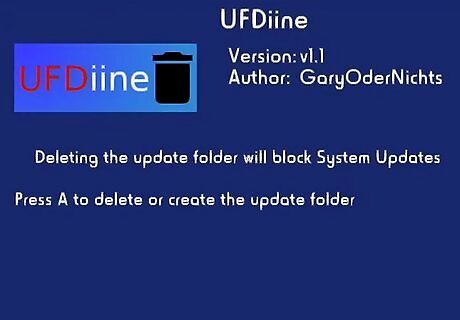
Press A to delete the Updates folder. You should see a confirmation that says "Update folder is deleted." You can now power off your console, It should not receive any more system updates.
Downloading the Files to Install Homebrew on vWii
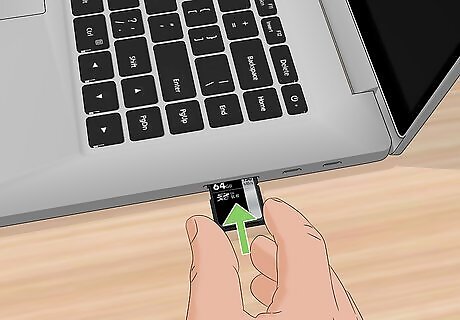
Insert the SD card you use to hack your Wii U into your computer. If you want to install Homebrew on your Virtual Wii (vWii), you will need to download some additional files and copy them to your SD card. Go ahead and insert the SD card you downloaded all your Wii U Homebrew files into your computer. You cannot use the same files you use to install Homebrew on a Wii console. They will not work for vWii on your Wii U and will permanently disable it. Make sure you have no ".wad" files in the apps folder on your SD card. You also need to have the Aroma zip file that you downloaded in the previous part extracted and copied to the root of your SD card.
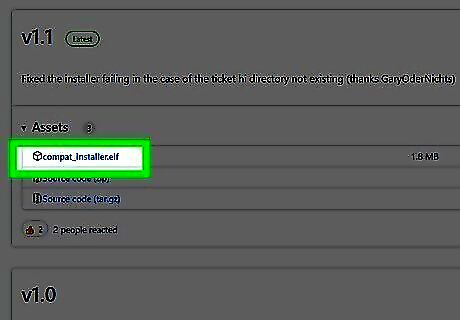
Download the vWii-compat-installer. Use the following steps to do so: Go to https://hb-app.store/wiiu/CompatTitleInstaller in a web browser. Click Download to download the file to download the compat installer.
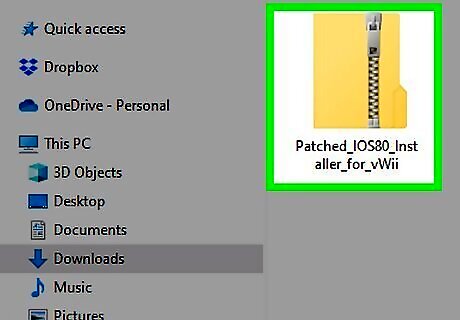
Download the patched i80 installer. You can download the zip file directly by clicking here.
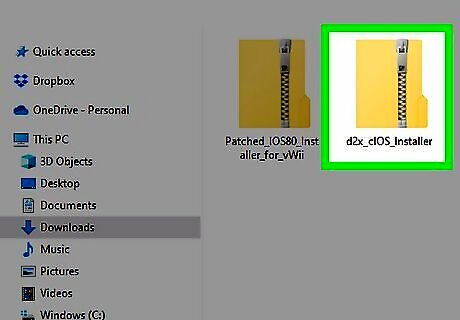
Download the d2x cIOS installer. You can download the zip file directly by clicking here.
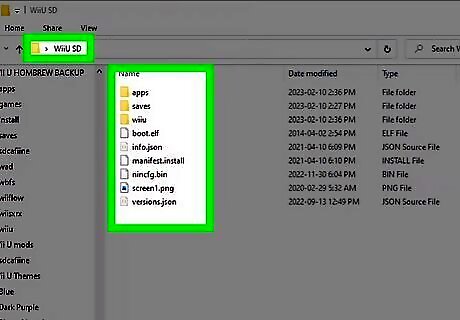
Extract the contents of the patched I80 installer to the root of your SD card. By default, your downloads can be found in your Downloads folder. Extract the contents of the "Patched_IOS80_Installer.zip" file to the root of your SD card. You can either extract the contents directly to your SD card or copy the contents to your computer's hard drive and then copy it to the root of your SD card. Do not put the contents of the zip file inside any other folders on your SD card. Just copy it to the root of your ZIP file. If you already have an "apps" folder on the root of your SD card, you can combine the contents of this folder with the contents of the existing folder on your SD card.
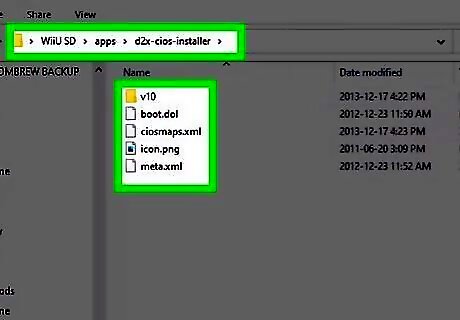
Extract the contents of the "d2x_cIOS_Installer.zip" file to the "apps" folder on your SD card. By default, your downloaded files can be found in your Downloads folder. Extract the contents of the "d2x_cIOS_Installer.zip" file directly to the "apps" folder on the root of your SD card. Do not extract the contents to the "apps" folder within the "wiiu" folder.
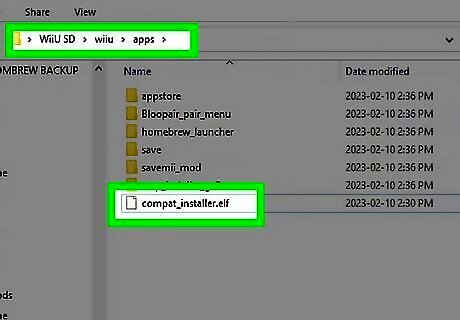
Copy the "compat-installer" folder to the "wiiu/apps" folder on your SD card. By default, your downloaded files can be found in your Downloads folder. Copy the "compat_installer" folder to the "apps" folder within the "wiiu" folder. Do not copy the file to "apps" folder on the root of your SD card.
Installing the Virtual Wii Homebrew Channel
Insert the SD card into your Wii U. Once you have downloaded and transferred all the necessary files to install Homebrew on the Virtual Wii to your SD card, go ahead and remove it from your computer and insert it into your Wii U and power it on.
Launch into the Aroma environment. If you set your Wii U to boot into the Tiramisu autoload the Aroma environment, it should do so automatically. If it does not automatically boot into the Aroma environment, select it from the bootloader menu and press "A."
Install the compat installer. To do so, select the compat installer (the app that looks like a Wii channel, but with a green arrow) from within the Wii U Menu. Then press "A." This will begin installing the Homebrew Channel on the Virtual Wii.
Return to the Wii U menu. Once the Homebrew Channel is finished installing, press the "Home" button to return to the Wii U Menu.
Launch the Virtual Wii channel. To so so, select the channel that says "Wii" on the Wii U menu.
Select the Homebrew Channel on the Virtual Wii. It has a blue icon that says "The Homebrew Channel." Select it on the Virtual Wii menu and select Start.
Launch the d2x cIOS installer. It should be in the Homebrew Channel and select Load. The d2x cIOS installer allows you to play games on the Virtual Wii.
Install d2X cIOS with the correct settings and press A. Set the following settings in the menu and press "A" to install d2x cIOS with these settings: Select cIOS: d2x-v11-beta1-vWii Select cIOS base: 56 Select cIOS slot: 249
Install d2X cIOS with the correct settings and press A. You will also need to set the following settings in the menu and press "A" to install d2x cIOS with these settings: Select cIOS: d2x-v11-beta1-vWii Select cIOS base: 57 Select cIOS slot: 250
Install d2X cIOS with the correct settings and press A. Set the following settings in the menu and press "A" to install d2x cIOS with these settings: Select cIOS: d2x-v11-beta1-vWii Select cIOS base: 58 Select cIOS slot: 251
Press B to exit. Once you have finished installing d2x cIOS with all the proper settings, press "B." to exit the d2x cIOS installer.
Launch the Patch IOS80 installer. Select the "Patch IOS80 Installer app on the Homebrew Channel on your Virtual Wii. Then select Load. The IOS80 patch allows you to run emulators on the Homebrew Channel.
Wait 30 seconds and press any button. When you launch the Patch IOS80 Installer, there will be a long warning screen. You have to wait 30 seconds for the screen to pass. Once you are given the option, press any button to start installing the iOS0 patch. Homebrew is now installed on your Virtual Wii and ready to play games and emulators.


Comments
0 comment