views
Preparing to Make the Box
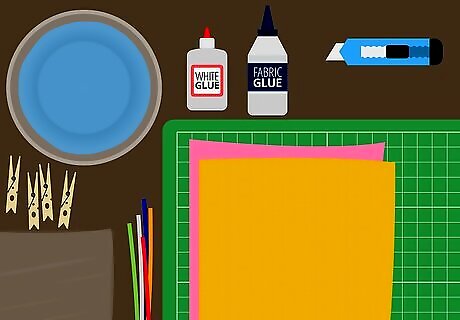
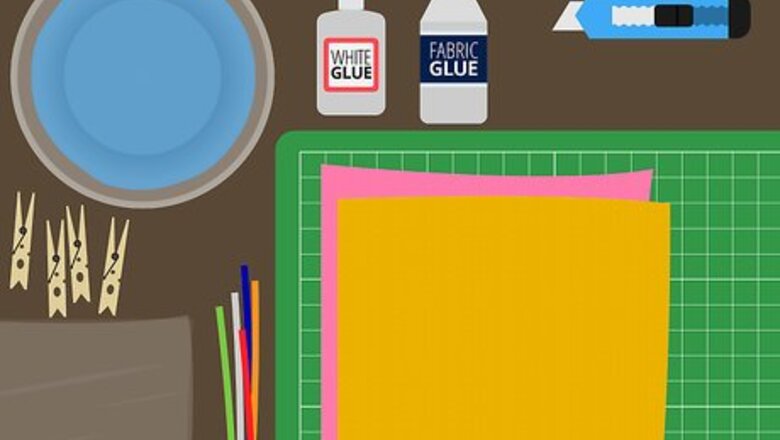
Collect your materials. Creating a felt box is quite easy, but it does require some materials and tools. Before you get started, take some time to think about what you would like your box to look like and then collect your materials and tools. To make one felt box, you will need: fabric glue precision knife cutting mat white glue water a large bowl plastic wrap four clothespins two felt squares that measure 13.5cm X 13.5cm (about 5.3 inches by 5.3 inches) pipe cleaners, glitter glue, beads, crystals, or anything else you want to use to decorate your box
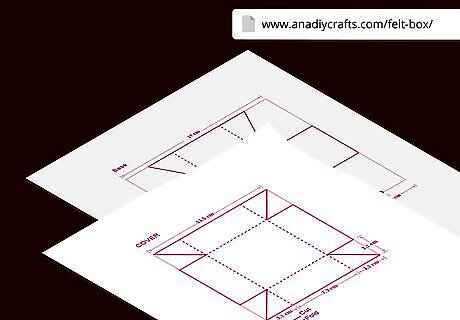
Download and print out the pattern. You will need the paper version of the pattern to create the box bottom and cover. This pattern provides an actual size diagram that you can cut out and use to cut the squares into the right dimensions. You can download the pattern for the box bottom and cover at: http://anadiycrafts.com/felt-box/

Prepare the glue solution. Fill your bowl about halfway full with some lukewarm water. Then, pour in a generous amount of glue (about 1/4 cup or 60 mL). Mix the solution with a spoon or even just with your hands. After you prepare your glue solution, lay a couple of sheets of plastic wrap over your work surface. This will give you somewhere to lay your felt squares while they dry.
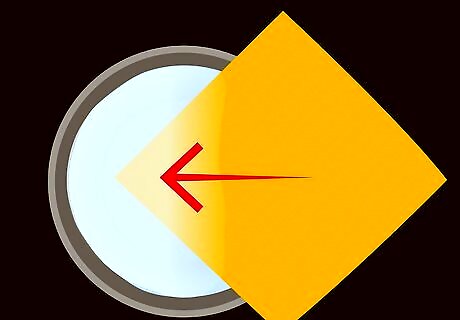
Soak your felt squares. Next, take one of your felt squares and dip it into the water. Make sure that the whole felt square is soaked through. Then, lift the felt square out of the water and wring it out over the bowl. Next, lay the felt square down on your plastic wrap and press it so that it is completely flat. Repeat the same process with the other felt square.
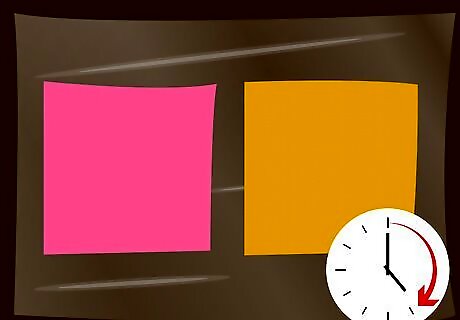
Leave the felt squares alone while they dry. After you have flattened both of your felt squares, leave them alone until they are completely dry and stiff. This may take a few hours. Keep in mind that the felt squares need to be fully dry before you move onto the next step. White glue also takes a long time to dry, so you may even consider leaving the felt squares to dry overnight.
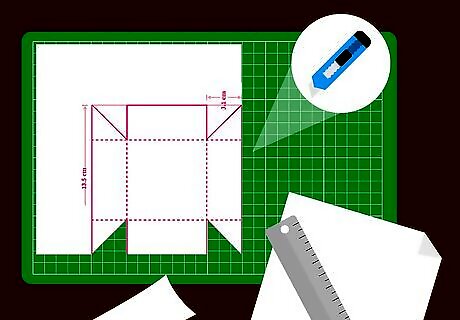
Cut out the paper patterns. While your felt squares are drying, you can prepare the paper pattern. Lay the pattern on your cutting mat and use your precision knife and ruler to make straight, clean cuts along the guidelines of the paper patterns. Be careful when using the precision knife because it is sharp!
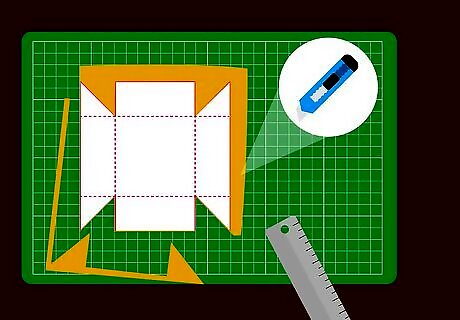
Use the pattern to cut the felt squares. When the felt squares are dry, you can use the paper patterns to cut out the felt squares. Place your felt squares on the cutting mat and use your ruler and precision knife to cut out the squares. Hold the ruler over each of the lines one at a time and run the precision knife over the line to make the cut. Again, be careful when using the straight knife! It is extremely sharp!
Creating the Box Bottom
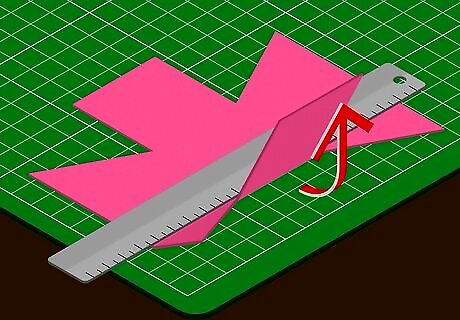
Shape the box bottom. Take your largest felt piece. This piece will serve as your box bottom. To shape the box bottom, you will need to create creases in the flaps that extend past the inner square area. To help you make the creases, hold the ruler over the area where the box flap and inner square meet.
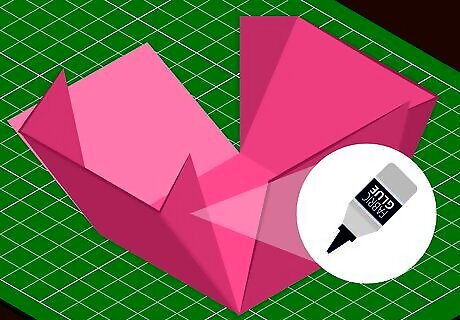
Apply fabric glue to the inner edges of the flaps. First apply some glue to the outer edge of one of the triangular flaps. Then, fold one of the square flaps over the triangle part of this triangular flap (where you just applied the glue). Press the edges together and make sure that they are lined up. Then, secure the edges with one of the clothespins. Repeat this process for the other corners of the box.

Allow the box bottom to dry. The box bottom will need to dry completely before you do anything else with it. Leave it alone for about one hour or more if needed. The corners should feel stiff when they are dry.
Creating the Box Cover
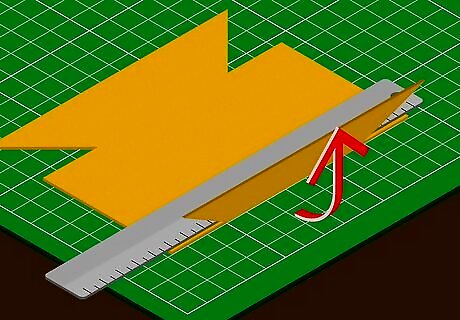
Fold over the edges of the box cover. You will need to fold over the edges of the box cover to create creases similar to the ones that you made for the box bottom. Use the ruler to guide you as you crease each of the edges on the box. Do not secure the edges with glue yet.

Decorate the box top. Before you secure the edges of the box cover with glue, you will need to decorate your box top. Otherwise, it will be difficult to secure pipe cleaners and other decorative items. You can decorate the top of your box however you like. Apply pipe cleaners to the edges. You can use fabric glue to secure pipe cleaners to the edges of your box top. Try lining the outer edge of your box top with fabric glue and then press a pipe cleaner into the edges. Use glitter glue to add some sparkle. You can create interesting designs with glittery glue on the top of the box. Try making hearts, stars, or swirls. Glue on beads, crystals, or other felt shapes. You can also secure beads, crystals, or other felt shapes to your box top. Use fabric glue to hold them in place.

Use glue to hold the edges. After you have decorated your box, you will need to apply glue to the edges to secure them. Apply some fabric glue to the triangular edge of one of the flaps and then connect it with the square edge. The square edge should go over the triangular edge. Press the edges together and then secure the corners with a clothespin. Repeat this process for the other three corners.
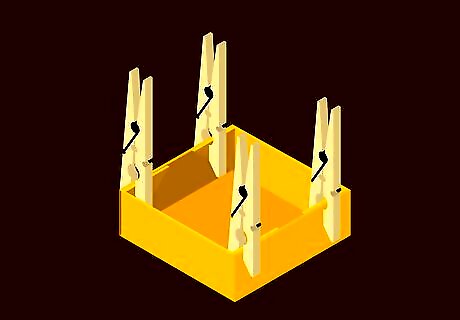
Let the box top dry. After you have secured the edges, you will need to give them some time to dry. Leave your box top alone for about an hour so that the fabric glue can dry. Then, remove the clamps and enjoy your box! If desired, you can also decorate the sides of your box cover when it is dry. You can line it with pipe cleaners, add glitter glue, or apply other decorative items to the sides of your box cover. Use your box as creative gift wrap for a present, give the box as a gift, or use it to store meaningful items.



Comments
0 comment