
Making a Container Out of Bottles
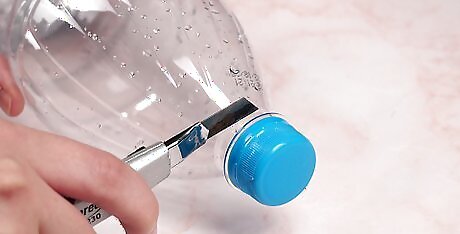
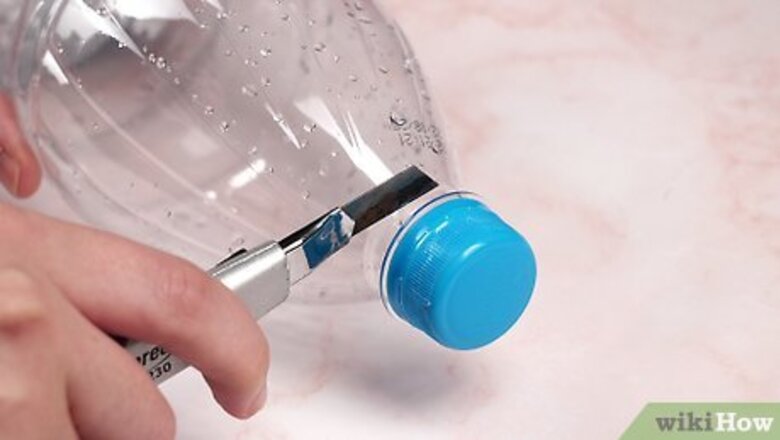
Cut the top off of a plastic bottle. Use scissors or an Exacto knife to cut a plastic bottle below the base of the cap. Cut right where the plastic begins to flare out and get wider. Use any bottle you like for this project. Water, milk, juice, and soda bottles all work well. Use caution when cutting plastic with scissors or a blade. The plastic can be slippery and difficult to work with.

Clean and smooth the plastic. Make sure the inside of the cap and piece of the plastic bottle is clean and dry. If you want to, you can smooth down the cut edge of the plastic with sandpaper. You can also use a nail file to smooth the plastic edge in place of sandpaper. You may need to adjust the size of your container, so wait to sand until you're sure of the size.

Choose to use a piece of plastic for the base. Make the base for your lip balm container by using a piece of plastic. Cut and glue the plastic to your top, then cut it to size when dry. Cut away a piece of plastic from a bottle. It can be the bottle you cut from originally, or any bottle with a flat plastic section (milk bottles work well). Glue your top piece with the cap to the piece of bottle plastic. Once it has dried, cut the plastic base so that it is the same size and shape as the rest of the container.

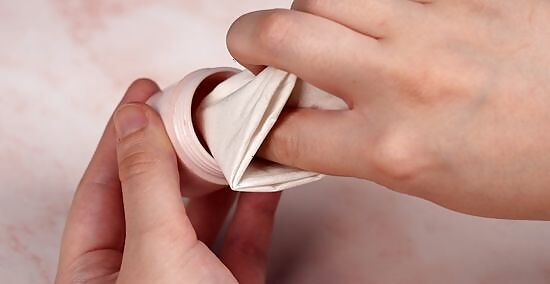
Choose to make a base out of another cap. Opt to make the base for your lip balm container out of a second bottle cap. Fit the plastic on your top piece into another cap to complete the base. Make sure the cap for your base is the same size as the first. Push your plastic end into the until it fits snugly. You may need to adjust by cutting away more plastic or sanding down edges further until it fits evenly. Apply super glue or craft glue to the plastic or inside of the base cap to secure them to one another.
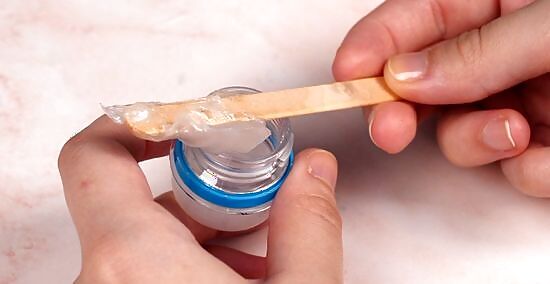
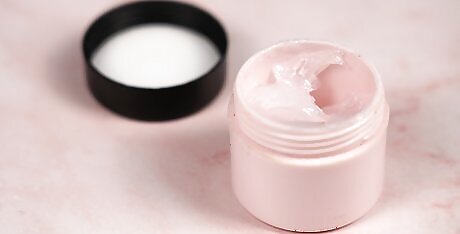
Pour in lip balm and let set. Pour homemade lip balm into your new container while it is still warm. Or take a portion of whatever item you want to store in a smaller size and fill the container up to the lip. Place homemade lip balm in the fridge to set so it creates a smooth, even surface. Don’t use the balm or screw on the cap of your container until the balm is solidified. If you're using a pre-made product, opt for something you can scoop, like petroleum jelly or lip gloss. Only fill your new container up to the lip of the plastic, where you would usually drink from. If you overfill it, the cap won't screw on smoothly.
Using an Existing Container

Find a small metal, glass, or plastic container. Repurpose an old container for use as a cute new lip balm container. Think of tins for candy or mints, small glass jars, or old plastic makeup compacts. Make sure your container has a cap or lid that fits securely. Try using a mini size Altoids container, or another small tin left over from mints or candy. Use an old makeup or beauty product container. You can even cut apart a contact lens case to use one of the circular containers.
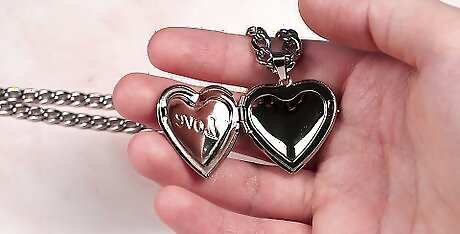
Use jewelry to hold your lip balm. Create a container you can wear by using jewelry as a way to hold your lip balm. Try a locket or ring that closes to protect the lip balm. Look for jewelry items that have a small recess to put lip balm into, and a little door or cover that will protect it. Note that you may want to find an inexpensive piece of jewelry for this project, as it may be difficult to clean out lip balm from metal crevices.
Wash and dry the container thoroughly. Make sure to wash any container previously used for another purpose. Then dry it thoroughly before pouring lip balm into it. If you'd like, you can disinfect the container with rubbing alcohol. Alcohol will evaporate quickly, so it won't leave moisture that could damage the lip balm. If the container has a lingering scent, clean it several times with rubbing alcohol, vinegar, or lemon juice.
Fill your container with lip balm. Pour in homemade lip balm while it is still warm to allow it to set in your new repurposed container. Or, transfer an existing product to the container to keep as a small travel size. Let homemade lip balm set in the fridge undisturbed until it solidifies before using it or putting a cap or lid on. It’s easiest to transfer an existing product to a new container if it’s soft and scoopable, like a petroleum jelly or lip gloss. Make sure that if your container has a clasp or hinged lid, you do not fill it to the point that it won't close smoothly.
Decorating Your Container
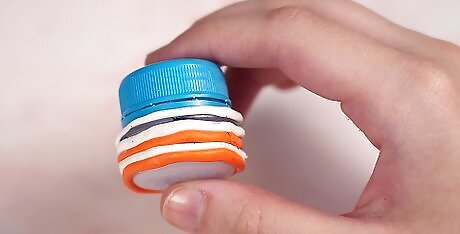
Sculpt clay around your bottle cap container. Make your bottle cap container look more decorative or a fun shape by using clay. Mold the clay to the cap and base in whatever shape you like. Use colorful modeling clay like Sculpey clay or a similar brand to make your shapes. You can use tools like a plastic knife or toothpick to create designs or texture. Mold your clay around your container. Then, pop the clay off and bake it according to the instructions for your specific variety of modeling clay. When the clay is hardened from the oven, let it cool. Then pop it back onto your container. Secure the clay pieces with glue if they don't stay on the container on their own.

Attach paper and beads. Glue on colorful paper, beads, glitter, or any other material you like to decorate your repurposed container or bottle cap container. Use Mod Podge or a similar craft material to add shine over your decorations. You can also use paint or pens to color directly on your container to make it a different color. Try decorating your container with the same color as your lip balm, or an image of the lip balm’s flavor, scent, or other ingredients.
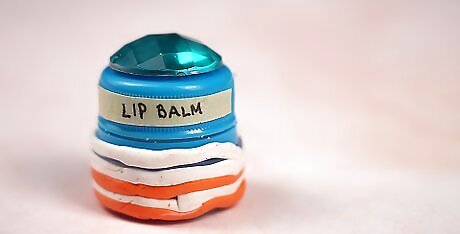
Label your container with the lip balm. Remember at a glance what kind of lip balm is in your container by creating a label for it. Write directly on the container with a pen or marker, or attach a piece of paper with the label. Try printing out text from the computer for a typed label. Just make sure to measure your container first to create text that is the right size to attach to it. Coat your label with Mod Podge or another shellac to make it shiny and look more seamless on a shiny container.


Comments
0 comment