
Creating the Mobile Units
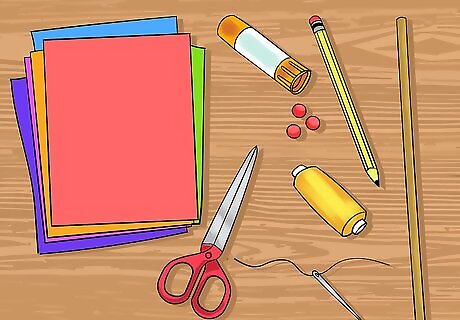
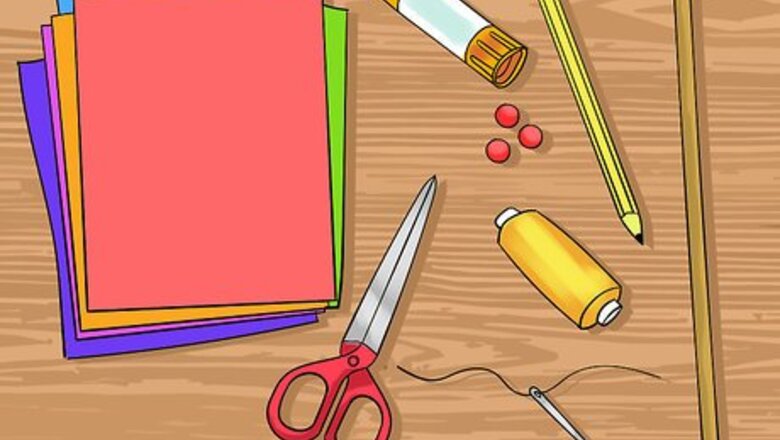
Gather your materials. Making a paper mobile is quite easy, but you will need some special materials and tools to complete the project. Before you get started, make sure that you have: 18 pieces of 15cm by 20cm card stock in the colors of your choice scissors pencil glue stick a needle thread three beads a wooden stick

Download the pattern. The pattern provides a guide to help you create the shapes that you need for the mobile pieces. You can print out this pattern and use it to trace the design onto your card stock. You can download the pattern at: http://anadiycrafts.com/decorative-mobile/
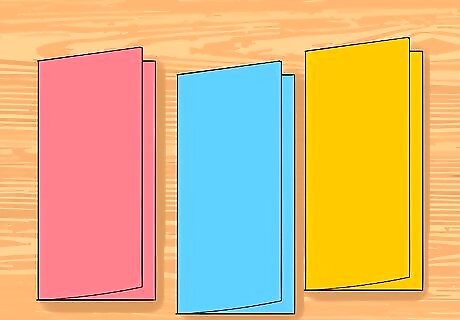
Fold all of your card stock pieces in half. Take all of your card stock pieces and fold them in half so that the shorter edges meet. Then, use your pencil to trace the pattern design onto the card stock so that the edges of the design line up with the folded edge. When choosing card stock colors, consider the color scheme that you hope to achieve. For example, if the room where you plan to place the mobile is painted blue, then you might consider using different shades of blue, such as light blue, aqua, and navy. Or, you could also go for a complementary color (one that sits opposite the color on a color wheel). For example, a yellow room would be complemented by shades of purple.
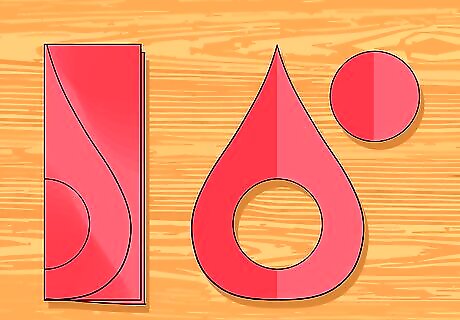
Cut out the shapes. After you have traced the pattern design onto all of the shapes, cut along these lines with your scissors. When you are finished, you should end up with two pieces: a heart shape with no center and a smaller circle shape. Make sure that you do not cut along the folded edge.

Glue the edges of the hearts and circles together. Use your glue stick to secure the edges of six of the heart shapes first. Apply glue to just one edge of one of your heart shapes and then press it against the edge of a different heart shape to secure it. Repeat this process for the other four pieces so that you connect the heart shapes into one unit. You can alternate colors as desired to achieve the look that you want for your mobile.

Connect the circles in the same way. Glue together the edges of the circle pieces as well. You may need to trim these up slightly before you start gluing them to make sure that the circle units will fit inside of the heart units with a little space around the edges. The circle units will be made up of only three circle pieces instead of six, but you will follow the same process. Make sure that you leave one edge of each of your units unglued. This is necessary so that you can connect these edges around the string later.
Assembling the Mobile
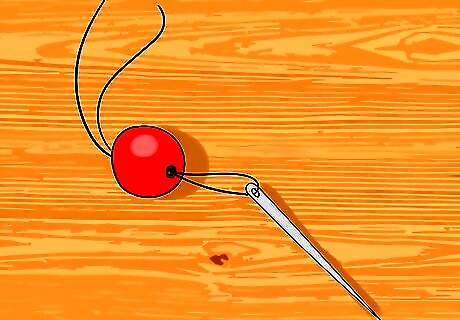
Thread the string through the needle. Next, take your needle and thread a piece of string through it. Make sure that the string is long enough to hold the large heart unit and a circle unit with some space in between them. You can always trim the string down later if it is too long. Secure a bead to one end of the string and tie it off so that it will not fall off of the string. This bead will be at the bottom of each of the large paper mobile pieces to keep them from falling off of the string.
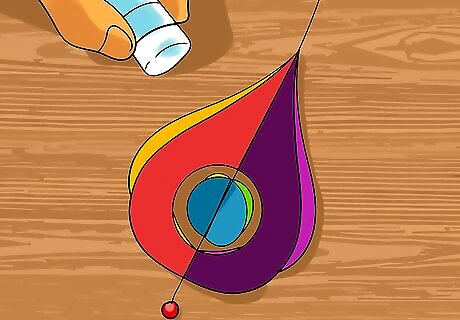
Glue the last two edges of your units around the string. Next, take one of your small circle units and your heart shaped units. Place the small circle unit inside the open center area of the heart shaped unit. Make sure that both units have their unglued side facing up. Then, place the string across the center of these units so that the bead is at the bottom of the heart shaped unit. When everything is lined up the way that you want it to be, glue the edges of the circle unit first and then glue the edges of the heart shaped unit to secure these pieces around the string. You will also be gluing a circular unit a few inches above your heart shaped unit. Glue it in the same way as you glued the others.
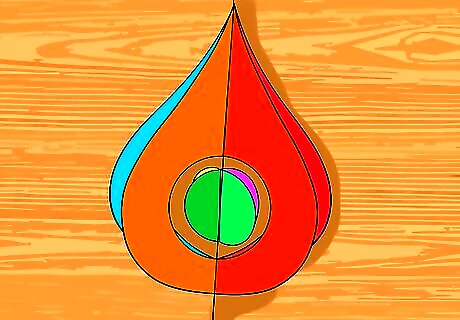
Repeat the process two more times. After you have glued a heart-shaped unit and two circular units to your string, you will have completed one of the three pieces of your paper mobile. To finish your paper mobile, you will need to create two more of these pieces. Repeat the process of gluing one heart-shaped unit and two circular units to a piece of string with a bead at the end two more times. You will have three of these pieces when you are done.
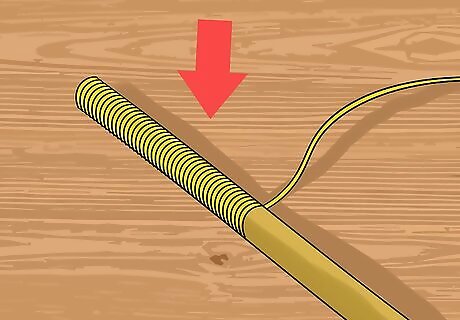
Wrap your stick with string. Apply a small amount of glue to the edge of one end of your stick and then start wrapping string around it. Keep coiling the string around your stick until you have covered the whole stick in string. Place a little more glue at the end of the stick to help secure the string. Tie the string around the end as well and then take the remainder of the string and tie this piece of string to other end of the stick. You can use this loop to hang your mobile. Cut off any excess string after you secure the end. A wooden dowel also works for this project. You could even double up your sticks or dowels, add a couple more units and crisscross the sticks to make a larger mobile.

Attach the pieces to a wooden stick. To complete your mobile, tie the ends of each of the three pieces of string to your stick. Tie one piece to the center of your stick and make sure that the mobile units dangle down a little ways. Then, tie one end of the string to each of the stick ends and make sure that these pieces are a little higher than the center piece. The two end pieces should also line up with each other. After you have secured each piece of string, you can cut off the excess.


Comments
0 comment