views
Preparing the Experiment
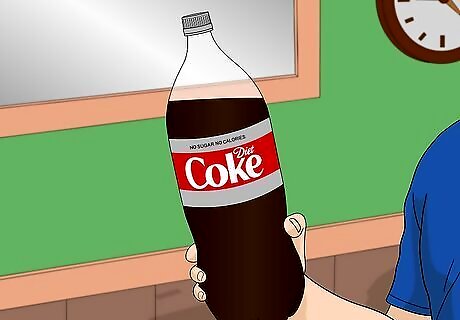
Purchase Diet Coke in a 2 liter (0.53 US gal) bottle. You can try this with various forms of soda, but a 2 liter (0.53 US gal) bottle of Diet Coke will have the most dramatic explosion, often rising more than 10 feet (3 m) in the air. If you want to have a smaller explosion, consider buying a smaller bottle, such as a 20 oz bottle. But a 2L bottle is the standard size used in these experiments and the geyser will last longer than in a smaller bottle.
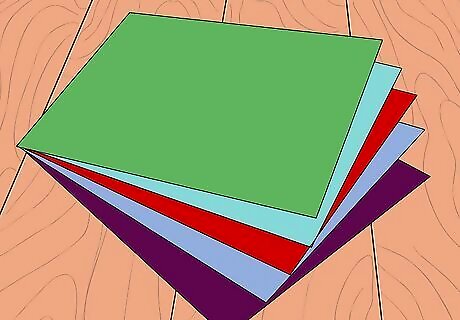
Buy construction paper. This will act as the covering to create a volcanic shape around the bottle. Consider buying it in a dark color, like a brown or green, to mimic the actual appearance of a mountainous volcano. You should also consider decorating or drawing on the paper to make it resemble a volcano. For this you will need markers, colored pencils or crayons. You will also need tape, glue and a pair of scissors to secure the construction paper around the bottle.
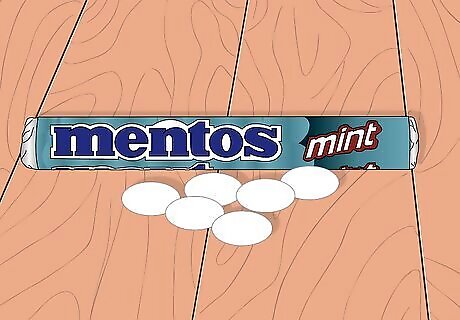
Purchase Mentos. You can find them in the candy aisle of your local grocery store or sometimes near the checkout lane. They come in 1.32 oz rolls.
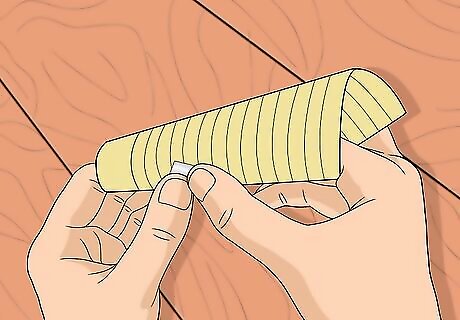
Create a funnel. When you add the Mentos to the bottle, you won't want to add them in gradually, one at a time. The bottle will start to explode before you can finish adding them all. Instead create a funnel to help you drop all the candies into the bottle at the same time. Take an index card and form it into a rounded shape, so it looks like a chute. You will use this to pour all of the Mentos into the soda bottle at the same time. You can tape the index card together so it retains its circular shape.
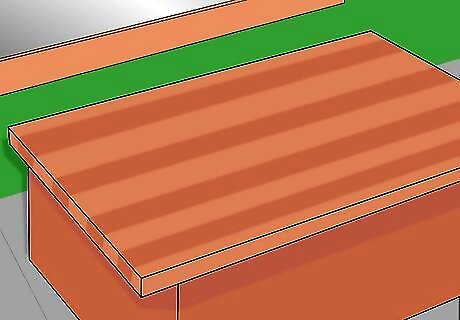
Find a flat, sturdy surface to build your volcano. You will need something strong enough to support the bottle of soda. You might need to cut a piece of a poster board as a base for your volcano. If you have an old tray or cutting board, you can also use this as the base of your volcano. If you are performing this experiment for a school project, make sure your surface is portable and can fit into the car or bus that takes you to school.
Decorating Your Volcano
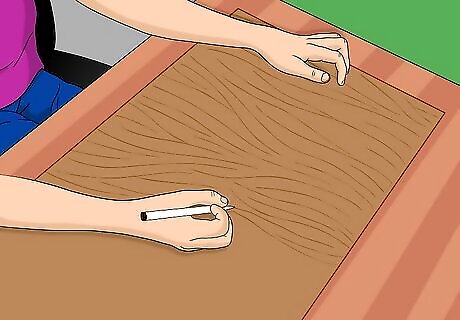
Decorate the construction paper. Lay out the paper horizontally and draw from the top down (as you will fold it). If you have brown construction paper, consider drawing on it so it resembles a volcano. Many volcanoes have ridges, so you can draw some of these in black or green, so they stand out against the brown shade of the paper. You can also consider adding trees or other elements of green to the paper.
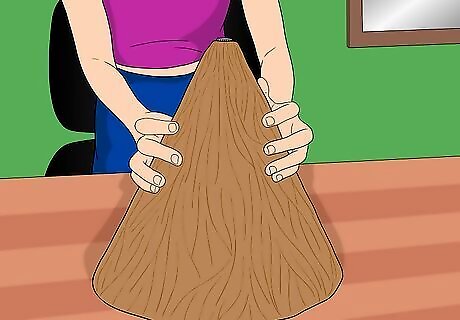
Wrap the construction paper around the bottle in a cone shape. Then tape it to the mouth of the bottle. You can leave the cap on as the construction paper should be attached just below the cap line on the bottle. The paper should cover the bottle in a cone shape from its mouth to the bottom flat tray or cardboard surface. Shape the paper so it has a narrow, circular opening around the mouth of the bottle and a wide, circular opening at the bottom. You will have to overlap the paper at the mouth of the bottle to make it more narrow. If you don't have enough paper to cover the bottom of the bottle, add an additional piece of construction paper to cover the gap. You can attach it will clear Scotch tape so it will be hard to see.
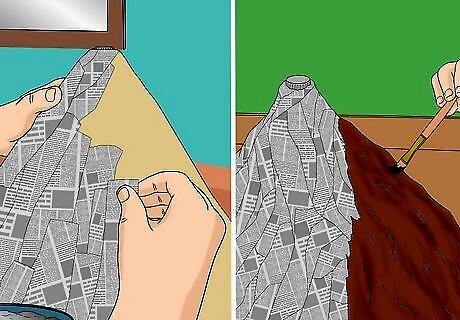
Make a paper mache cone. You can just decorate the coke bottle in construction paper, or you can add a layer of paper mache to the construction paper to give it additional depth and texture. Buy some cardboard. If you add paper mache to the construction paper, you will need to reinforce it with a sturdier material, like cardboard or poster paper. Cut out the cardboard in 3 pieces. You might need a pair of box cutters to cut through the material. Each piece doesn't have to be in a cone shape like the paper. They just have to be wide enough and tall enough to hold up the paper when you wrap it in a cone shape. Try four inches in width and six inches in height to begin with. Use a sturdy form of glue (like Elmer's) to attach the cardboard to the cone-shaped construction paper. Put aside to let it dry while you prepare to make the paper mache mix. Make the mix for paper mache. Take 1 cup water and 1 cup flour and mix them together in a bowl. Stir with a spoon or whisk thoroughly until all of the lumps are gone from the mixture. Add a few tablespoons of salt to prevent the mixture from becoming hardened into a mold. Stir until dissolved. Cut 20-30 strips of newspaper that are long enough to cover the cone shape of the volcano. Soak half of these in the mixture for 5 minutes so they can be fully covered. Apply one layer (or 10-15 strips) onto the cone. You can apply the strips horizontally or vertically, whichever you prefer. Make sure they lie flush against each other so you have no gaps or puckering between the strips. Allow time to dry completely (20-30 minutes). Try to make sure you first layer is even and cover the cone entirely. While you are waiting for it to dry, go ahead an add the additional strips to the mixture. Apply a second layer of strips to the cone after the first layer has dried. It is very important that the first layer is dry before you add additional strips. Allow the second layer to fully dry. Decorate the paper mache cone. Paper mache tends to hold paint or spray paint well, so these could both be options. You can pick a traditional volcano color, like brown or green, but you could also consider bolder colors if you want something less realistic, like gold, silver or orange. Place the cone back over the Diet Coke bottle. Since it will be free standing with the support of the cardboard, you won't need to tape it to the bottler. Make sure the opening of the cone is big enough to access the cap on the mouth of the bottle.
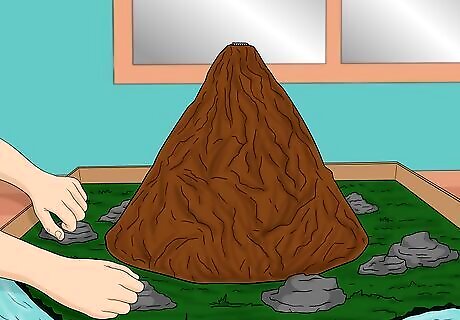
Decorate the surface of your volcano. If you want it to truly look like a volcano that is about the explode, consider decorating the space around the bottle. You might consider putting dirt around the surface, adding rocks and grass, or drawing in a river (if you are using a piece of poster board). If you are using a surface like a tray or cutting board, be careful not to draw anything permanent on the surface that could damage it. Avoid attaching the soda bottle to the surface. If you glue it to the surface, this could damage the surface or tip over the bottle once it explodes from the Mentos. Instead, simply place the bottle and its cone-shaped decoration on the surface shortly before you plan to complete the experiment.
Performing the Experiment
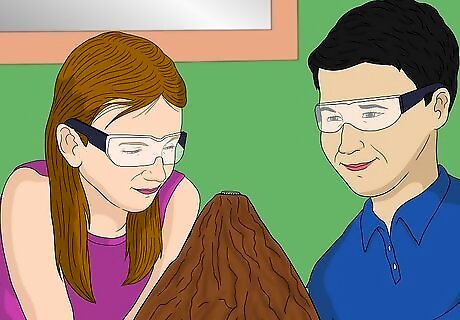
Wear protective eyewear. Because the soda will spew very violently, you need to make sure your eyes are protected. Wear goggles from your chemistry classroom or swimming goggles.
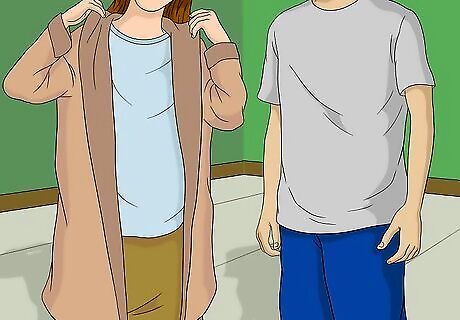
Wear appropriate clothing. Because this is a messy experiment -- with fizzy soda shooting everywhere -- be sure that you are wearing clothing you don't mind getting stained. You can also wear a rain coat or another water resistant piece of clothing to protect you.
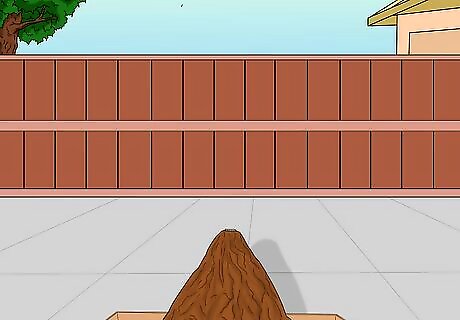
Perform the experiment outside. This is a key step because this experiment will cause a huge mess if done indoors. Ideally you should pick a location with a durable surface that is far from any buildings or cars. A concrete area such as a school's parking lot or outdoor courtyard would be a great location.
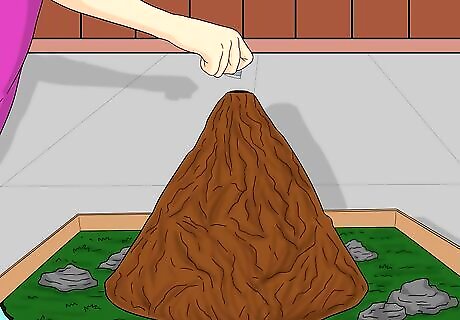
Prepare for the explosion. Set your poster board or tray down on the ground. Place the soda bottle volcano on the surface. Remove the cap from the soda bottle.
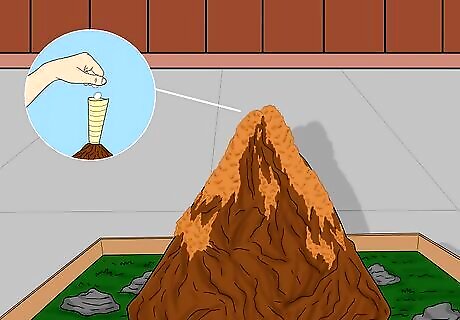
Add the Mentos. Place your funnel so it fits within the mouth of the bottle. Drop 4-5 whole Mentos into the bottle all at once. Quickly remove the funnel and back away as the bottle will soon spout off fizzy soda. If you want the explosion to occur at a slightly slower rate, then crush up the Mentos before you drop them into the bottle. You will probably need a knife to help crush and cut up the four Mentos. If you are an elementary school student, ask an adult for help with this step.
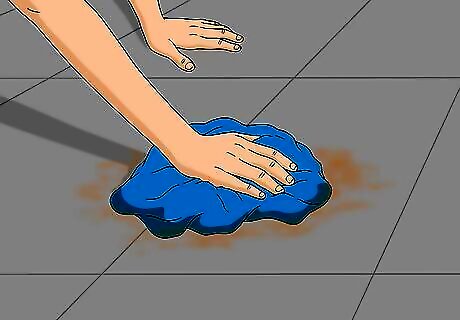
Clean up. After the soda bottle has exploded, be sure to use a hose to clean off the surface that has been hit by soda.
Understanding the Experiment
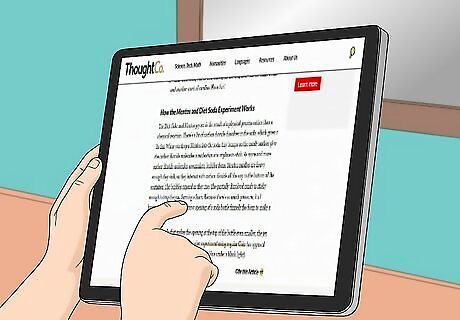
Understand the chemistry of explosions. Soda is different from beverages such as plain water because it is carbonated. That means it has been filled with dissolved carbon dioxide gas. Although the carbon dioxide gas bonds with water molecules in soda, it is still trying to escape from the liquid when it is not in a pressurized container. You can see this when you pour soda from a bottle into a cup -- the gas creates a slight foam or fizz as it escapes the water and touches the air.
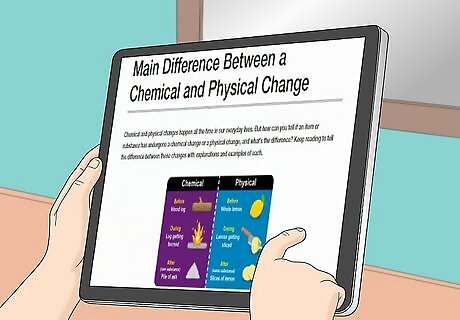
Learn the difference between chemical and physical reactions. Why does the soda fizz once the Mentos hits the bottle? It's not due to a chemical component in the candy, but rather, the physical contact of the candy's shell with the liquid. Mentos candies have very small pits in their shells. As the candy sinks to the bottom of the soda bottle, these pits increase the activity of the carbon dioxide gases in the soda. When the candies hit the bottom of the bottle, all of the gas that has been building up is released and the soda explodes from the bottle.
Study variations of the experiment. If you have the time, you can also measure different results with different variations of this exam. Here are some methods to try: Try rinsing the Mentos in water first before adding them to the soda bottle. This will change the texture of the candies' shells. How does this compare to the earlier explosion with normal, whole Mentos? Check for changes in temperature. Do the results of the experiment alter when the bottle of soda has been chilled? What if the bottle has been left in the car on a hot day? Compare the height of the geyser in different experiments. If you can, try to set off the geyser near a wall or the side of building (only do this if you have a hose so you can wash the side of the building afterwards). Try to mark the height of the geyser each time you perform the experiment. Do you see any difference in the range of height? (You may need a building with a second story window or a fire escape to gauge this).




Comments
0 comment