
Dripping with Acrylics
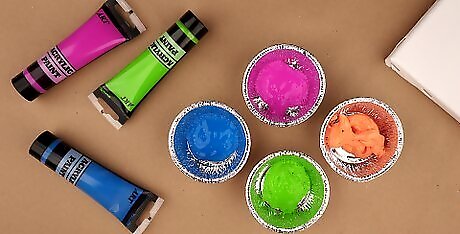
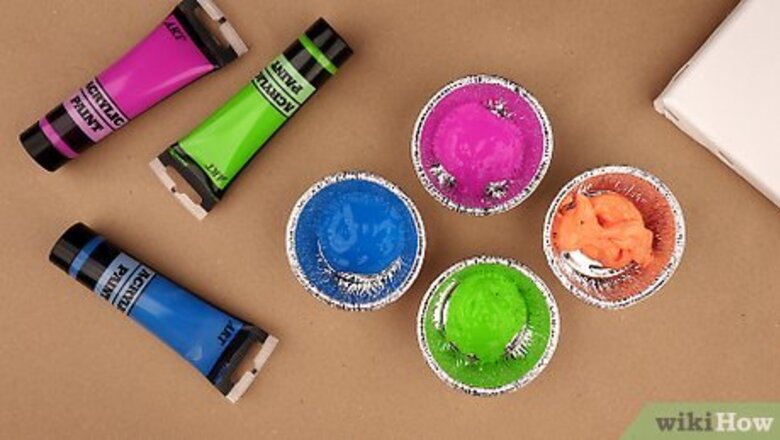
Mix your colors together. Runny paints work best for drip painting. Liquid acrylics are generally cheap and can be found at general stores and art supply stores. Combine colors to personalize your palette, such as by adding black to darken a color. A drip painting can be done with only one color, but you can also layer multiple colors to create unique effects. How many colors you use is up to you. The colors you choose also depend on your artistic vision. Some colors commonly go well together. Red, yellow, and blue are primary colors that stand out on their own and can be combined into other colors. Colors like yellow, red, orange, and white will give your painting a warmer feel. Colors like blue and purple will give your painting a cooler feel.
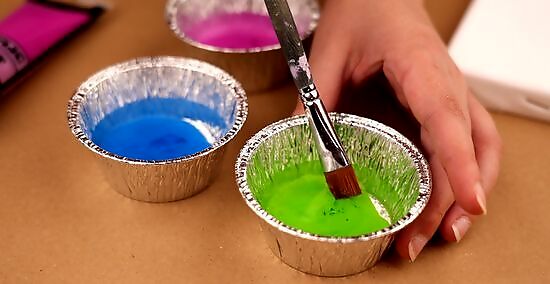
Thin the paint with water to dilute it. Water changes the consistency of the paint. Add the amount of paint you need to a plastic cup. Slowly pour in water. Mix the paint and add water until it reaches the consistency you desire. More water will thin the color and cause the paint to drip faster. More expensive acrylic paints are paste-like. Mix them with an equal amount of water and a medium such as Golden Clear Tar Gel or Liquitex Pouring Medium. Alternatively, opt for fluid acrylics or add a drop or two of paint thinner. Fluid acrylics pour well enough on their own, but you may thin them out further by mixing them with water.
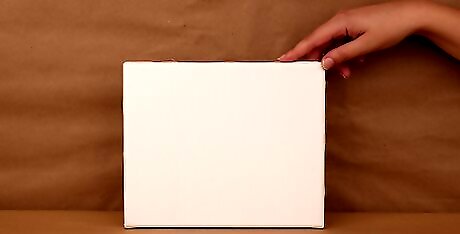
Set up your canvas. Lean your canvas upright against a stand or wall. For acrylic paints, cotton canvases are a popular choice. Some artists also choose wood boards or thick paper. Any of these surfaces work well for drip painting. It’s also useful to have newspaper, painter’s tarp, or other thick material beneath the canvas to catch paint runoff. You may also lay the canvas flat on the ground. Gravity won’t cause the paint to drip, but you can practice techniques such as spattering or dripping.
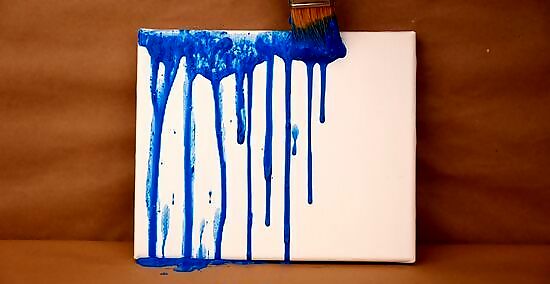
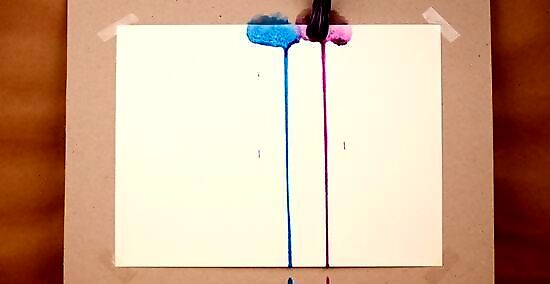
Start painting the top of the canvas. Place paint at the top of the area you wish to drip paint. Paintbrushes, turkey basters, or other objects can be used to apply different amounts of paint. You can also squirt or pour paint directly onto the canvas. When the canvas is held upright, the paint will quickly begin to drip.
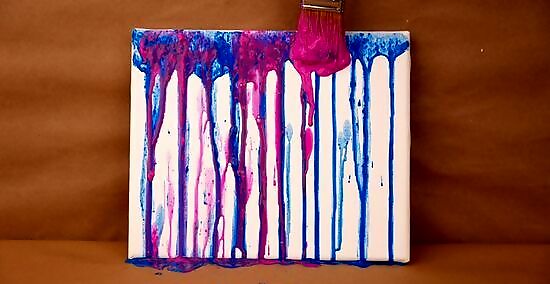
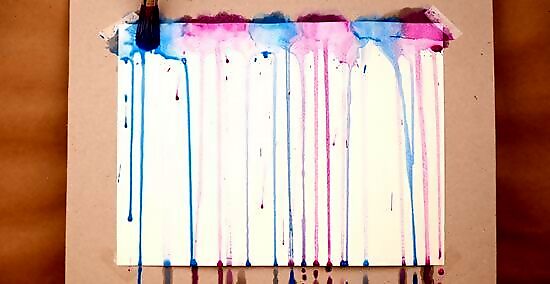
Continue adding colors and let the paint dry. How long you let the paint dry is up to you. To establish a solid color layer, allow the paint to dry completely. If the paint is still wet, new paint will drip down and mix into it. You can even allow the paint to twist by turning the canvas slightly. This is a good way to get unique, organic designs. When you’re finished, allow the paint to dry.
Dripping with Watercolor
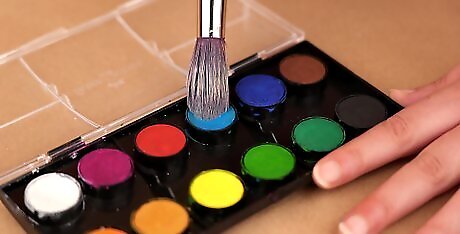
Wet the paint. To prepare the paint, add water to it. Many watercolors come in containers, so all you need to do is dip your brush in water and dampen the paint.
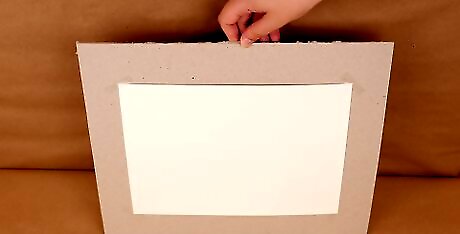
Hold the paper upright. Set the paper upright to take advantage of gravity. You can use a slanted workstation or an easel. You may also hold the paper up after you’ve applied the paint. Watercolor paper, a rough paper like cardstock, or a watercolor canvas works best here since these options absorb paint evenly. Remember to place more paper or other material beneath the paper to catch paint runoff.
Dab paint onto the paper. Color your brush with the paint. Dab the paint onto the spot above where you want drips. The key to dripping is to add more paint to that spot and make sure the paint is somewhat watery. Continue adding paint until it begins to drip. More paint will lead to a longer drip line. Another way to do this is to use an object like an eyedropper to pick up the paint. It can pile up a lot of paint in a single area.
Trace drip lines with water. Clean off your brush in water. Take the wet brush to the paper and use it to make a drip line. Dab the brush in a little paint, then touch it to the top of the water line. The paint will quickly run downwards and fill the line. Water is useful for guiding the paint and creating precise drip marks.
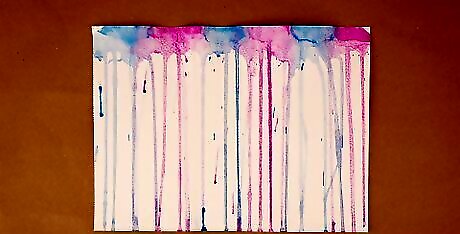
Let the paint dry. When you are finished, lay the paper flat so the paint can dry without dripping. When the paint is wet, it can drip into other wet paint. Watercolor dries quickly, but you can still combine wet colors to create unique effects. If you want to add more drips, then make sure that the first layer is dry.
Practicing Drip Techniques
Splatter paint for small drips. Dip a brush into watery paint. Hold it over the canvas and flick your wrist. Also try flicking bristles with your fingers or striking the brush handle. You can use a variety of brushes and other objects, including toothbrushes and sticks, to get different effects. You can also try twisting the brush slightly. Different objects, such as sticks or rods, can give you a less uniform drip than a paintbrush. They may have cracks and crevices that lead to a less controlled splatter.
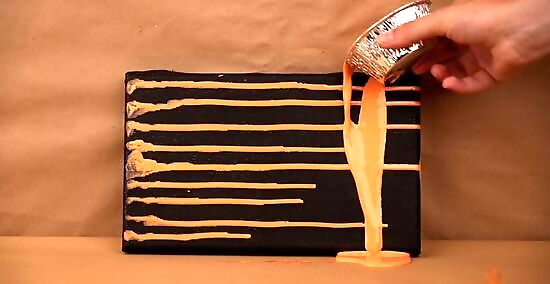
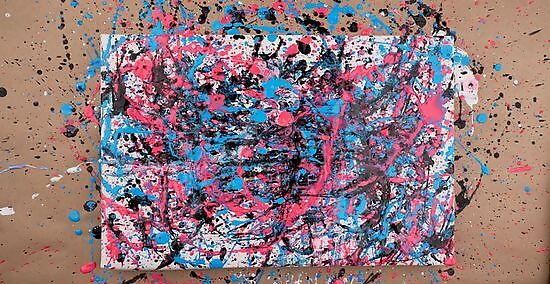
Pour paint for large drips. Use liquid acrylics or thin out thicker paints. Tip over the paint container and let the color flow onto the canvas. This is how artist Jackson Pollock created his drip painting masterpieces. You can customize this in many ways, such as by pouring more paint, pouring a new color onto wet paint, and tilting the canvas. Pouring turns paint drips into broad, controlled shapes. Think of how you want to apply your paint. Every detail, including how high you hold the paint container, the angle, the volume, and your wrist movement, will change the effect the paint has on the canvas. For example, holding the paint container higher will cause more of a paint splash. Tilting the container more causes thicker paint drips. More paint in the container can help you get longer lines. Wrist movement can help you make paint lines thicker or thinner as you pour.
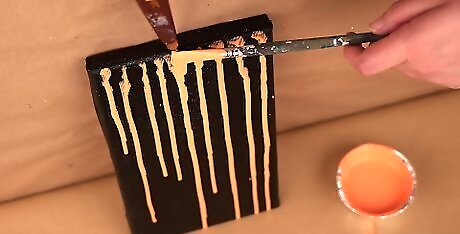
Use a knife while pouring for thinner drips. Hold a palette knife up to the container as you pour your paint. This will thin out the stream, causing the paint to look stringy and drizzled. Try it to get thinner paint lines with the same control as regular pouring.
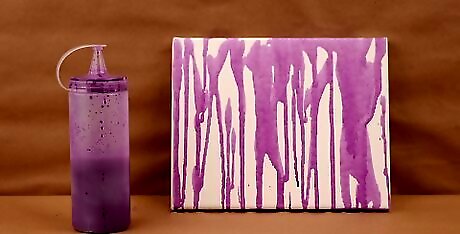
Squirt paint to create less controlled drip marks. You can load the paint into a syringe, squeeze bottle, or turkey baster. Squeeze the paint out over the top of an upright canvas. This will lead to very unique drip marks. You won’t have as much control as you would by dabbing areas with a brush, but no painting will turn out the same.
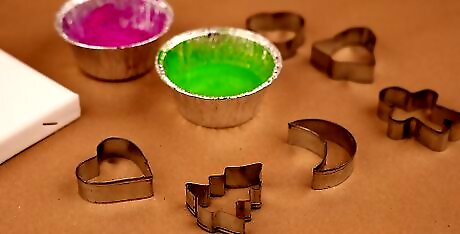
Experiment with different painting tools. Anything you have laying around can be repurposed for painting. Like how fingerpainting can give you more rounded paint lines, other tools will have their own effects. Sponges, wallpaper brushes, and stamps are useful for making clean, square-shaped marks. Fly swatters and potato mashers give patterned marks. Other examples include rolling pins, marbles, cookie cutters, metal rods, knives, rollers, and cards. They all help you apply different amounts of paint in unique patterns. The paint can be put on the canvas directly, splattered, dripped, or more.


Comments
0 comment