views
X
Research source
While there are plenty of store-bought mobiles to choose from, making your own custom mobile at home can be easy and virtually free.[2]
X
Research source
Making a Basic Straight Mobile
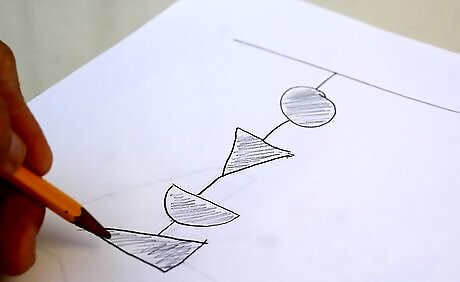
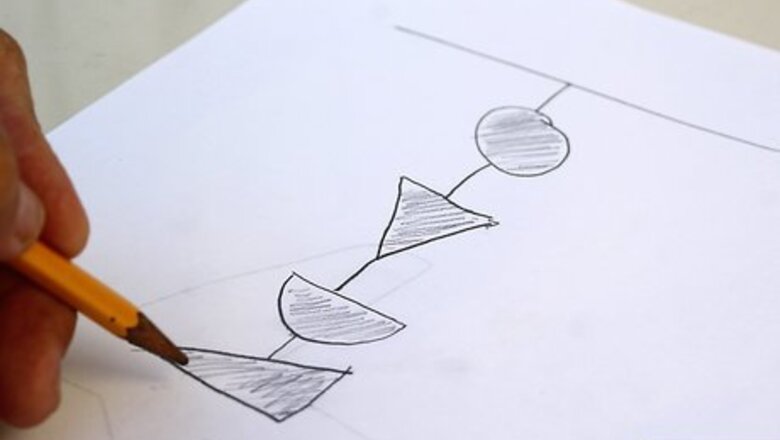
Sketch out an idea for your mobile. For this type of mobile, you will hang multiple shapes in a single straight line. You may use any combination of shapes you prefer, but make sure each shape is roughly symmetrical vertically. The right and left side of each shape don't have to be exactly the same, but if they are too different your mobile may hang lopsided. You may also choose to make two or more similar mobiles to hang near each other. If you have trouble coming up with something from scratch, search online for printable templates.
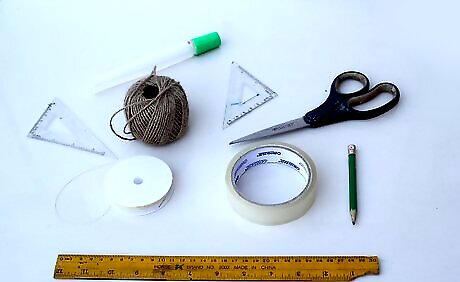
Gather your materials. You will need scissors, thread or fishing line, glue or scotch tape, a penny for each mobile, and sheets of cardstock in as many colors as you want. If you plan on printing out your designs, you will also need a printer. If you will be drawing them by hand, you will need a pen or pencil, a ruler, and a compass or protractor.
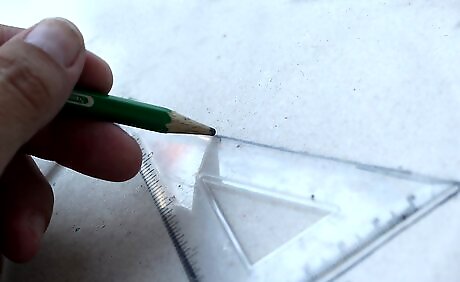
Transfer your shapes onto cardstock. There are multiple ways of doing this, and you may choose to use more than one in constructing your mobile. Download a template or design your own shapes using an image editing program. If your printer can print on cardstock, print the shapes directly onto your cardstock. If your printer can't print on cardstock, or you would like to incorporate a detailed color image into your mobile, print the shapes onto normal printer paper instead. Glue or tape the printed image to a piece of cardstock. Draw out your shapes onto the cardstock. Use a ruler and other drawing tools to make sure the shapes are vertically symmetrical. Draw out only one of each shape. Glue or tape other paper products to the cardstock. You may also choose to incorporate existing pictures, stationery, or newspaper clippings into your mobile. To do so, glue or tape the image onto cardstock. Then draw out your shape as described previously.
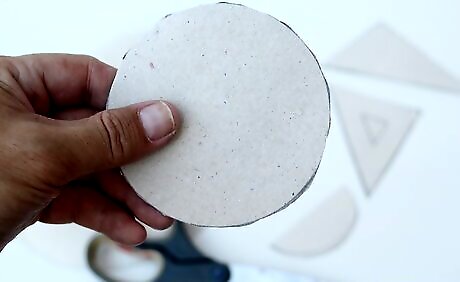
Cut out your shapes. Take the cardstock with the shapes either drawn or printed onto it. Place it over a second sheet of cardstock that you would like to be each shape's opposite side. Cut both sheets at once using the lines as a guide. If you are unable to do both sides simultaneously, cut out one and use it to trace the shape onto the other sheet.

Arrange one set of shapes. Lay one side of the mobile on a flat surface in the order that you choose to put them in. The side of the shape you want to be seen should be facing down. Make sure that you can picture a perfectly straight line going down the middle of all your shapes.
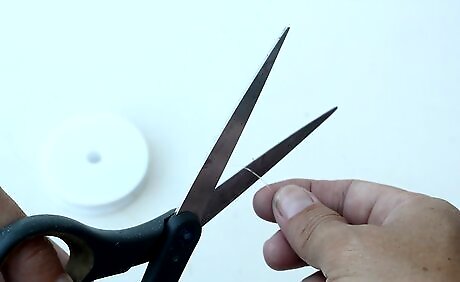
Cut a length of string or fishing line. Use your layout to determine how much string you will need. Use either a tape measure or the string itself. You will need a string long enough to start at the bottom shape and reach a few feet past the top. The amount of extra string you will need at the top will depend on how low you want your mobile to hang. Keep in mind it's always easier to correct a too-long string than a too-short one.
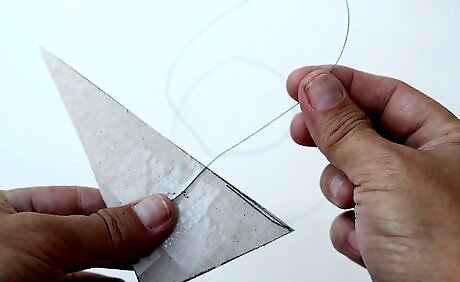
Attach the string to your shapes. Use tape or glue to secure the string to each shape, making sure to keep it centered on each. Start with the bottom section and work your way up. Try to make your adhesive as flat as possible.
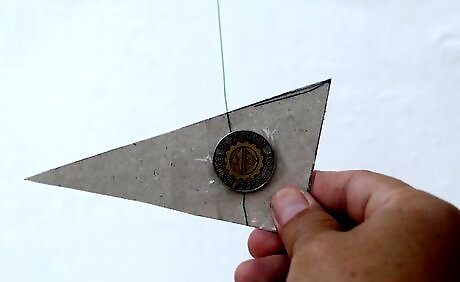
Secure a penny to the bottom shape. The penny will act as a small weight to keep your mobile hanging straight and balanced. Tape or glue the penny towards the bottom edge of the last shape over top of the string. Make sure to leave a small perimeter at the shape's edge so you can seal it properly later on.
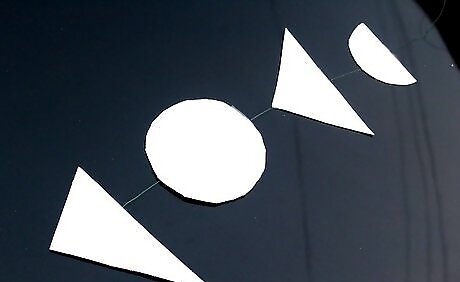
Attach the remaining duplicate shapes to finish your mobile. Glue or tape each of the remaining shapes to its match. Place these shapes face up over top of the string. Focus your adhesive on the edges to properly seal each side together. Once you've finished this step, your mobile will be ready to hang. If you use glue, wait for it to dry before hanging your mobile.
Making a Traditional Mobile
Understand the basics of balance. Traditional mobiles consist of rods chained together to form multiple branches. Each rod has either an additional rod or an object hung from both its right and left ends. They rely on equilibrium to keep each rod roughly horizontal and the entire sculpture balanced. When the two ends have equal weight, what is called a balance point is at the exact center of the rod. The balance point is where the tether attaches to that rod from above. If two objects have different weights, the balance point will shift towards the heavier object. Every subsequent branch hung from a parent rod factors into the total weight of that rod's ends. So, if you find that your mobile is lopsided towards one end, try shifting the balance point towards that end. However, if the difference is too great, you will need to add additional weights to the lighter side or remove some from the heavier end.
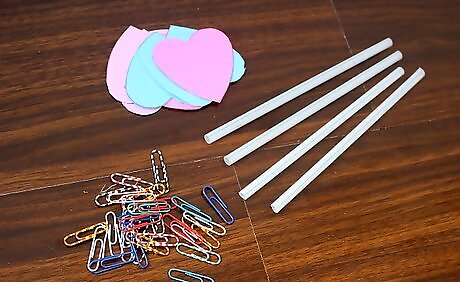
Gather your materials. You will need drinking straws, paper clips roughly the same width as your straws, and whatever objects of your choice you would like to hang from your mobile. Paper shapes or letters will be easier to balance than heavier items. Don't pick objects that are too heavy to be supported by a straw.
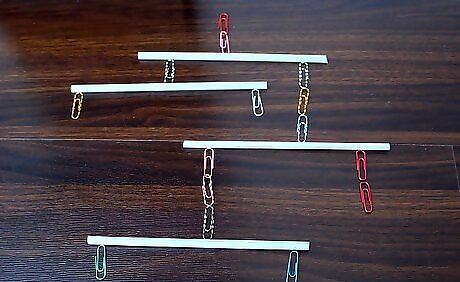
Plan your mobile from the bottom up. Arrange your straws and objects on a flat surface. Remember that, to keep the rods horizontal, the ends of each side must either be equal or able to achieve balance by shifting the point of attachment. If your objects are heavy or of unequal weight, you will need to be careful when it comes to placement. Start from what will be the bottom of your mobile and pair the objects accordingly. Then, go up to the next branch and either plan to hang an object or new branch equal in weight to your first from the other end. Keep going until you reach where you want your mobile to begin. If you don't plan on making too many branches, this step is less important.
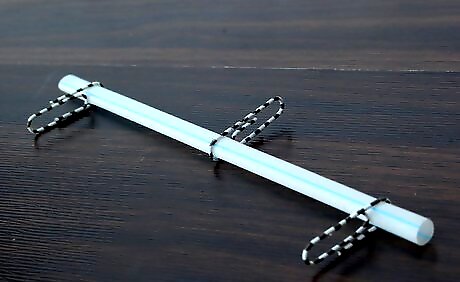
Add three paperclips to each of your straws. Slide the straw through the free loop of the paperclips where there isn't a second smaller loop right under it. Arrange the paperclips so that one hangs from each the right and left ends and one is somewhere in the middle.
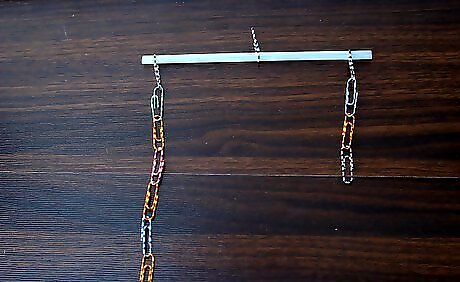
Make paperclip chains at the lengths you prefer. Do not attach these to the paperclips on the straws just yet. Using varied lengths to stagger your rods and objects will prevent your mobile from looking too crowded. Remember that longer chains will add weight to whichever end you hang them from.
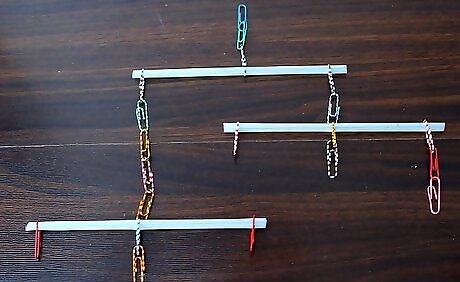
Attach the paperclip chains. Hook the paperclip chains to the straw paperclips and to your objects. If your objects are paper, you can attach each by simply sliding them into the clip. For objects that have a loop of their own, such as a charm, hook them into the paperclip's wire. For other object types, you may need to unwind a paperclip and wrap the wire around the object for the end of the chain to hook on to. Attach a free chain to the middle paperclip of your top straw. This will be how you hang your mobile.
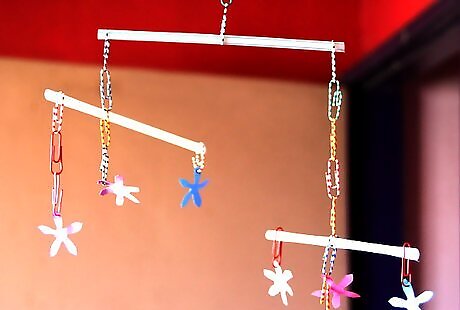
Adjust your mobile until it achieves balance. Pick up your mobile by the top chain and hold it in front of you. Starting from the bottom, look for any areas of imbalance where the straw is not straight. Try to correct this by sliding the middle paperclip to a new potential balance point. If it cannot be balanced this way, either swap out the items for ones of a different weight or add additional branches to the lighter end.
Making a Circular Mobile
Figure out what you want to hang on your mobile. This could be ribbons, string, beads, paper crafts, or small objects. Keep in mind that incorporating heavier objects into your mobile will mean you must be more careful about your placement. Weight must be balanced on each side to keep your mobile straight.
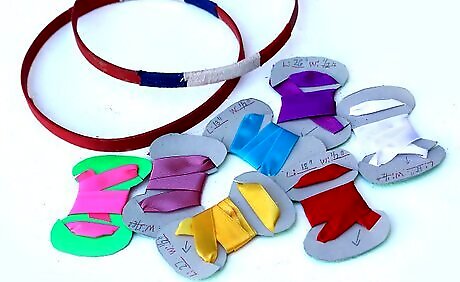
Gather your materials. In addition to your decorations, you will need a wooden embroidery hoop, yarn or string, masking tape, and scissors. A hot glue gun is also useful but not necessary. If you are using objects that are heavier than paper or plastic beads, try to have a few more than you think you may need in case you must add some for balance.
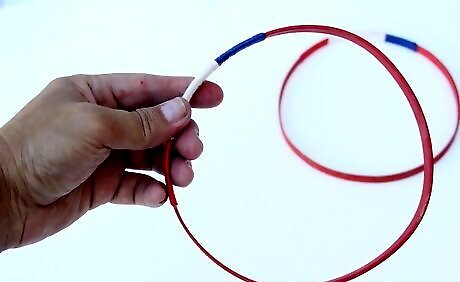
Separate the inner and outer hoops of the embroidery hoop. There will be a metal clasp that will likely need to be turned counterclockwise to release the two hoops. The inner hoop will be used to hang the mobile, while the decorations will be attached to the outer hoop. Keep in mind that the visible portions of the hoops in the finished mobile will be the outside of the outer hoop and inside of the inner hoop.
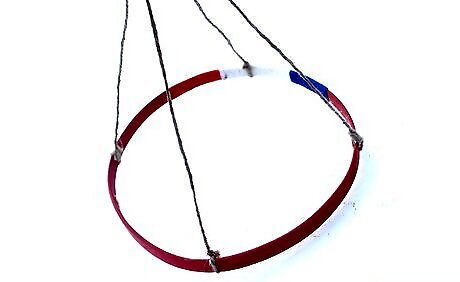
Tie four strings to the inner hoop. How long you choose to cut these strings will depend on how low you want your mobile to hang. Try to make sure that each string is roughly the same distance from each of its neighbors. They should create four equal sections of the hoop. Finalize placement before securing the knots. Position the knots on the outside of the hoop and cut off the excess.
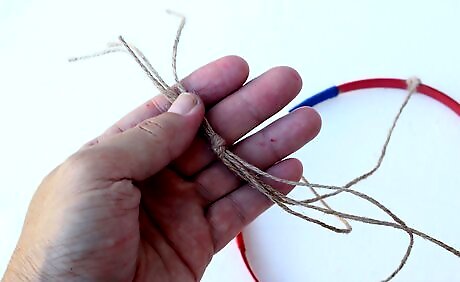
Tie the opposite ends of the four strings together. Make sure that the distance between the hoop and the end knot is the same for each string. Check that the knot is secure. It will need to be strong enough to support the full weight of your mobile. Hold the hoop up by the knot to make sure it hangs horizontally. If it is uneven, determine which string must be corrected to make the hoop hang flat.
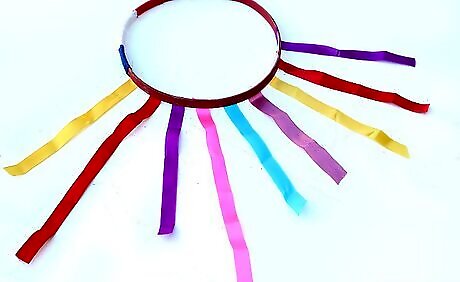
Attach the decorations to the outer hoop. There are two different ways you can secure the decorations depending on their type. Light decorations, such as those made of strips of paper or ribbon, may be attached permanently using masking tape or a hot glue gun. Simply decide on placement somewhere along the circle and secure them to the inner side of the outer hoop. Heavy decorations must be attached to the outer hoop with string. Cut a number of strings slightly longer than you would like your objects to hang. You may make them all one length, but staggered strings of different lengths will look better. Attach one end of each string to each decoration, either through adhesive or by tying a hoop around the object. Separate objects into pairs of roughly the same weight. Tie the opposite end of each string around the outer hoop. Make sure that each paired item is directly across from the other to create balance. This method may also be used for light objects, such as beads or origami, which you would prefer to hang rather than attach directly. With lighter objects, balancing them is not necessary.

Reattach the two hoops to finish your mobile. Hold the mobile by the top knot to make sure the hoop hangs horizontally. If it does not and you used heavier objects, you will need to readjust them to achieve the right balance. Determine the source of imbalance. It may be caused by objects that were not matched properly or ones that were not spaced correctly. Loosen the knots to reposition the objects. Reattach the hoops and check again. Repeat this step until your mobile is properly balanced.


Comments
0 comment