
Preparing and Sectioning Your Hair

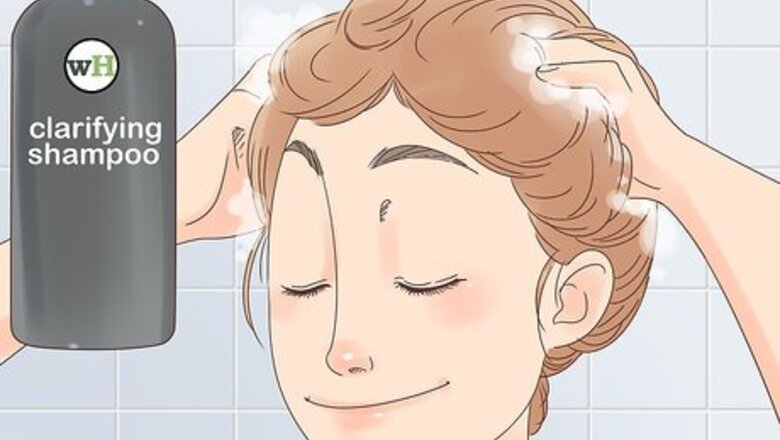
Wash your hair with a clarifying shampoo. This will remove any oil or residue and give you a clean base to work on. Do not use any conditioner, however, or the perm solution won't set properly. Once you’ve washed your hair, pat it dry with a soft towel or old T-shirt. A rich, protein conditioning shampoo would also be a great choice. It’s okay if your hair is damp, but make sure that it’s not soaking wet. Brush your hair before you wash it, then run a wide-toothed comb through it after washing it.
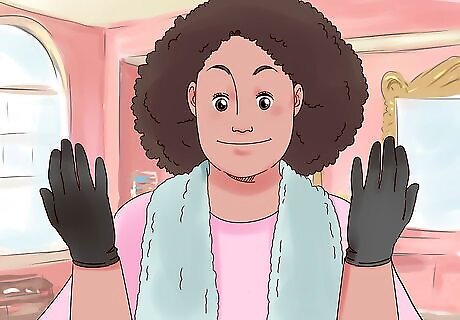
Wrap a towel around your neck, then put on a plastic cape and gloves. You do not want to get the perm solution on your skin, so you’ll have to take extra precautions. Wrap a towel around your neck first, then put on a plastic cape, like what you'd use for dyeing hair. Finally, pull on a pair of plastic or vinyl gloves. You can buy the cape and gloves at a salon or beauty supply store. The cape must be plastic, otherwise the perm solution will soak through it. It would be a good idea to put on old clothes that you don’t mind ruining.
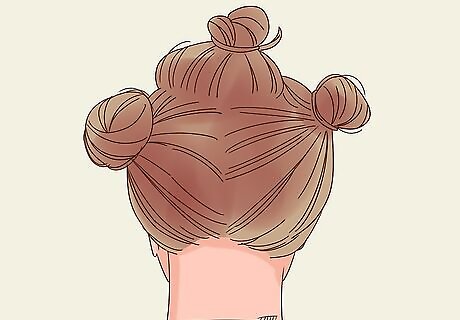
Split your hair into 3 sections, with a middle and 2 sides. Use the handle of a rat-tail comb to create 2 side parts, 1 on each side of your forehead. Make the middle section start at your forehead and end at your nape. Twist the 2 side sections into buns to keep them out of the way. The middle section needs to be a little narrower than your rod. How many inches or centimeters wide this is will vary. Consider splitting the top section in half at the back of your crown, then twisting the top/front section into a bun as well.
Wrapping Your Hair
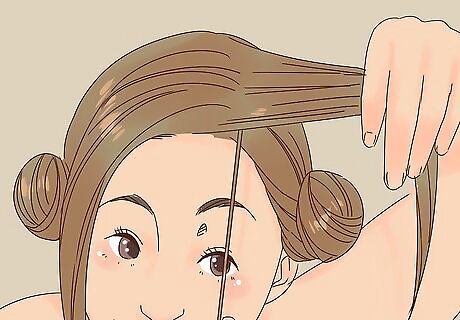
Take a thin strand of hair from the middle section. Use the handle of a rat-tail comb to separate a thin strand of hair from the middle section. Pull it taut so that it is perpendicular to your head. Select a strand that is no larger than the diameter of the perm rod you plan to use, since packing too much hair onto a rod can result in limp curls. You can start at your front hairline or at the back of your crown. If you did the latter, you’ll have to go back and do the front once you reach your nape.
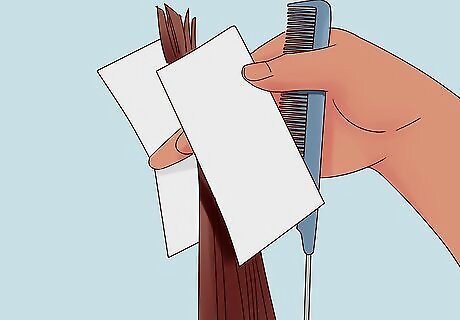
Fold an end paper around the end of the hair strand. Place an end paper against the hair strand, so that half of it is hanging off the side. Fold the excess paper under the hair strand so that it's sandwiched inside. Next, slide the end paper towards the bottom of the hair section. It would be a good idea to fold some end papers in half ahead of time. This way, you can just slide it over the edge of the hair strand, then pull it down.

Wrap the hair strand around a curling rod. Place the end of the hair strand on top of a curling rod. Wrap the hair around the curling rod until you reach your scalp, then close the rod. Choose a rod size that’s appropriate for the curl size you want. Remember: the larger the rod, the larger and looser the curl. Roll the rod downward, away from your forehead and towards your nape.
Repeat the process for the entire middle section. If you started from the back of your crown, work your way down to your nape first, then go back and do the front section. If you started from your hairline, just work your way down to your nape. Make sure that all of the hair from the middle section goes into the rod.
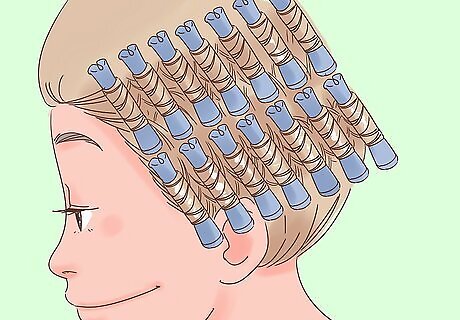
Apply 2 columns of rods to each side section. Choose a side to start with, and unravel the run. Create a vertical part, somewhere behind your ear, and wrap the front section of hair into a bun. Apply more rods horizontally in a vertical column, then do the front section of hair (the one that’s in front of your ears). The ends of the rods need to be touching each other--including the side-back section and the middle section. Start applying the rods at the top of the side section, right under the middle section, and finish at your hairline. At this point, your hair may start to dry as you work with it. If that happens, simply mist it with water. This will make it easier to wrap around the rod.
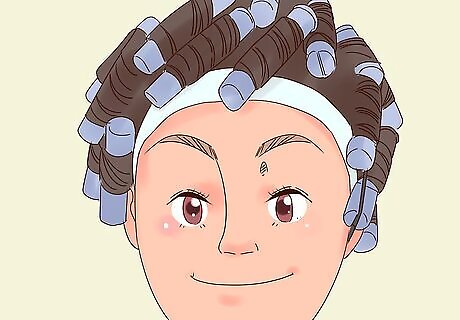
Wrap a cotton strip around your hairline, tucking it under the rods. This is very important, as you’ll need some sort of barrier between your skin and the perm solution. Purchase a strip of cotton batting from an online or local beauty supply store, then wrap it around your hairline, tucking it under the edges of the rods. The cotton batting is not fabric. It looks like a long cotton ball. It’s similar to what you’d find at a nail salon.
Applying the Perm Solution
Purchase a perm solution based on your hair type and health. There are 2 types of perm solutions: alkaline and acid. Depending on your hair type, you’ll need to choose 1 or the other. If you choose the wrong type, you may end up with different results--or in some cases, you may damage your hair. Choose an alkaline solution if your hair is: Asian, coarse, fine, resistant, or has low elasticity. Choose an acid solution if your hair is: damaged, fragile, highlighted, tinted, or has high elasticity. Visit a salon if you have hair that has been extensively color treated or damaged, or if you have African-American hair. Choose a stylist who specializes in working with your hair type. Ask friends and family to recommend a good salon, or search for online reviews of local salons.
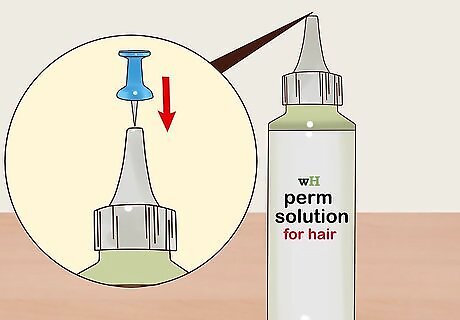
Pierce the tip of the bottle with a push pin. Perm solution comes in a plastic squeeze bottle. While you can snip the tip off, it is better to pierce it with a pin, like a thumb tack or a push pin. This will give you better control over the product.
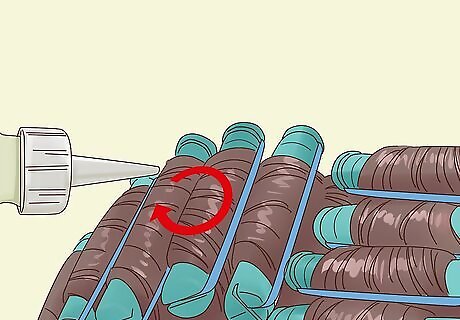
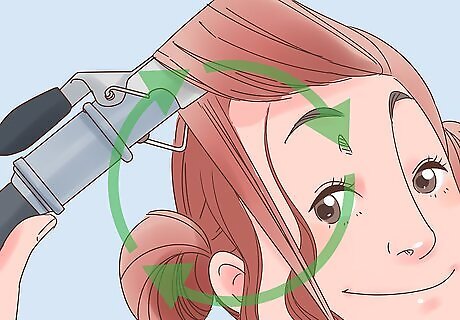
Apply the solution close to the rods using small, circular motions. Choose a section to start with: middle, left, or right. Position the bottle over the top edge of the rod, and begin to squeeze out the solution using a small, circular motion. Work 1 rod at a time until you complete the entire section, then move on to the next one. Use the entire solution that came in the bottle. Don’t worry about applying the solution over the entire rod. Gravity will pull the solution downward toward the bottom of the rod.
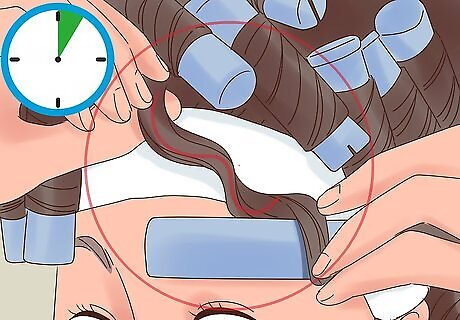
Check your hair every few minutes for an S-shape when unraveled. Wait 5 minutes first, then pick a rod and unravel it slightly. Take a look at the hair, and see if you can spot a tight S-shape. If not, wrap the hair back up. Check it again after 2 minutes. If you still don’t see the S-shape, check it every minute afterwards until you do. Don’t wait the full 10 to 15 minutes before checking your hair, or you’ll risk damaging it; everyone’s hair processes differently. When you see the S-shape in your hair, you’re ready for the next step.
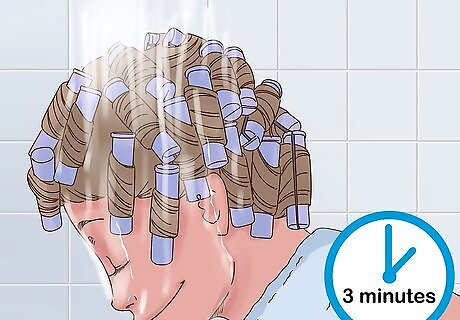
Rinse your hair for 3 minutes without taking the rods out. This is important. Leave the rods in your hair. Simply lean over a sink or step into a shower, then rinse the solution from your hair for 3 minutes. The cotton batting will get soaked, so you should remove it when you’re done rinsing. If you have very thick hair, run water between each rod for several seconds to make sure you rinse all the solution out thoroughly.
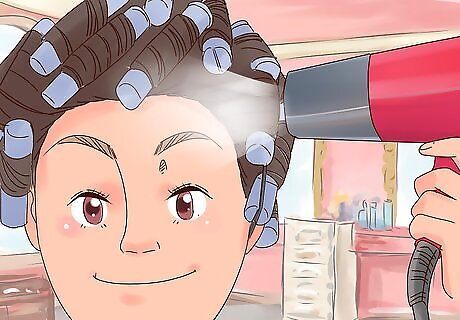
Let your hair dry with the rods in place. It would be best if you let your hair air dry, but if you are in a hurry, you could use a hair dryer to speed the process up. Do not take the rods out yet.
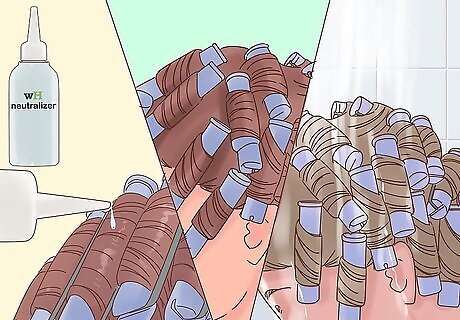
Apply the neutralizer, wait 10 minutes, then rinse it out for 3 minutes. Use the same technique when applying the neutralizer as you did for the perm solution. Since the neutralizer is gentler, you can wait the full 10 minutes without checking your hair. Once the 10 minutes are up, rinse your hair for 3 minutes. Keep the rods in your hair for the duration of the process.
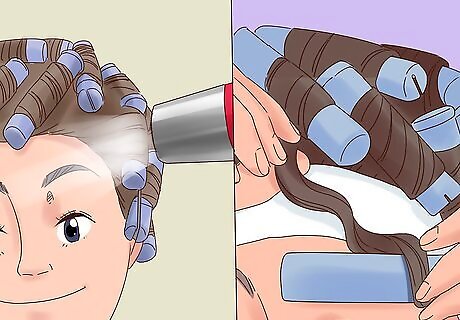
Let your hair dry, then remove the rods. Again, it’s better to let your hair air dry, but you can use a hairdryer, if needed. Once you remove the rods, leave your hair alone. Do not brush or comb it, or you’ll undo the curls. At the most, you can gently style the curls with your fingers.
Maintaining Your Perm
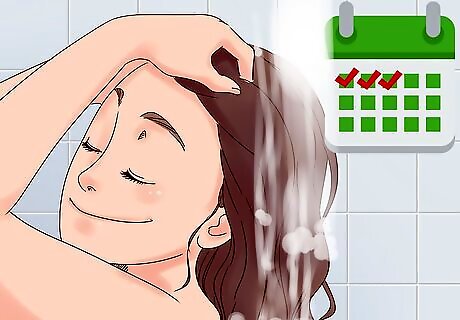
Wait 3 days before you wash your hair. This may feel gross, but it is very important. Curly hair doesn’t need to be washed as often, for starters. Also, if you wash your hair too soon, you’ll undo all of your hair work; the curls will come out. After those 3 days, you can wash your hair twice per week.
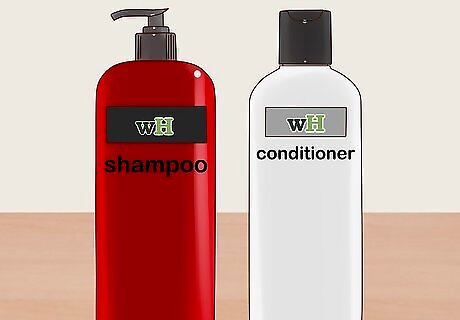
Use shampoo and conditioner meant for chemically treated hair. They'll keep your hair looking smooth and soft while prolonging the perm. Use conditioner each time you wash your hair; swap it out for a deep conditioner every so often. A natural deep conditioner, like argan oil, is a great option. Moisturizing, curl-enhancing products are a great choice. Don't use products containing silicones and alcohol. Silicones will lead to build-up, while alcohol will make it turn dry.
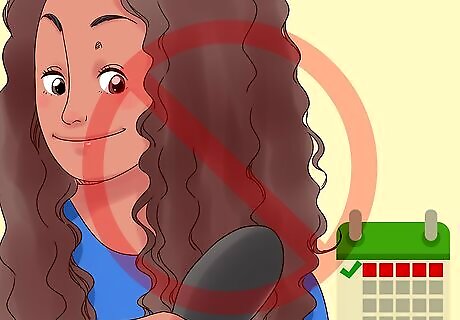
Do not style or brush your hair for 1 week. You can gently comb your hair with your fingers or a wide-toothed comb, but you’ll have to wait 1 week before you brush it. More importantly, leave your hair as-is for the duration of the week. This means no curling, straightening, ponytails, braids, etc. Tie your hair up in a silk scarf when you go to bed. This will help keep your curls frizz-free. EXPERT TIP Gina Almona Gina Almona Professional Hair Stylist Gina Almona is the Owner of Blo It Out, a New York City-based hair salon. With over 20 years of beauty training experience, Gina's work has been featured in People Magazine, Time Out New York, and Queens Scene. She has been able to keep a fresh perspective in the industry by demonstrating and participating in trade shows and workshops like the International Beauty Show. She received her cosmetology training from the Long Island Beauty School, Astoria. Gina Almona Gina Almona Professional Hair Stylist Our Expert Agrees: After a week has gone by, you can brush your hair again. Instead of a normal brush, however, use a wide-toothed comb so that the curls stay in place.
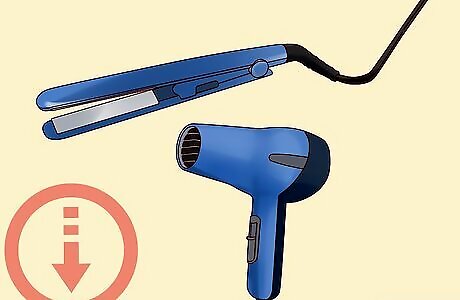
Limit heat styling, including blow drying and straightening. When possible, let your hair air dry. If you must use a hairdryer, wait until your hair is about 90% dry, then blow dry it with a diffuser. Avoid straightening when possible. If you must straighten your hair, apply a heat protectant and use a lower heat setting.
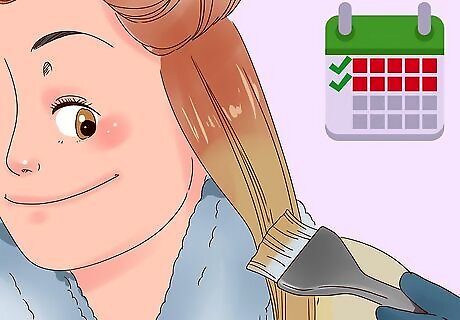
Wait at least 2 weeks before you dye your hair. If you dye your hair too soon, you not only risk damaging your hair further, but you may lose your curls. Once those 2 weeks are up, however, you can treat your hair like you would regular hair; you can dye it, bleach it, or even highlight it. Keep in mind that bleaching and highlighting are not recommended. The perming process is harsh to begin with; bleaching and highlighting are also harsh and will damage your hair further. Some stylists recommend that you wait 1 month before dyeing, bleaching or highlighting your hair.


Comments
0 comment