views
Adhering to General Principles
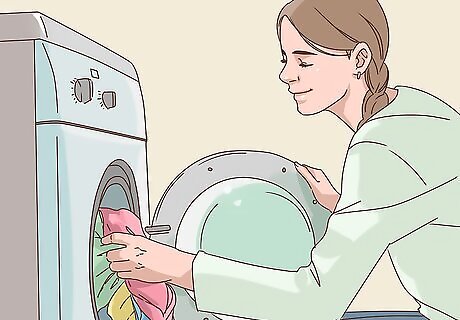
Get some practice before offering your services professionally. Clean the homes of your friends and family for free (or at a discounted rate), then ask them to evaluate your cleaning. Make notes about what they liked or disliked about your cleaning job.
Get the right equipment and materials. Professionally cleaning a home requires a large number of cleaning products and devices. Your supplies will vary depending on the particular task you’re hired for, but you might want to have a cleaning arsenal that includes: micro fiber mops all purpose cleaner floor cleaner micro fiber pads glass cleaner granite cleaner stainless steel cleaner scrubbing pads and sponges brooms mild, pH-neutral liquid soap dustpans grout mops stiff-bristled toothbrushes vacuum cleaners detailing towels Expert Answer Q When asked, "What cleaning supplies does a professional need?" Ashley Matuska Ashley Matuska Professional Cleaner Ashley Matuska is a Professional Cleaner at the Founder and Owner of Dashing Maids in Denver, Colorado. Ashley has over seven years of experience in the cleaning industry. She and her team specialize in offering sustainable deep cleaning and maintenance cleaning services. Ashley Matuska EXPERT ADVICE Answer from Ashley Matuska: Ashley Matuska of Dashing Maids says: "Microfiber towels are really great for leaving faucets, mirrors, and other shiny surfaces streak-free. Also, the standup or box vacuums that people buy from big box retailers aren't that thorough, so invest in a good vacuum. I also recommend keeping magic erasers and several different sizes of scrub brushes, and a good all-purpose cleaning solution that doesn't have any hard chemicals."
Clean the home from top to bottom if you’re by yourself. When professionally cleaning a home on your own, you should start with the upper level, then work your way down to the lowest level. This will help you sweep and mop all the dust and grit down from the upper levels without tracking it back through the already cleaned parts of the house.

Divide work evenly between you and your partner. If you’re working with a partner (or partners), split up the work between you in a fair way. For instance, you could each take a different room on the same level. If you or your partner finishes your assigned zone before the other, pitch in to help each other with the cleaning that remains. This will ensure that the work is shared in an even way.

Wear comfortable, washable clothing. Cleaning a house professionally can be grimy. Dress for success by wearing a comfortable shirt -- an old t-shirt or a sweater -- and sweatpants or thick jeans. Don a pair of comfortable sneakers, too.

Be clear and direct about what you will and will not do for your client. As a professional cleaner, your job is to clean. Every professional cleaning service varies somewhat, but you’ll probably want to clean the counter-tops, windows, and floors. However, you shouldn’t be expected to, for instance, file the papers your client has strewn across their desk or disassemble their child’s toy train tracks. Scrubbing toilets and tubs is also typically included in a basic house-cleaning service. After your client signs the service contract, remind them to pick up their possessions a bit before you arrive. This way, you’ll be able to clean more efficiently.
Cleaning the Kitchen
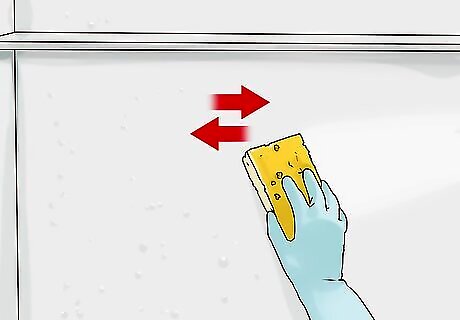
Wipe down all the shelves, working from the highest to the lowest. Shelves with food, especially, are prone to collect crumbs. There’s no need to remove dishes and food, but wipe around them as much as possible. You can sweep the crumbs up later.
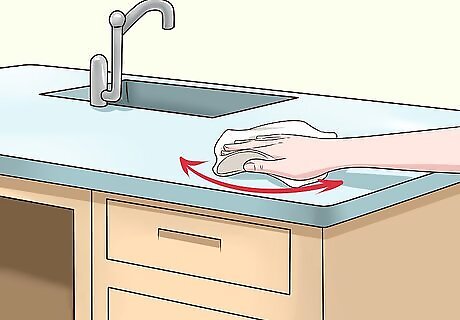
Clean the counter-tops with an all-purpose cleaner. Spray the counter-tops with an all-purpose cleaner. Wipe them down using a clean cloth. Move your hand in small, circular motions across the counter’s surface.
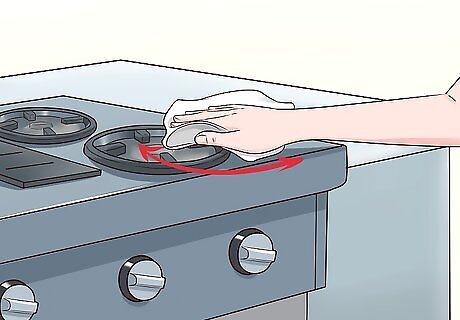
Clean the stovetop using an all-purpose cleaner. Spray the all-purpose cleaner of your choice onto the stovetop. Use a clean cloth to wipe away grease stains and burned material from the stove. If you’re cleaning a gas stove, remove the detachable grates over the heating elements before cleaning. Put them in the sink and wipe them down. Clean the back panel of the stove (where timers and additional control options are) using your cloth and all-purpose cleaner, too.
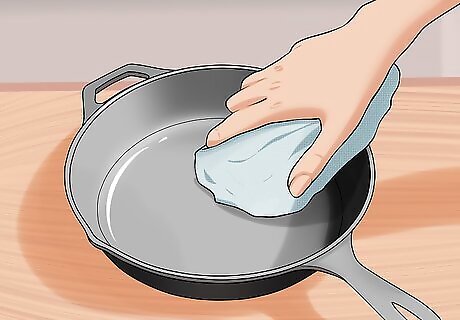
Do the dishes by hand or put them in the dishwasher. If cleaning the dishes is part of the service you’re offering, put them in the dishwasher and add the recommended amount of detergent. Be sure to use the utensil rack for utensils, and place lighter dishes (any dishes made of plastic) in the top rack. If you’re unsure how much detergent to use, ask the homeowner. If the home you’re cleaning doesn’t have a dishwasher, dab a bit of liquid soap on a sponge and lather it under warm, running water. Use the sponge to wipe grime off the dishes, re-applying soap as needed.
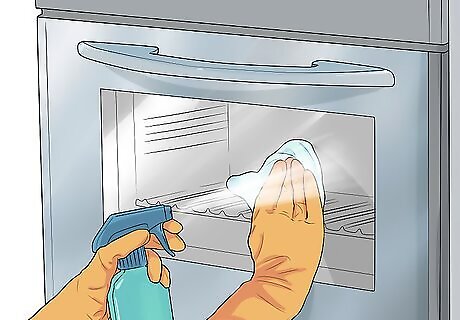
Clean stainless steel appliances with vinegar. To clean stainless steel kitchen appliances (a microwave, refrigerator, or toaster, for instance), fill a spray bottle with vinegar and spray it liberally over the appliance. Use a paper towel or soft cloth to wipe the appliance clean, moving in the direction of the grain. After the vinegar is gone, dip the cloth in a bit of oil and wipe the stainless steel again, moving with grain as before.
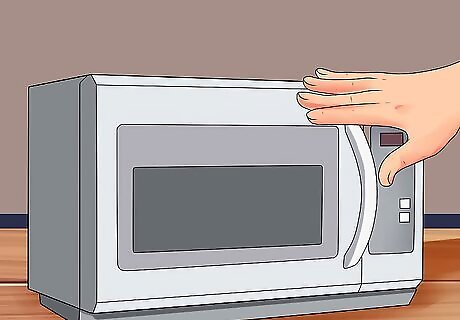
Wipe the inside and outside of the microwave with a sponge. Dampen a sponge and "cook" it for two minutes. This will loosen caked-on material inside the microwave. About two minutes after the timer on the microwave goes off, retrieve the sponge and remove the rotating plate. Wipe the plate off over the sink using warm water and a soapy sponge, then use the sponge to scrub the inside and outside of the microwave. Be sure to scrub the inner roof of the microwave as well as the sides.
Dusting the House

Clean the light fixtures with an extendable duster. Bend the extendable duster at an angle that allows you to run it along the edge of the light fixture. Move around the perimeter of the light fixture until it is totally free of dust.
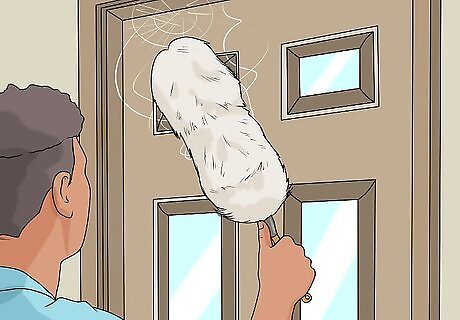
Remove cobwebs using a duster with a cleaning extension. A duster with a cleaning extension will allow you to get those hard-to-reach ceiling corners where cobwebs collect. Just wipe the duster along the cobweb to snag it, then pull it down and put the cobweb in the bin. Alternately, you could use the extension on your vacuum to remove the cobwebs. Just attach the extension to the vacuum, turn it on, and move the suction end of the tube toward the cobwebs.
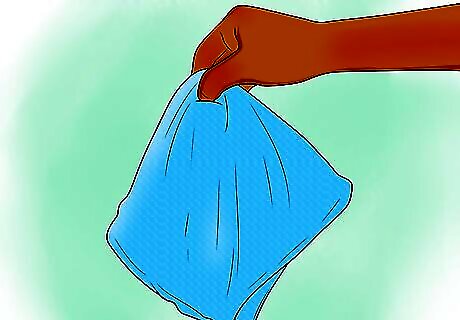
Dust the ceiling fans using an old pillowcase. Slip an old pillowcase over a fan blade. Press your hand against the top edge of the pillowcase and slide it slowly back toward you. The dust will collect inside. Repeat for the other fan blades and dump the dust out in the bin.
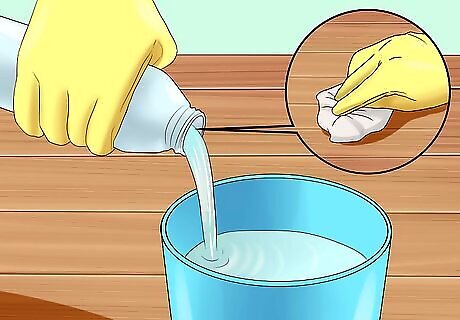
Dust the furniture with a damp cloth. Dampen a soft cloth and wring it out until it’s dry. Gently move the cloth back and forth over the surface of the furniture to remove dust. Use a dry cloth -- preferably a microfiber cloth -- to dry the surface and restore the surface to a sheen. Don’t use furniture oils or aerosol sprays. These products might give the furniture a nice shine, but over time, they can damage the surface.
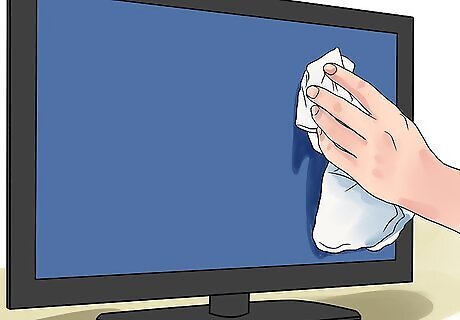
Dust electronic appliances using a microfiber cloth. Gently wipe TVs, DVD players, computer monitors, printers, and stereos with a clean microfiber cloth. Be careful not to press against the actual screen on TVs and monitors.
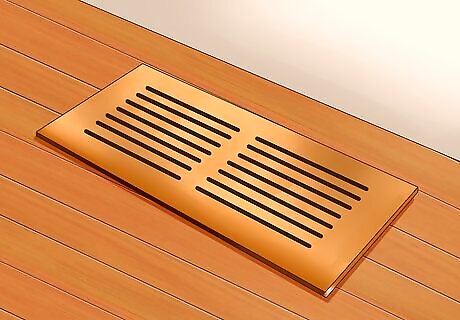
Use a soft-brush vacuum attachment to remove dust from vents. Move the soft-brush vacuum attachment over the vent in a back-and-forth motion to loosen and collect dust. Next, dampen a microfiber cloth and wipe the vent down to remove any remaining dust particles.
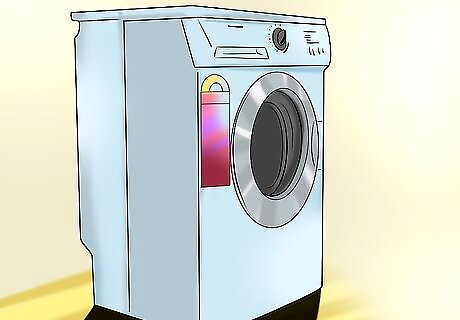
Move large appliances away from the wall to remove the dust behind them. If possible, move refrigerators and washing machines slightly away from the wall and use a vacuum extension to suck up dust and crumbs that might have collected there. Unplug the appliance, then use a long-handled, slightly damp sponge mop to wipe dust from the back of the appliance itself. Before replacing the appliance, wipe the floor and walls with hot, soapy water.
Caring for Floors
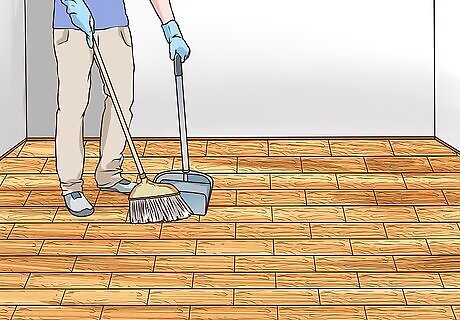
Sweep hard floors using a broom and dustpan. Mentally divide the floor up into small sections of approximately one square meter (one square yard). Starting from the section furthest from the room’s exit, sweep each section using short strokes. Collect the debris and dust in a central pile. Once you’ve swept everything into a small pile, sweep it into your dustpan. If your dustpan leaves behind a thin line of dust or dirt, wipe it up with a damp paper towel. Use a broom with straight, clean bristles.
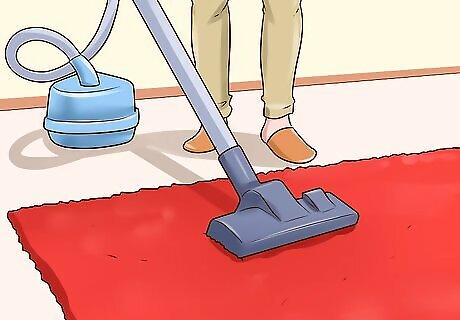
Vacuum carpeted floors. Turn the vacuum on and move it in a slow and steady back-and-forth motion across the floor. Vacuum the room in strips, starting against the wall furthest from the exit. Use the crevice tool to vacuum the room’s edges. If your vacuum has multiple height settings, select the right one for your cleaning job. For instance, your vacuum might have a setting for shag carpet or a setting for bare floors. Consult your vacuum’s user guide for more information. Check the vacuum bag or collection container before starting. If it’s full, empty it.
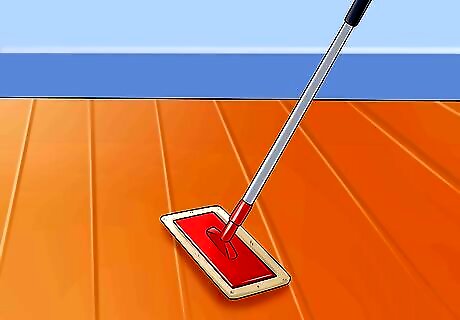
Mop hardwood, vinyl, and other hard floors. Fill a mop bucket with a mild or pH-neutral soap and warm water. Dip the mop into the water and wring it out. The mop should be slightly damp, not saturated. Begin mopping the room in parallel strips, starting from the corner furthest away from the exit. If you’re mopping wood, mop in the same direction as the wood grain. If you’re mopping a floor with a textured surface (like tile), wipe using small figure eight movements. As you work, rinse the mop out when you notice it is getting dirty. Dunk the mop in a second bucket filled with warm water to rinse it off. Then wring it out, dunk it in the soapy water bucket, and wring it out again. If mopping an area with throw rugs or runners, roll them up first. Do not attempt to mop around them.
Cleaning the Bathroom
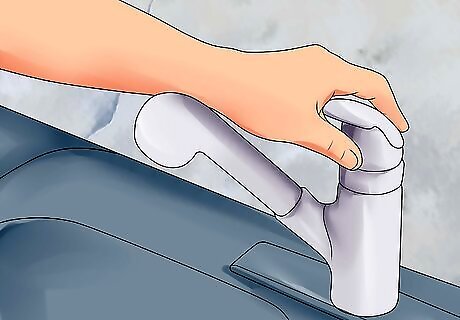
Spray the sink basin, faucet, sink handles, and counter-top with a disinfectant. Wait about five minutes while the disinfectant works, then dampen a microfiber cloth with warm water. Wring it out and wipe the disinfectant from the sink and the other areas you sprayed. There are many disinfectants you could use to clean the sink and countertop. For instance, you could mix two parts rubbing alcohol, two parts distilled white vinegar, and three parts water for a simple homemade disinfectant.
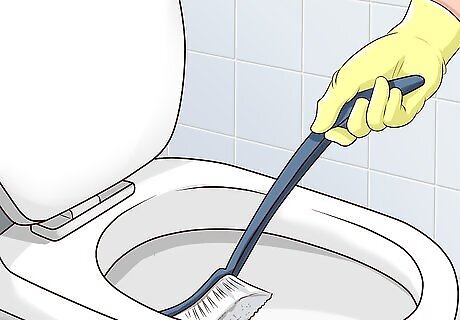
Clean the toilet bowl with a toilet brush and an all-purpose spray. Spray an all-purpose cleaner around the inside of your toilet bowl, then scrub it with your toilet brush. Flush the toilet after you’re done cleaning, then trap the brush between the toilet seat and the rim of the toilet bowl to allow the brush to drip-dry.
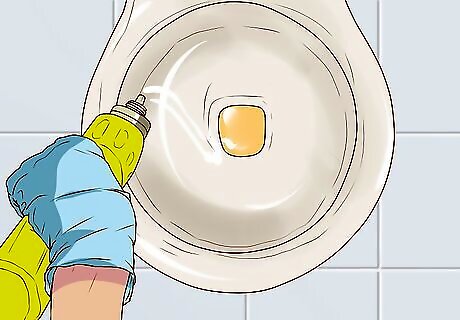
Disinfect the toilet. Just you did with the sink and counter-top area, spray the inside of the toilet lid and the toilet seat with your disinfectant of choice. Wait five minutes, then wipe them down with a damp paper towel. Discard the paper towel after using it. Check the sides and base of the toilet, too. If they are visibly dirty, spray them with the disinfectant and, after five minutes, wipe away any grime with a paper towel.
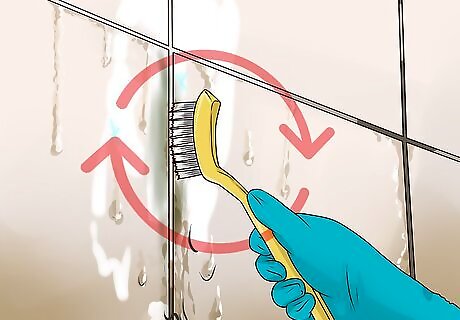
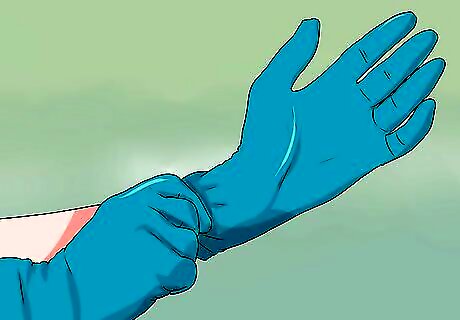
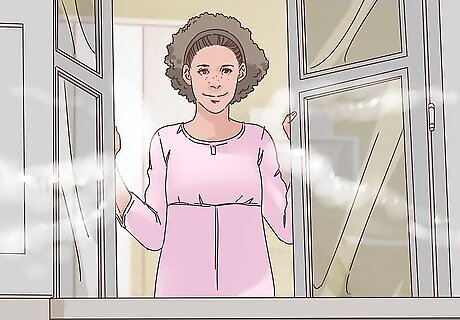
Wipe tile grout with a grout brush dipped in bleach. If your shower or bathroom floor is tiled, dip your grout brush in bleach. Scrub any discolored areas between the tiles. If you’re cleaning shower tile, rinse it off using the shower head. If you’re cleaning grout on the bathroom floor, wipe the bleach away using a soft, damp cloth. Open the windows and doors before using bleach, since it can irritate the lungs. Protect your hands by donning a pair of disposable gloves before using bleach.
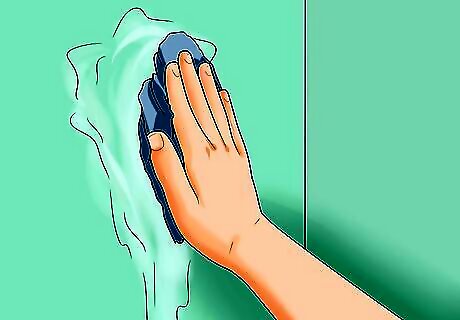
Clean tubs and showers with an all-purpose cleaner. Spray tubs and showers (including shower doors and walls) with an all-purpose cleaner, then turn the shower on and exit the bathroom. Close the door behind you, then wait about 20 minutes. The steam will loosen caked-on shower grime. Use a clean cloth or a dry microfiber mop to wipe tub and shower surfaces clean. There’s no need to plug the tub when cleaning tubs and showers.
Offering More Cleaning Services
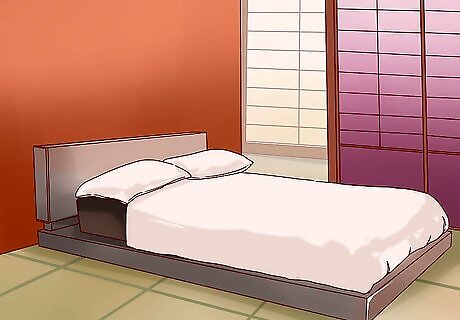
Make the bed. To make the bed like a pro, take everything off it -- pillows, sheets, and blankets. Stretch the fitted sheet snugly over the mattress. Lay the sheet over the bed so that the top edge covers the head of the bed and the sides hang down evenly. Fold the sheet back from the head of the bed by about 20 inches (50 cm) and tuck the sides of the sheet in under the mattress. To finish making the bed, tuck the third edge of the sheet beneath the foot of the bed, then spread the blanket over the bed in the same way you laid out the sheet. Fold the blanket in half toward the foot of the bed, then fold it in half again. Lay the pillows in their place at the head of the bed.
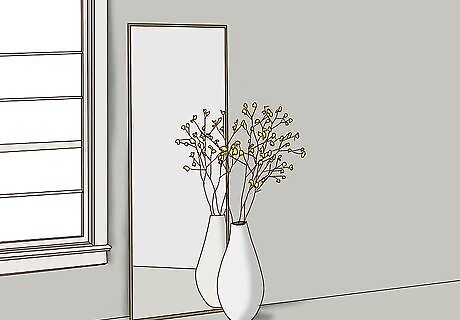
Wipe down mirrors and glass surfaces using a cleaning solution of vinegar and water. Windows, mirrors, and glass tabletops should be cleaned with a mixture of one part white vinegar and four parts distilled water. Fill a spray bottle with the mixture, then spray a clean microfiber cloth with the mixture. Rub the cloth across the surface in a gentle circular motion to remove all the spots and smudges. Wipe the entire surface again using only vertical strokes, then wipe it a third time using only horizontal strokes. Use a cotton swab sprayed lightly with the cleaning solution to clean the corners of windows and mirrors. Wipe excess cleaning solution away with a dry cloth. If you’re cleaning a window, place towels beneath it to catch any cleaning solution that might drip down.
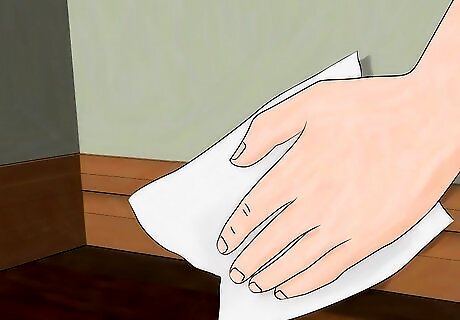
Wipe the baseboards using dryer sheets. Dryer sheets are designed to attract dust and lint in the laundry, so they are the ideal tool for dusting baseboards. Simply kneel near the dusty baseboard and run the dryer sheet along its entire length. Continue moving around the perimeter of the room until all the baseboards are dust-free.
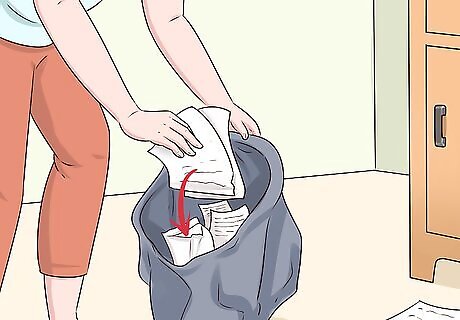
Take out the trash and replace all the trash bags. Remove all the trash bags from around the house. Place them all by the curb or in the bin (whichever your client prefers). Put new trash bags in every trash can.
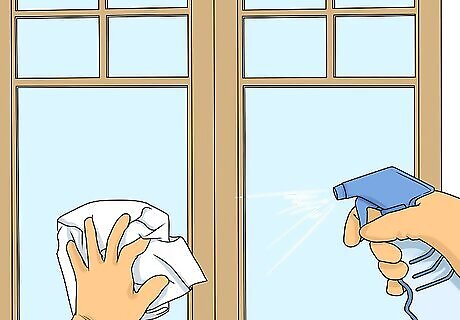
Clean the windowsills with hot, soapy water. Fill a bucket with hot, soapy water. Dip a clean cloth into the water and wring it out. Wipe the sill down using a scrubbing motion. If some grime remains behind after one pass, dip the cloth into the water, wring it out again, and give the sill another wipe.
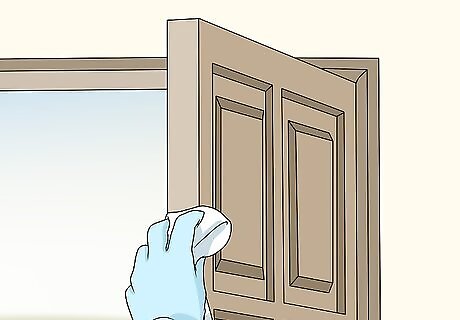
Wipe down doors with an all-purpose cleaner. Wipe the top and side edge of the door down with a feather duster or a soft rag. Spray both sides of the door (including the door handles) several times with an all-purpose cleaner. Use a clean cloth to wipe the cleaning agent away. If the door handle is made of a unique material like silver or brass, use a specialized silver or brass cleaner to clean it.
Make the house smell good using scented candles, incense, or aerosol sprays. Your clients might enjoy coming home to a house that smells clean and fresh. Light some scented candles or incense to give the house a fresh energy. You could also use an aerosol spray. Just remove the cap, point the actuator away from you, and press the spray button for one or two seconds. Before using a scented product, ask the client if they would like a scent used in their home. If they do, ask them if they have a favorite scent or if there are any scents you should avoid due to allergies or sensitivities. Try to find a product that matches your client’s preferences. If they don’t have a preference, go for popular scents like lemon or pine.






Comments
0 comment