views
Removing the Drainage
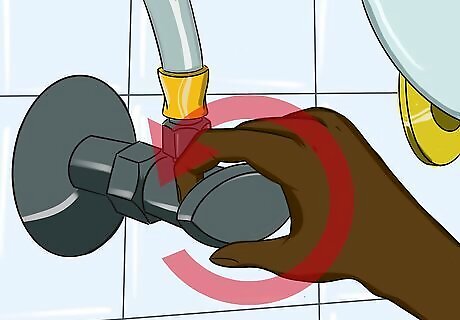
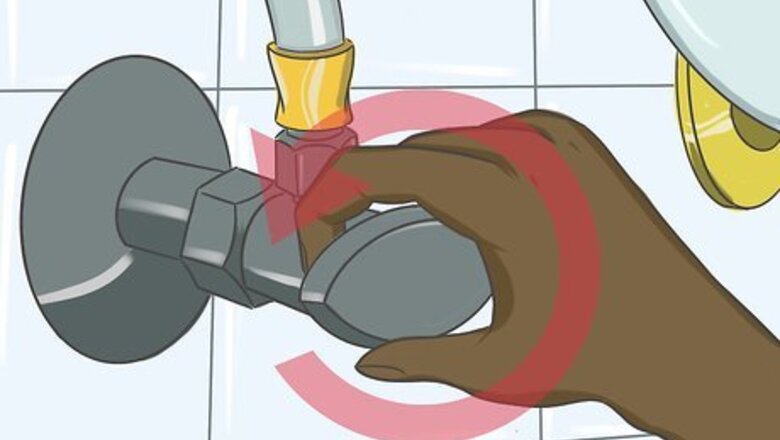
Turn off the water supply via the shutoff valve. If your model is freestanding—meaning it's finished on all sides and can stand alone like a piece of furniture—the shutoff valve is typically located on the water line that connects the tub to the faucets. For other models, you will have to turn off the bathroom water valve behind the toilet or sometimes the entire home's water supply. Be sure to open up the tub faucet until no more water runs out of it before moving forward.
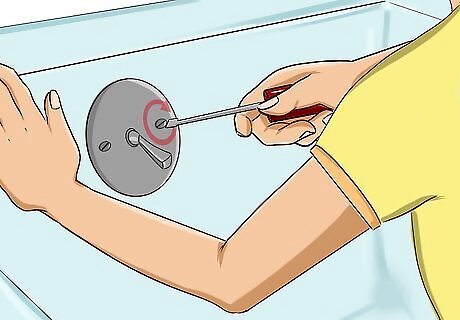
Remove the stopper and overflow assembly. Typically, the overflow plate is circular and connected to your tub with 1 to 2 screws that hold the stopper lever in place. Use a screwdriver to remove these screws along with the plate. Afterward, use your fingers to remove the lever hook from the linkage bar and then unscrew or pull the stopper to remove it. The stopper is the piece that seals the tub when you need to fill it with water.
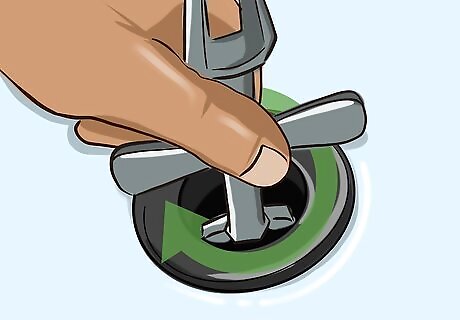
Take off the drain flange with a removal tool or pair of needlenose pliers. The drain flange is the finished part of the drain that is visible in the bottom of the tub. Insert a removal tool or pair of pliers into the flange, twist it counterclockwise, and pull it out. Head to a home hardware store and purchase a dedicated drain flange removal tool.
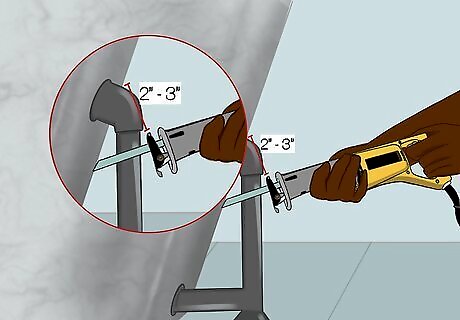
Remove the drainpipe from your cast iron tub. If your tub is freestanding, use a reciprocating saw and metal blade to cut off the drainpipe about 2 to 3 inches (5.1 to 7.6 cm) from the location closest to the bottom of the tub. If your tub is built-in to your home, access the bottom of the tub via a crawlspace or basement and twist the pipe loose with water pump pliers or a pipe wrench. Remember that your new tub will have new piping. With that in mind, never cut the plumbing that's connected to your home. Rock the reciprocating saw up and down as you cut to move faster. Be sure to grip the handle firmly with your dominant hand and hold the front grip tightly with your non-dominant hand to guide to saw. Focus on keeping a tight grip on the saw while applying pressure to the tool. Make sure the saw's shoe (the flat edges parallel to the blade that guide it) is pressed tightly against the piping to reduce vibrations. Wear gloves and a safety mask when using a reciprocating saw.
Taking the Tub off the Wall
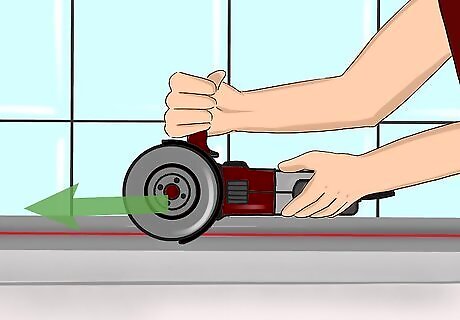
Remove the wall strip starting 6 inches (15 cm) or less above your tub to reveal the flange. If you use a reciprocating saw to remove the wall strip, take care not to cut any mechanical elements, such as studs, pipes, or wires. For wall tiles, cut through the horizontal grout line using an angle grinder with a diamond blade and then use a chisel to remove each tile individually. When using an angle grinder, always start by marking an outline of the cut about ⁄8 inch (0.32 cm) deep. Maintain a firm grip on the grinder handle. If you can't remove the tiles with your chisel alone, use a hammer or mallet to drive it into the tiles. If your tub is freestanding, you don't need to remove a wall strip to reveal the flange.
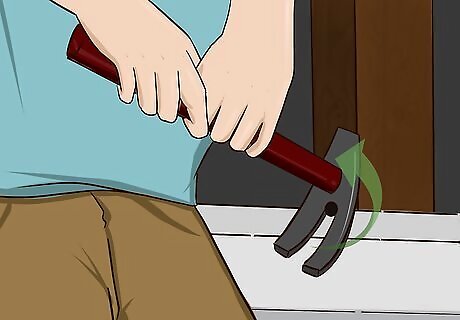
Disconnect the flange from the wall studs. After removing the wall strip, locate the screws or nails that fix the flange to the wall studs. Now, use a screwdriver to turn them counterclockwise and remove them or pry them off with the claw of a hammer. The flange is a lip that secures the tub to the studs to prevent it from moving.
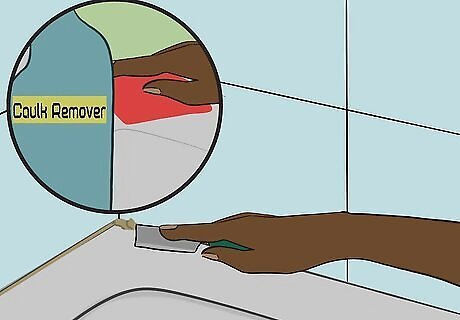
Remove the caulking surrounding the tub using a utility knife. The caulk is located on the outer perimeter of the tub. It either fastens the tub to the floor, wall, or both. Apply caulk remover to the caulk and wait until it softens. Afterward, drag your utility knife along the caulking lines slowly and steadily and it should come off easily. Be sure that your cut lines are parallel to the lengths and widths of the tub. For stubborn areas, use a hair dryer or heat gun and expose it to heat. Once it's softened, it should come off easily. When using a hair dryer or heat gun, take care not to heat adjacent material, such as plastic. Use a putty knife or toothbrush for lingering caulking residue.
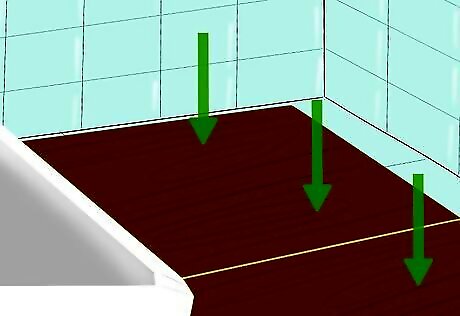
Lay down plywood sheets onto the floor around your tub. After removing your tub, you need to set it down somewhere. To prevent damage to your floor, set up a space covered in plywood that's large enough to accommodate your tub. Purchase sheets of plywood from a home hardware store.
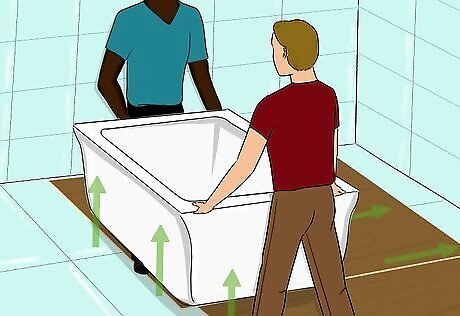
Pull the tub out of the wall and onto the plywood. Always remove the tub with the help of a friend, as most of them weigh about 300 pounds (140 kg). Grab the bathtub as firmly as you can, pull it out from the wall, and lay it onto the plywood. Afterward, stuff the top of the drainpipe with a large rag to stop sewer gases from stinking up the washroom. Ask a friend to pull the tub outward from one side as you pull the other. Remember that sewer gases can be toxic and flammable in high concentrations. However, the small amount coming from the tub line shouldn't be hazardous.
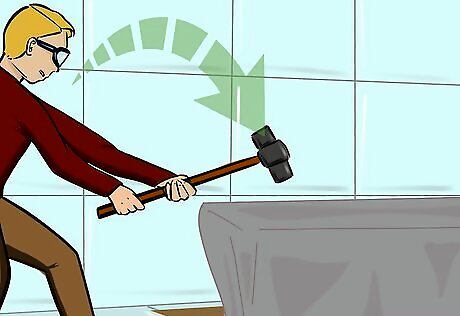
Break the tub apart with a sledgehammer if you don't want to keep or sell it. Start by covering the cast iron with a heavy blanket or towel. Put on some goggles and a long-sleeve shirt and use a 16 lb (7.3 kg) sledgehammer to break the tub apart until it's in smaller pieces. Grab the butt of the sledgehammer handle with your left hand and the spot near the head with your right hand. Raise the hammer into the air over your right shoulder and swing it down using your right hand for force. Start your swing arc from your feet—not from your shoulder—and stand on a flat, firm, level, and dry surface when using a sledgehammer. If you want to salvage the tub, be sure to remove the feet by twisting them counterclockwise, then take some measurements and photos and post an ad online. Use a reciprocating saw to cut the tub into pieces if you don't want to damage your flooring. You can also use a combination of a saw and sledgehammer for great results.
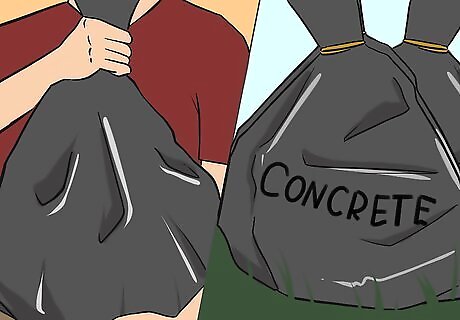
Carry your tub outside for disposal. Carefully put each piece into a garbage bag and carry it outside. Take care to hold the bags from the bottom so they don't rip open and don't put too many pieces into any one bag at a time. Mark off the bags as concrete to help disposal workers.


Comments
0 comment