views
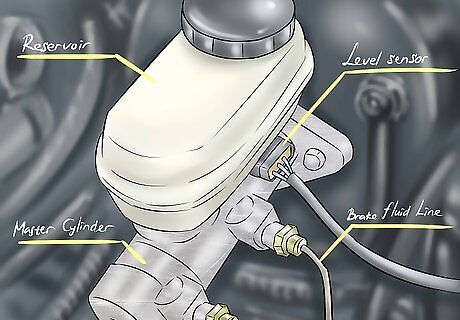
Locate the various components of the vehicle's brake system. Use your vehicle's manual to identify these components. Locate the brake fluid reservoir, the brake master cylinder, the brake fluid level sensor, and the brake fluid lines. The brake fluid reservoir is usually at the top of the brake system and contains brake fluid. It can be identified by the presence of a threaded cap on top of it. The brake master cylinder is typically located directly beneath the brake fluid reservoir.
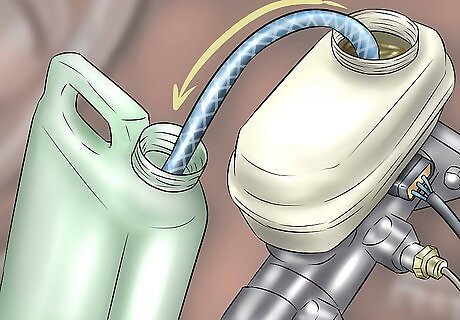
Remove the brake fluid from the brake fluid reservoir. Remove the cap. Use a siphon or turkey baster to remove the brake fluid. Dispose of or recycle the brake fluid in accordance with local laws and regulations. Contact your local agency that deals with household hazardous wastes for any needed information.
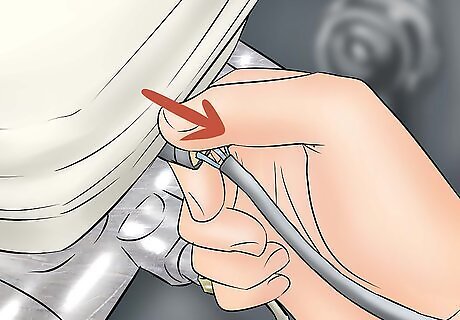
Remove the brake fluid sensor connector. This is part of the brake fluid level sensor that you previously identified from your vehicle's manual. This can often be removed by pulling it with your hand. Follow the instructions in your vehicle's manual.
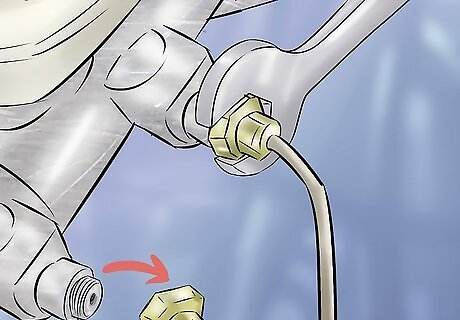
Remove the brake fluid lines. Loosen the brake fluid lines with a line wrench. Twist the line wrench in a counter-clockwise motion on each brake fluid line until all of them have been removed. Keep a towel or cloth handy to clean up any brake fluid that leaks as a result of this procedure.
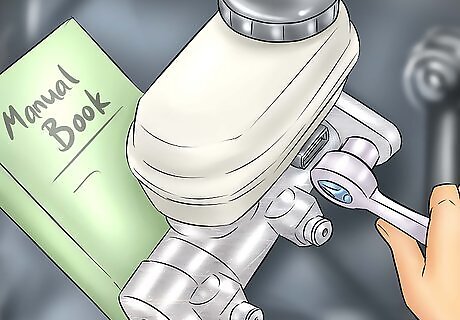
Detach the brake master cylinder. Use a socket wrench to remove the mounting bolts from the brake master cylinder. These bolts can be located in your vehicle's manual. Remove the brake master cylinder by hand.
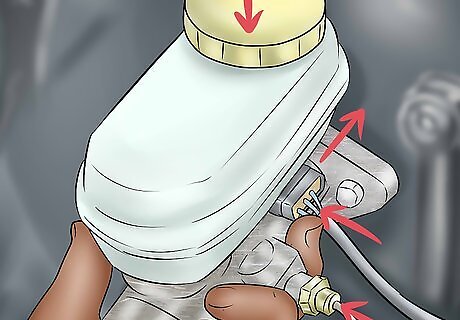
Install the new brake master cylinder. Put the new brake master cylinder in place of the old cylinder. Connect the mounting bolts with a socket wrench. Tighten to prescribed torque or at least as tight as the old ones were. Fill the fluid reservoir with fluid allowing some to run out the brake pipe holes. Get somebody to gently pump the brakes while holding a container under the holes. This "primes" the cylinder and purges excess air. Reconnect the brake fluid lines by turning a line wrench clockwise. Reconnect the brake fluid sensor according to the instructions in the vehicle's manual. Use the type of brake fluid that is listed on the cap or in your vehicle's manual. Bleed the new brake master cylinder. Optional - remove front wheel from furthest hub. Push brake cylinder back. Optional - remove other front wheel. Push brake cylinder back. Optional - If you do this watch for reservoir overflow, catch as required. Optional - This effects a "reverse bleed" that releases some air close to the master cylinder. Optional - pump brake pedal to return cylinders, top up fluid as required. These optional steps make the subsequent bleeding much easier because the air is close to the master cylinder. Check pedal free play. If there is an adjuster on pedal adjust to take up slack BUT do not allow no free play. Brakes will bind. Brakes must be bled after master cylinder replacement. Purchase a bleeder kit from an automotive supply store. Follow the directions that come with the kit.


Comments
0 comment