views
Deciding Between Spray Guns and Aerosol Cans
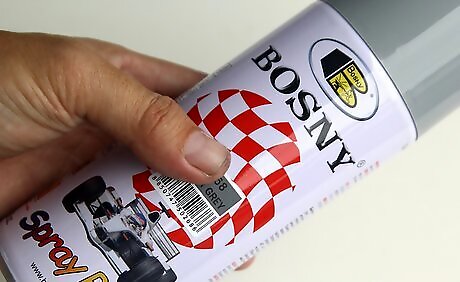
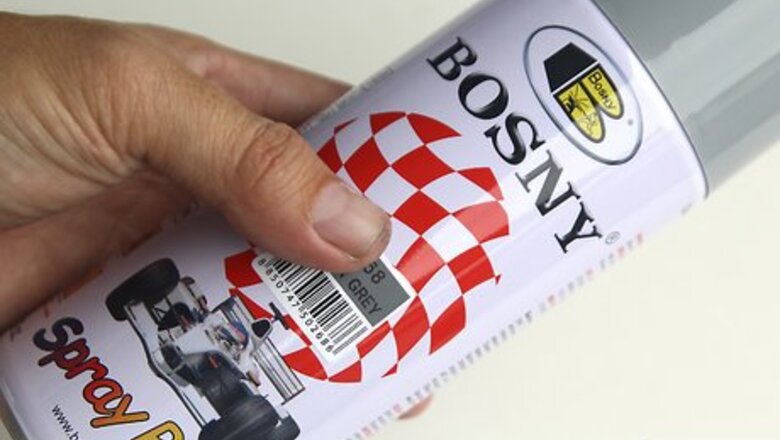
Opt for cans for simplicity's sake. Lacquer can be applied either with disposable, pre-filled aerosol cans or spray guns, which require you to mix your lacquer, load the gun yourself, and adjust settings and attachments. To reduce prep- and guesswork, go with aerosol cans. However, be sure to factor in the surface area(s) of the wood to be sprayed when choosing between the two methods, since aerosol cans are not ideal for very large surface areas. When applying each coat, you want to cover all of a given surface area before the lacquer starts to dry anywhere. However, lacquer dries very quickly, which makes doing large surface areas with aerosol cans problematic. For instance, coffee tables and chests are probably too large for aerosol cans. Boxes and cabinets, however, are more ideal.
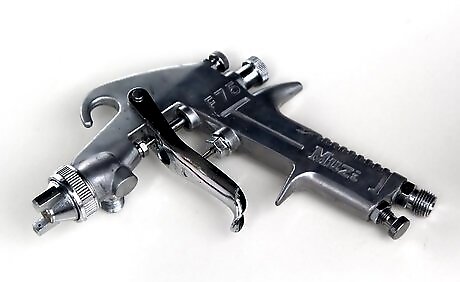
Choose spray guns for large or numerous projects. If spraying lacquer is something you're going to be doing repeatedly, invest in a spray gun. Also use these for projects with surface areas four feet (1.2 m) long and over. There are numerous brands and models on the market to choose from, but spray guns are mainly divided into these categories: Air assisted airless sprayers (AAA): ideal for very large projects, with less labor needed for each piece of wood. Gravity feed guns: easy to clean and operate, making them perfect for DIY beginners. High-volume, low-pressure guns (HVLP): also suitable for DIY projects, although they require some precise setup beforehand for best results. Pressured guns: adjustable pressure allows for more varied results if you like to tinker with your finishes. Suction feed guns: lacquer can be used in these by practiced hands, but are not advised for beginners.
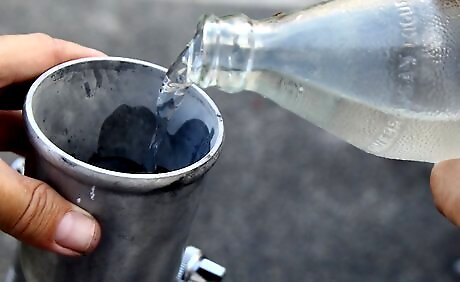
Purchase thinner for spray guns. Aerosol cans are ready to use straight off the shelf, but spray guns require you to mix your lacquer with thinner before filling the gun. How much to add depends on your project, climate, and current weather conditions, so purchase both your lacquer and thinner from a local brick-and-mortar store. Ask the staff what ratio is recommended based on the type of lacquer to be used, your current weather, and the nature of your project. For instance, colored lacquers may require equal parts thinner and lacquer, while clear lacquers use substantially less thinner. In areas with constant high humidity, staff may also advise that you add a retarder.
Choosing Where and When to Spray
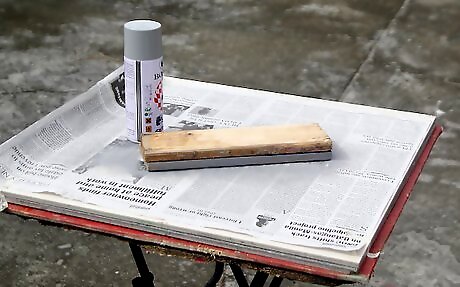
Decide between working indoors or outdoors. Working indoors allows you more control over the elements (which can affect the quality of your finish), but always prioritize safety over results. Lacquer is toxic to inhale, so base your decision on the amount of ventilation that your workspace receives. Only work inside if your workspace is constantly replenished with fresh air. If in doubt, err on the side of caution and work outside. For instance, a two-car garage with both doors open and industrial fans set up to circulate air should be fine. A basement with shoebox windows, on the other hand, should not be used. Whether you work inside or outside, always wear a full-face respirator with carbon filter cartridges.

Create a safe, clean work area. Lacquer and other materials used are highly flammable, so do not use near open flames or heat sources. Inform family or other housemates to keep themselves and any pets away from the area while you are spraying, since the mist created by spraying lacquer is dangerous to breathe. Additionally, do the following, depending on whether you are working indoors or out: Indoors: Clean the work area of dust and bugs, both of which can become trapped in lacquer as it dries. Cover your worktable, floor, and any other nearby surfaces with drop cloths or other protective covering. Open all windows and set up exhaust fans. Outdoors: Pick a shaded area to avoid direct sunlight, which can ruin your finish. Always choose a calm, windless day to work, but also pick an area shielded from wind just in case. Cover your work surface and the surrounding ground with drop cloths to reduce fire hazards caused by over-spray.

Wait for optimal temperature and humidity. Both temperature and humidity can adversely affect the quality of your finish, so only spray when conditions are right. Remember the number 65. Avoid spraying when the temperature dips below 65 degrees Fahrenheit (18 degrees Celsius) or when the humidity rises above 65%. Wet lacquer can absorb the moisture in the air, which will cloud the lacquer as it dries, a defect known as “blushing.”
Prepping the Wood
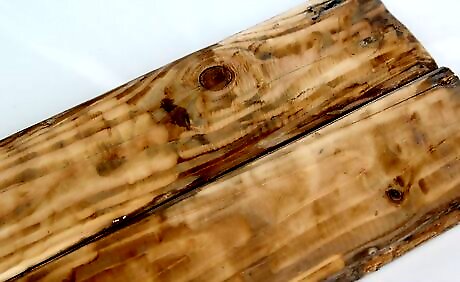
Choose the right wood. Lacquer doesn't work well with all woods, so make sure you're not about to use it on an unsuitable type. For the best finishes stick with cherry, maple, mahogany, and walnut. Refrain from using it on: Woods with coarse, open grains, like ash. Soft woods, like cedar and redwood. Oily woods, like cocobolo.
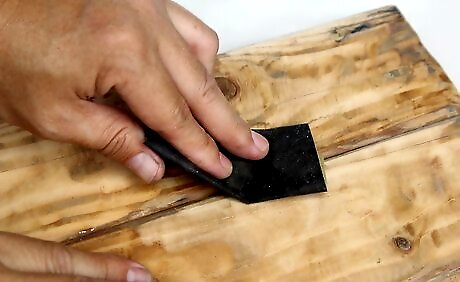
Sand your wood. Sand each piece of wood to be sprayed to get rid of any imperfections. Begin with P120-grit paper and then go over each piece again with P150-grit. Then use a damp cloth to moisten the surface, which helps highlight any remaining irregularities. Finish with P180-grit to smooth the surface down. Sanding is necessary because lacquer will highlight defects once applied. However, the dust created is a problem, since it could end up settling in the lacquer when wet. Sand everything to be sprayed first to get it out of the way so you can clean your workspace thoroughly afterward. Then allow time for any airborne dust to settle. Breaking your project up into two days (one for sanding, one for spraying) will help keep the air clear of sawdust.
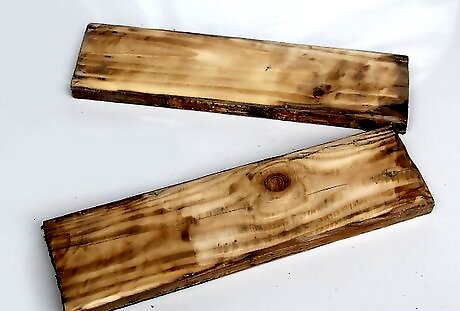
Prevent build-up in pre-cut areas. With furniture, cover any areas that have been pre-cut for joinery and later assembly (such as the slots for shelf pegs in a bookcase). Avoid filling these keys and slots with spray, which can build up and block the pieces that will eventually fit into them. Do the same with any rabbets, where the face or edge of the wood has been trimmed so that another piece can line up with it there. If your furniture is already assembled, it's always best to break it back down into individual pieces, rather than spray it as is.
Applying Your Coats
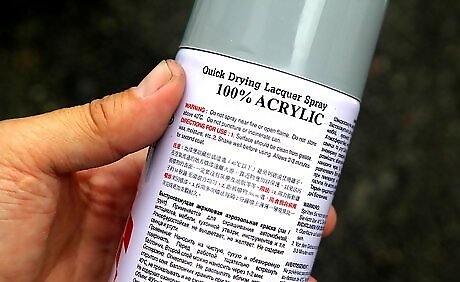
Read and follow the can or gun's directions. Whether you're using aerosol cans or spray guns, always read the instructions before operating. These may vary between types and manufacturers, especially with spray guns. Ensure safe and efficient use by following its recommended use.
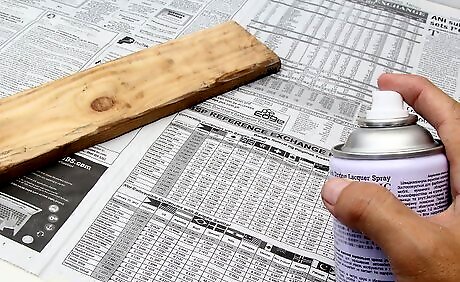
Keep a consistent distance between nozzle and wood. Again, with spray guns, the distance that you should maintain between the gun's tip and the wood may vary. However, expect it to be between 8 and 12 inches (20 and 30 cm). Maintain this distance from start to finish to ensure that the lacquer disperses consistently over the entire surface area.

Start spraying before you reach the wood. Instead of starting at the very edge of your wood, start spraying a little bit past it, directly over your dropcloth. Then move over the edge and down the length of the wood. Similarly, go right over the opposite edge before stopping your spray. Spraying well past either end will ensure a consistent spray over the whole length of the wood, including the very edges.
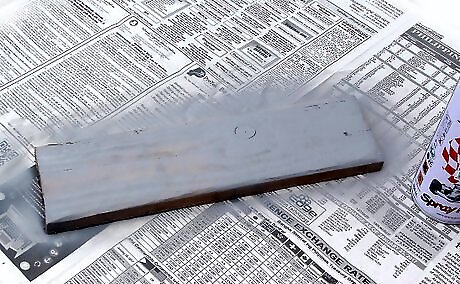
Overlap half of each row. If your wood is too wide to cover in a single spray from end to end, spray cross its narrowest edge first. Then, as you apply a second row below that first spray, aim so that half of it covers the first row of spray. Prevent unsightly build-ups along the edges of each row by applying an even amount of spray throughout.
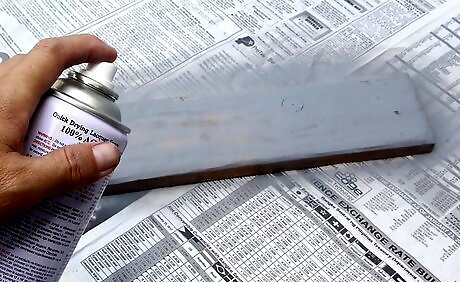
Keep each coat light and consistent. Thicker coats may cause build-up and runs, so plan on applying three to four light coats instead of one big thick one. Maintain a consistent speed as you spray without slowing down (which can cause build-ups) or speeding up (which will result in an uneven coat. Don't worry if the first coat appears blotchy despite your consistent speed, since the following coats will correct this.

Sand after each coat. Again, always refer to directions since drying times between products may vary, with some advising a 20-minute wait for each coat to dry, while others advise two hours. Then sand the wood down with P320-grit paper to smooth the finish. Wipe the wood down with a tack cloth to remove the dust and wait for any particles in the air to settle before continuing with the next coat. You can also use 0000 steel wool instead of sandpaper.
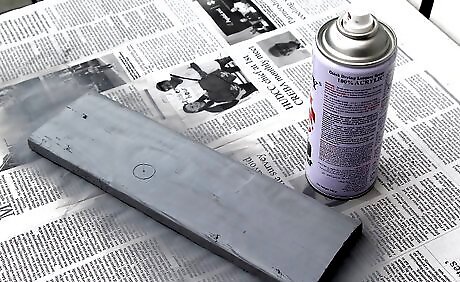
Repeat. First, if you're using a spray gun, follow the gun's directions regarding cleaning, since some may require you to clean it in between each coat if you are using a water-based lacquer. Also, a different ratio of thinner to lacquer than you used for your first coat may be recommended for additional coats. Apply three more coats, sanding after each one. After your last coat, buff it with P400-grit sandpaper dampened with mineral spirits, then finish with 0000 steel wool.


Comments
0 comment