
Using Pencil, Paper, and Paint
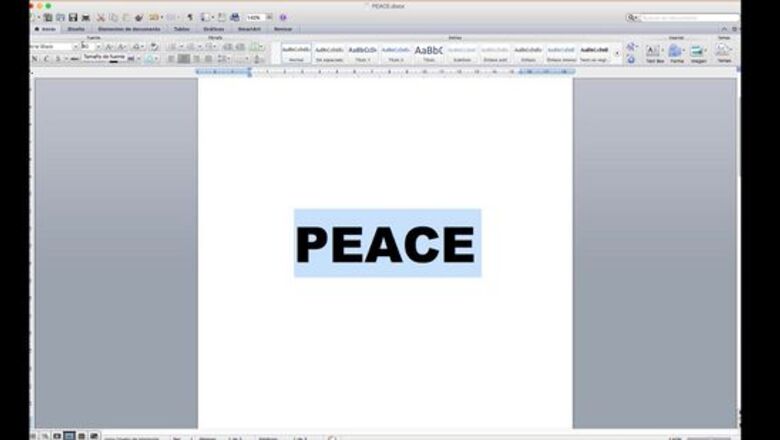
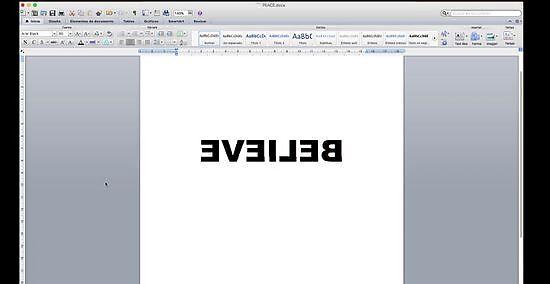
Create your text using a word or image editing program. Since you won't be reversing the text, you can use whichever program you want. Create your text first, then select it and change the font size and font type to whatever you want. The color of the text does not matter. You can even use an option that just gives you the outline. You can also find pre-made text online or even sketch your own on a sheet of printer paper.

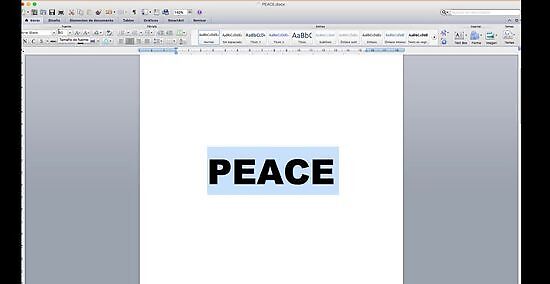
Print your text on a sheet of printer paper. Do not reverse or mirror the text; just print it out on a piece of paper like you would any other document or homework assignment. The type of printer does not matter here, so you can use a laser or an inkjet printer. Make sure that you use printer paper; you can even use binder paper in a pinch. Don't use cardstock, however, or it will be too thick for the transfer to work. Skip this step if you sketched your own text.

Cover the back of the paper with graphite. A thick, graphite stick will get the job done a lot faster, but you can use a pencil too. Be sure to press hard so that the graphite turns shiny. You do not need to cover the entire paper; just focus on the letters. It would be best to cover the entire letter rather than just the outline. You should be able to see the letters through the back of the paper. If you can't you could place the paper against a bright window, but this is not really necessary. If the wood is dark-colored, the graphite won't show up. Use chalk instead. You don't need a thick layer because it is so powdery.

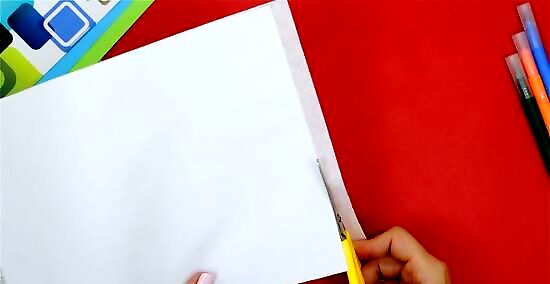
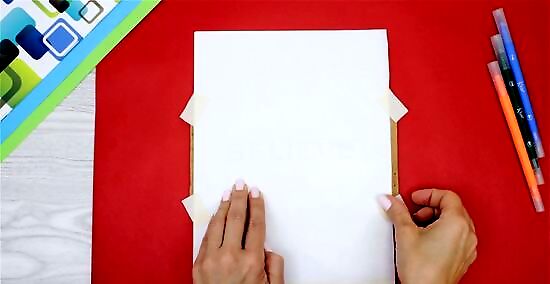
Tape the paper graphite-side-down on your piece of wood. Set the paper down so that the graphite is touching the wood, and the letters are facing up. Move the paper around until you are happy with the position, then tape down the corners. It does not matter what type of tape you use, as long as it holds the paper in place.
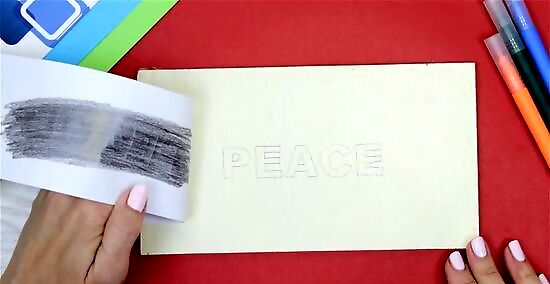
Trace the letters with a pencil, pressing hard. As you trace, the pressure will cause the graphite under the paper to stick to the wood. Wherever you press with the pencil, the graphite will transfer. Lift the corner of the paper to check your progress. The lines will be faint, but you should still be able to see them. You do not need to fill in the letters since you'll be painting them anyway.
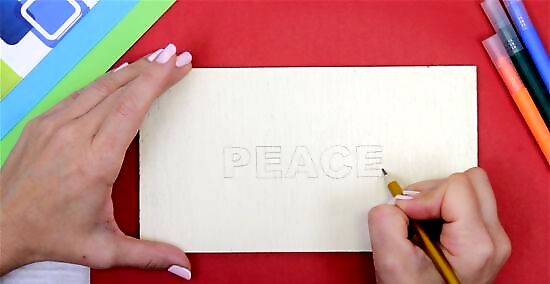
Remove the paper, then go over the letters, if needed. The lines will be faint and ghostly, which is fine. If you are having troubles seeing the letters, trace over them with a pen or pencil so that you can see them more clearly. You'll be using these letters as stencils for the painting step. If you are using a pen, choose a color that matches the paint.

Paint the letters with acrylic paint. Wide, flat brushes are ideal for block letters, while thin, pointy brushes work better for cursive. If you don't feel comfortable painting, you can use paint pens instead. If the wood is smooth, you may be able to color the letters in with permanent markers instead. The paint will cover the graphite/chalk marks, so don't worry.

Let the paint dry. This should only take about 15 to 20 minutes. Once the paint has dried, you can display your wooden piece. For a longer-lasting finish, coat it with a clear, acrylic sealer. Acrylic sealer comes in matte, glossy, and satin finishes, so choose wisely!
Using Wax Paper or Freezer Paper
Reverse your desired text using an image editing program. Open up an image editing program, such as Paint or Photoshop. Use the text tool to type out your desired message. Use the editing tool to reverse or mirror the text. It is important to reverse the text, otherwise it will come out backwards. Choose a nice font and font size. The text will come out lighter on the wood, so dark, bold, or bright colors will look the best. Do not use white. There is no such thing as white printer ink, so it won't print. If it doesn't print, then it won't transfer.
Secure a piece of wax paper to a sheet of printer paper. Coat the printer paper with a glue stick, then press the wax paper on top. Trim off the excess wax paper, then fold tape over the edges. If you don't have wax paper, use freezer paper instead. Make sure that the waxy side is facing up. You don't have to tape every edge--just the edge that will be going into the printer first.

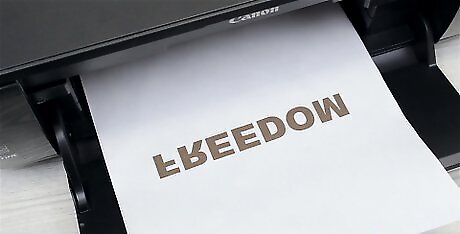
Print the text onto the wax paper using an inkjet printer. Be mindful of how you feed the paper into the printer; the text must come out on the wax/freezer paper. Once the text prints out, handle the paper by the edges. Do not touch the ink, or it will smear. Don't wait for the ink to dry. It needs to be wet for the next step. If you have a bottom-loading printer, insert the paper wax-side-down. If you have a top-loading printer, insert the paper wax-side-up. Because of the wax, the ink won't soak into the paper. That makes it easy to transfer the words to the wood.
Place the paper text-side-down onto the wood. Flip the paper over so that the wax paper is on the bottom. Position the paper over the wood, then press it down once you are happy with the placement. Tape down the corners so that it doesn't slide around. Make sure that the wax paper/printed text is touching the wood.

Scrape the back of the paper with a credit card. If you don't have a credit card, you can use another thin, plastic card, such as a debit card or gift card. Press hard enough to burnish the text onto the wood, but not so hard that the paper tears. You may be able to use a spoon, but the results may not be as vibrant.

Remove the paper to reveal the text. The text will have a faded, vintage-y look to it. If you want something more vibrant, paint over the text using acrylic paint. For a longer-lasting finish, coat your wood with a clear, acrylic sealer. You can apply the sealer directly over the printed text without using paint. Acrylic sealer comes in matte, satin, and glossy finishes, so choose one that you like the best.
Using Transfer Paper

Reverse your text in an image editing program. Open up an image editing program, then create your desired text. Set the font size, color, and type to whatever you want, then reverse the image so that the letters are backwards. This is important. If you don't reverse the text, it will come out backwards when you transfer it to the wood.
Print the text on transfer paper using a laser printer. You can buy transfer paper from the T-shirt and fabric paint section of a craft store or a fabric store. You may also be able to order it online. Make sure that you print on the textured side of the paper, not the papery side. If you only have an inkjet printer, you may be able to find transfer paper made specifically for inkjet printers. Read the labels. Choose paper made for light-colored fabrics. If you get the kind made for dark-colored fabrics, your text will have a white background.

Place the paper face-down on your piece of wood. Make sure that the printed text is face-down and touching the wood. If you want to, you can secure the edges of the paper to the wood with pieces of tape.
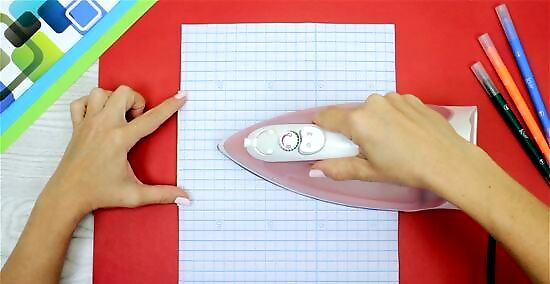
Iron the paper using a hot, no-steam setting. Turn on your iron to the cotton or linen setting and wait for it to heat up. Make sure that the steam setting is turned off, then iron the paper just like you would a shirt. Press and hold the iron firmly against the paper. If you don't apply enough pressure, the text won't transfer properly. How long you do this for depends on the brand of paper that you are using. Most brands will require about 5 to 10 seconds, however.

Peel the paper away to reveal your text. The transfer paper will have acted just like it would on fabric, or close to it. The text may have come out light, but this is due to the rough, porous texture of the wood. If the text did not come out dark enough, you can paint over it with acrylic paints. Coat your wood with a clear acrylic sealer in a matte, glossy, or satin finish to protect the transferred text.


Comments
0 comment