views
Using an In-Ground Fire Pit
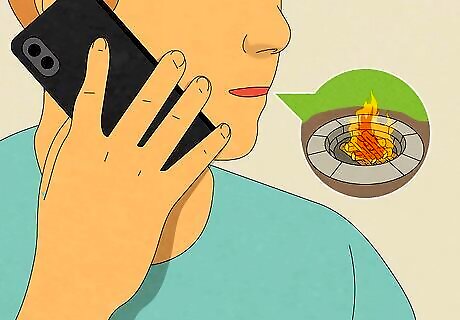
Make sure you can legally use an in-ground fire pit in your home. Check with building officials and local codes to ensure that you won't break any laws. Every city is different and yours may have certain codes which only allow a certain type of fire pit. Get in contact with the planning offices in your area to see if any restrictions apply.
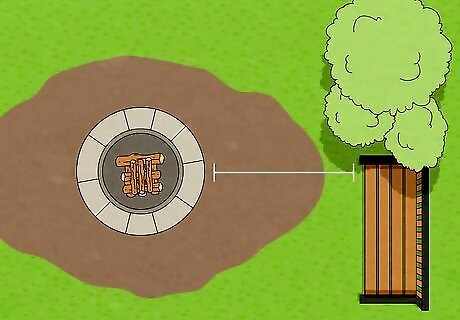
Take a good look around your yard or patio when positioning your fire pit. Your pit should be far away from any flammable structure. With an in-ground fire pit you need to make sure it’s built in a clear area. It should be a safe distance away from your home, deck, overhangs, trees, etc. You should also keep your fire pit away from heat sensitive plants, dry grass, bales of hay, open firewood, and other materials that could ignite. If you don’t already have your in-ground fire pit built, check wind patterns in the area before you build. You want to position your pit so that it doesn’t blow smoke into your home.

Consider how you want your guests to interact. You may want to position your fire pit in an out-of-the-way place for late night intimate gatherings. Or, you may want it more centrally located to encourage conversation and interaction between your guests. Wherever you decide to place it, make sure that you pick a safe location. If you haven’t built the in-ground fire pit, make sure you pick a place that will stay clear of any plant life for years. It’s best to pick an open flat area for your guests as well. If you are on a slope it might be more uncomfortable to sit around the pit. If you are in a more enclosed area, smoke from the pit might be an issue.
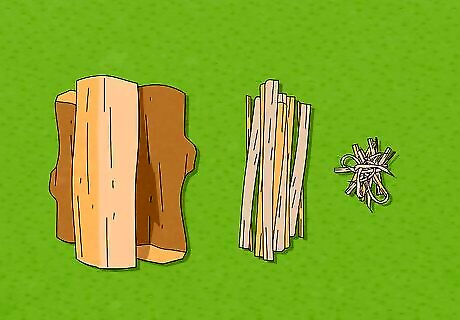
Gather your materials for a fire. The easiest way to get a fire going in your in-ground fire pit is to sort your wood, kindling, and tinder. To help you build the best fire, sort your materials by size. Place all your large logs together, followed by your smaller logs, kindling, and tinder. If you plan to cook any food over your fire, don’t use any starter logs or gels. These items contain chemicals which get into the smoke and can get on your food.
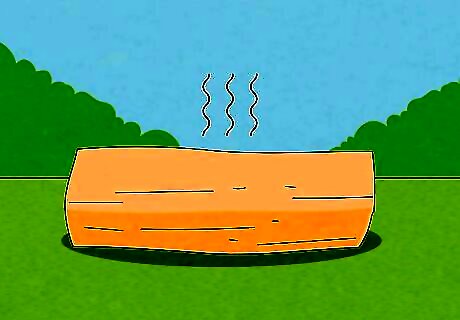
Make sure that you use dry wood. If there’s any moisture in the wood, especially the larger logs, it will be harder to start your fire. You can easily find tinder in your own yard from dry grass and leaves that you've raked up. Otherwise, newspaper works well. It’s also a great idea to have water on hand for putting your fire out.
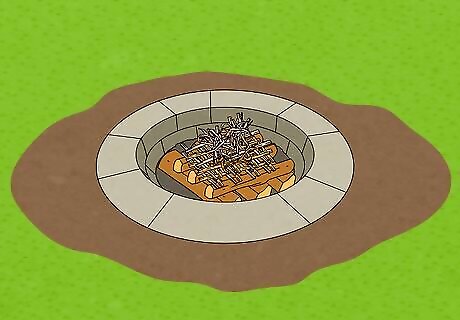
Place your materials in your fire pit. Because you can’t reach under any sort of grate in your in-ground fire pit you need to build an upside down fire. An upside down fire means placing your larger logs in first and stacking smaller logs, tinder, and kindling on top. Place your large logs in the bottom of your pit, and spread the logs out to cover the base. Then, place your smaller logs on top in a criss-cross pattern to allow for airflow. Add your tinder. Create a small pile or ball with your tinder. You can even tie it up with some string if you need. If your tinder is too spread out it won’t create enough heat at once to ignite the rest of your materials. Place smaller twigs and other kindling on top of the tinder bundle in a tepee-like fashion. These small branches will quickly catch fire and help to ignite your larger logs. The tepee shape of your kindling will create a small pocket of heat from your tinder and ensure that your kindling gets an even burn. Never use pressure treated wood. It emits toxic fumes. You can tell if the wood is pressure treated by its green tint.
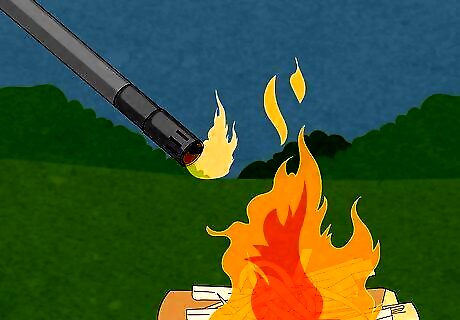
Light the fire. Be sure not to overload the fire pit with wood. You don't want the flames to get too high. When lighting your fire, the safest way is to you use a long match or lighter. Light your tinder and watch the fire grow. You may want to light your tinder in a few places to help the fire get going. If you are using any newspaper, you can also shove balls of it between your larger logs and light the newspaper. Softwoods such as pines and firs are easier to light and are good for getting your fire started. As your fire begins to burn it will create coals and embers. When the flames begin to die down, add larger logs to keep your fire burning.
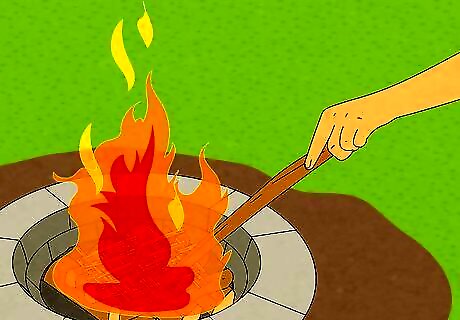
Maintain your fire. After the initial ten or twenty minutes, most of your kindling will have burned up along with your tinder. These bits of material will start to form natural coals and embers which still provide plenty of heat. Use a poker or large stick to move your coals and embers together. Add some oxygen by blowing on the coals to add more heat. You can now start to place larger logs on top of these coals to keep your fire going. Hardwoods like oak, ash, cherry, maple, and poplar are great for adding to a hot fire. These woods last longer than softwoods but are harder to light.

Put out your fire. Once you’re done enjoying your fire pit, properly put out the fire. If possible, allow the fire to burn down completely to ash. Pour water over the fire and make sure you drown all the embers. Keep pouring until you don’t hear any more hissing. If you don’t have water, cover the embers and ashes with dirt and sand which is preferably damp or wet. Stir the ashes and embers. A shovel works well here. Once everything in the pit is wet and cold, you can use the shovel to scrape the materials out of the pit. In most areas you can dispose of your ash in your regular garbage. Check with your local municipality for any specific laws or codes in your area.
Using a Fire Bowl
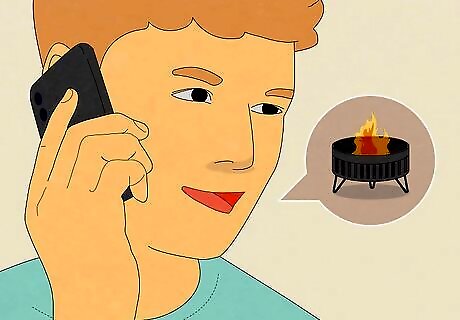
Check with your local municipality to make sure you can legally use a portable fire pit or fire bowl in your home. Before purchasing check local codes to ensure that you can use a portable fire pit. Every city is different and yours may have certain codes which only allow a certain type of fire pit. Get in contact with the planning offices in your area to see if any restrictions apply.
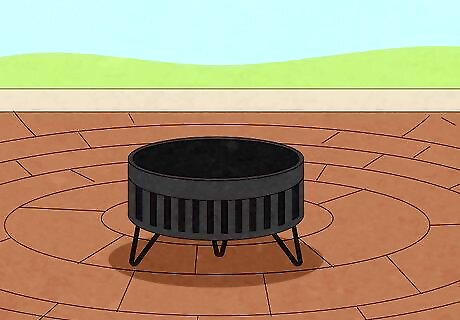
Place your fire bowl in a safe place. Your deck or porch may not be the best place for a fire bowl. Drifting embers can ignite surrounding wood, cause heat damage, and ventilation issues. The best place to put a fire bowl or portable fire pit is on a flat, stable, non-combustible natural surface. Bricks, gravel, granite, paving stones and concrete are great options. Put the fire bowl a safe distance away from your home, deck, overhangs, trees, etc. Don’t put your fire bowl near heat sensitive plants, dry grass, bales of hay, open firewood, and other materials that could ignite. Clear the area around the bowl of any sticks, twigs, leaves, or other flammable substances. Keep a bucket of water nearby.
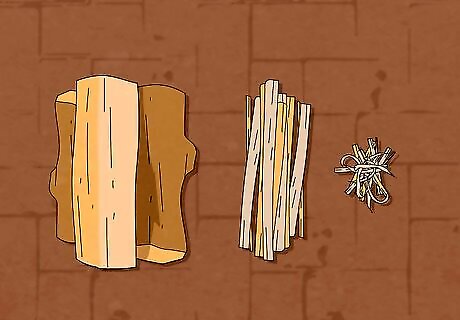
Gather your materials for a fire. The easiest way to get a fire going in your portable fire pit or fire bowl is to sort your wood, kindling, and tinder. To help you build the best fire, sort your materials by size. Place all of your large logs together, followed by your smaller logs, kindling, and tinder. If you plan to cook any food over your fire, don’t use any starter logs or gels. These items contain chemicals which get into the smoke and can get on your food. Make sure that you use dry wood. If there’s any moisture in the wood, especially the larger logs, it will be harder to start your fire. You can easily find tinder in your own yard from dry grass and leaves that you rake up. Otherwise, newspaper works well. It’s also a great idea to have water or a bucket of damp sand on hand for putting your fire out.
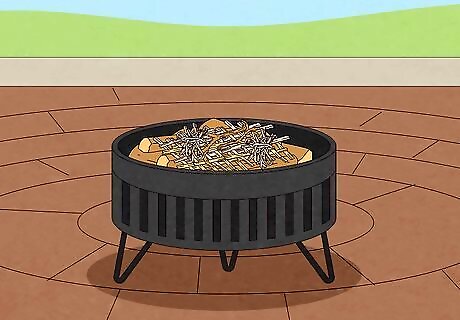
Place your materials in your fire pit. Everyone likes to build a fire a certain way. With a fire bowl or portable fire pit, the teepee method or upside down fire method tend to work best depending on how deep the bowl is. To make a teepee, start by placing your tinder in the bottom of your bowl. Keep your tinder in a ball and lay your kindling around it. Stack the larger sticks around your tinder in the shape of a teepee. You can then place your larger logs around your kindling. Keep a little open area so you can easily reach in and light your tinder. For an upside down fire, place the largest logs in the bottom of your pit, and spread the logs out to cover the base. Stack your smaller logs in a criss-cross pattern over your largest logs to allow for airflow. Place a small pile of tinder on top and then stack your kindling around the tinder in a teepee fashion. Never use pressure treated wood. Avoid using sappy wood like pine and cedar as these woods tend to pop more and create more floating embers.
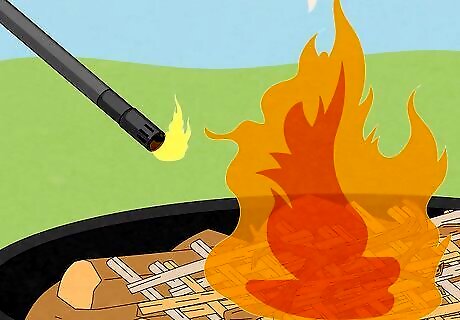
Light the fire. Be sure not to overload the fire pit with wood, don’t stack it much higher than the rim of your fire bowl. When lighting your fire, the safest way is to use a long match or lighter. Light your tinder and watch the fire grow. You may want to light your tinder in a couple places to help the fire get going. Shove some newspaper between your logs to create more heat and build up the flames. Softwoods such as pines and firs are easier to light and are good for getting your fire started. As your fire begins to burn it will create coals and embers. When the flames begin to die down, add larger logs to keep your fire burning. If your fire bowl has a grate cover, place this over your fire once it's going. This will help prevent embers from flying out.
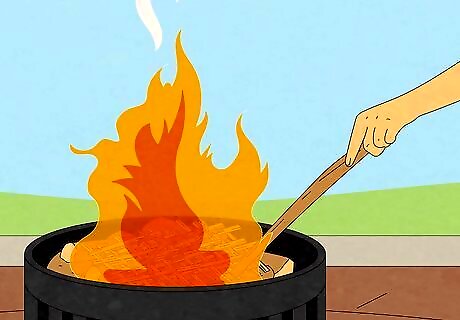
Maintain your fire. After the initial ten or twenty minutes, most of your kindling will have burned up along with your tinder. These bits of material will start to form natural coals and embers which still provide plenty of heat. Use a poker or large stick to move your coals and embers together. Add some oxygen by blowing on the coals to add more heat. You can now start to place larger logs on top of these coals to keep your fire going. Hardwoods like oak, ash, cherry, maple, and poplar are great for adding to a hot fire.

Put out your fire. Once you’re done enjoying your fire pit, properly put out the fire. If possible, allow the fire to burn down completely to ash. Pour water over the fire and make sure you drown all of the embers. Keep pouring until you don’t hear any more hissing. Stir the ashes and embers. A shovel works well here. Once everything in the pit is wet and cold, you can use the shovel to scrape the materials out of the pit. In most areas you can dispose of your ash in your regular garbage. Check with your local municipality for any specific laws or codes in your area.
Using a Chiminea Fire Pit

Check with your local municipality to make sure you can legally use a Chimenea. Before purchasing check local codes to ensure that you can use a chimenea and will have room to properly place it. Your area may have restrictions on the type of fire pit you are allowed to have. Get in contact the planning offices in your area to see if any restrictions apply.
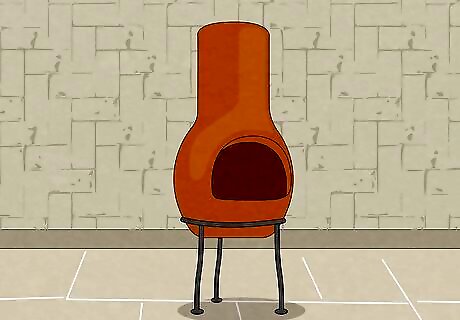
Place your chimenea in a safe place where you won’t have to move it. Chimeneas are heavy and moving one isn’t always easy. However, you may have more options closer to your home than other types of fire pits due to the chimenea’s chimney and smaller mouth. Find a flat, stable, non-combustible natural surface. Bricks, gravel, granite, paving stones and concrete are great options. Don’t place your chimenea under any trees or other overhangs. The longer smokestack produces a lot of heat which is directed upward. This could cause objects above it to catch fire. It’s a good idea to place sand or lava rock in the bottom of your bowl. Fill it to about two inches below the opening. This helps to keep the base of chimenea from overheating while burning a fire.
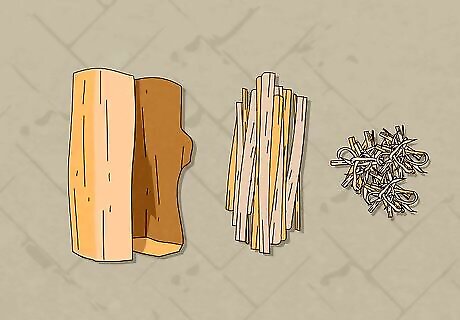
Gather your materials for a fire. The easiest way to get a fire going in your chimenea is to sort your wood, kindling, and tinder. To help you build the best fire, sort your materials by size. You don't need many large logs for a chimenea. If you have a new one, your first several fires should be much smaller. Your chimenea needs to get broken in. If you build too big of a fire, the heat could crack the clay. If you plan to cook any food over your fire, don’t use any starter logs or gels. These items contain chemicals which get into the smoke and can get on your food. Make sure that you use dry wood. If there’s any moisture in the wood, it will be harder to start your fire. You can easily find tinder in your own yard from dry grass and leaves that you rake up. Otherwise, newspaper works well. Keep a bucket of dirt or sand nearby in case you need to put your fire out quickly. Consider placing a few bricks in the bed of your chimenea as well, to act as a bed for your wood. You can stack the logs on top of the bricks.
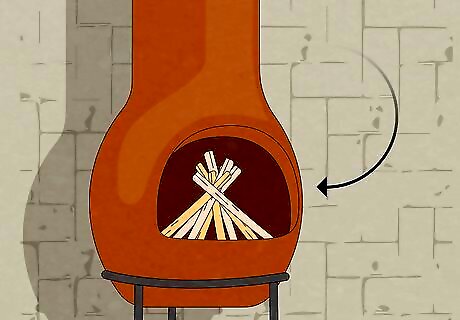
Place your materials in your fire pit. Your chimenea is similar to a fireplace inside a home. So you can stack your materials with the larger pieces on the bottom. Or you can use the teepee method. If your chimenea is relatively new, it’s a good idea to start with small fires the first couple of times. This will season your chimenea and not cause it to overheat or break. To make a teepee fire, place your tinder in the bottom of your bowl. Keep your tinder in a ball and lay your kindling around it. Stack the sticks around your tinder in the shape of a teepee. You can then place your larger logs around your kindling. Keep a little open area so you can easily reach in and light your tinder. If you're breaking in your chimenea, don’t add larger logs, just use kindling and smaller sticks. For a criss-cross, or log cabin stacking method, stack a few logs over your bricks. Add your tinder, then stack your kindling over in a criss-cross. You don’t need a lot of wood as the chimenea is meant for smaller fires. Never use pressure treated wood. It emits toxic fumes. You can tell if the wood is pressure treated by its green tint.
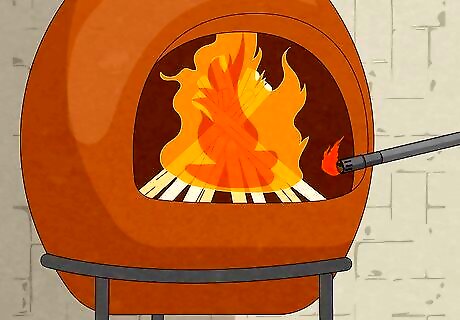
Light the fire. Don’t fill your chimenea with too much wood. Your fire should be small enough so it does not ascend into the smokestack. When lighting your fire, the safest way is to use a long match or lighter. You may want to light your tinder in a couple places to help the fire get going. If you are using any newspaper, you can also shove balls of it under your larger logs. Light the newspaper with your tinder. Pine wood is a good option in a chimenea as it smells nice, wards off mosquitos, and burns well without getting too hot. Hardwoods like oak, ash, cherry, maple, will burn best in your chimenea as these don’t produce as many sparks and last longer than softwoods. If you do plan to use wood that emits more sparks, use a spark arrestor. This metal piece of equipment goes inside your smokestack and will extinguish sparks.
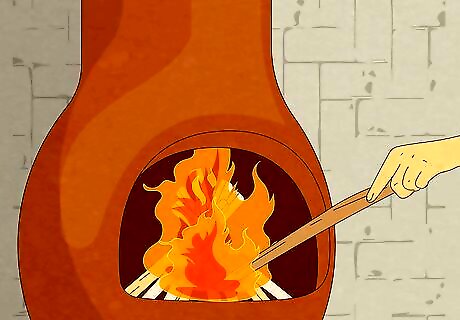
Maintain your fire. As your wood begins to burn down it will create coals. You can use these coals to keep start new logs, or for cooking. Be careful not to add too much new wood, causing your fire to get too high. Use a poker or large stick to move your coals and embers together. Add some oxygen by blowing on the coals to add more heat.
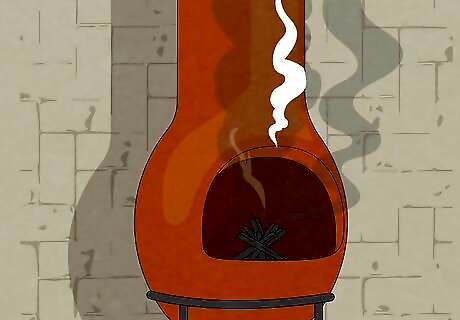
Put out your fire. Once you’re done enjoying your fire pit, properly put out the fire. Never use water to put a fire out in your chimenea, especially if you have a clay one. The shock from the temperature change can break the clay. Let the fire go out naturally. If you’ve been properly monitoring your fire, you won’t have put too much wood in your chimenea. If you have a lid for your smokestack, place it over to restrict air flow. You can also dump sand on your embers to help extinguish the fire.
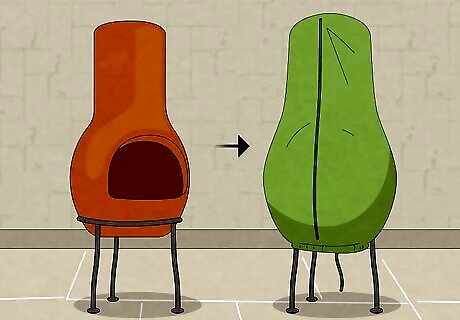
Keep your chimenea in good shape. A chimenea needs a bit more attention than other types of fire pits due to the materials it's made of and design. Invest in a waterproof cover to keep it dry. Chiminea sealer will help to keep the clay from cracking. When you shovel out your ashes, rinse any rocks you have in the bottom. Let the rocks dry completely.


Comments
0 comment