
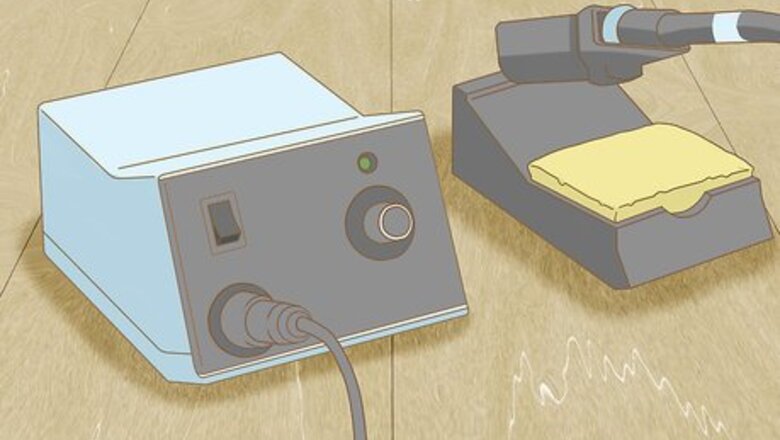
A soldering "station?" Sounds complicated--and expensive. But it's not. It's just a soldering iron with a built-in thermometer and a big external power supply to keep it at a constant, hot-but-not-too-hot temperature as it melts solder on demand. And now they're available for under $50. In contrast, a basic soldering iron uses a low constant power to build up a reserve of heat in a relatively bulky tip, which can start out too hot but rapidly lose temperature and effectiveness (but still eventually damage components as you struggle) if initial contact to the task at hand isn't perfect or the assembly is bigger than usual.
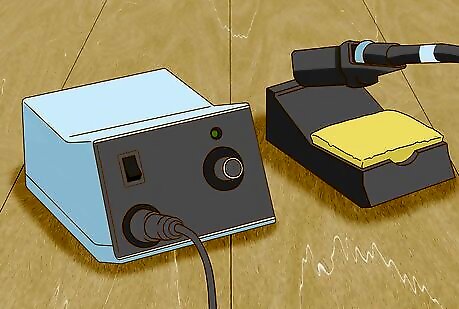
Set up the soldering station. Clear and fire-proof the immediate work area, assemble the components, dampen the sponge, plug in the unit, and put on your safety glasses.

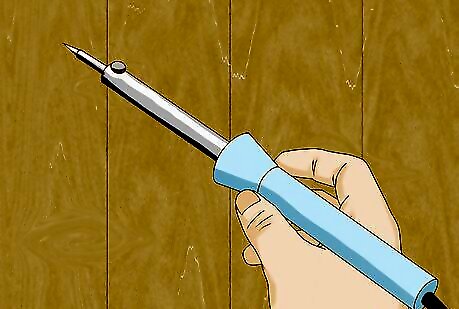
Choose a tip. Most soldering stations have interchangeable tips (which are also replaceable, but by avoiding overheating, the station's temperature control minimizes corrosion). The tip should be broad enough to cover the width of the joint, but no wider to avoid heating the wrong thing. A small round tip will do well for general use. Assemble and secure it onto the iron (handheld assembly).
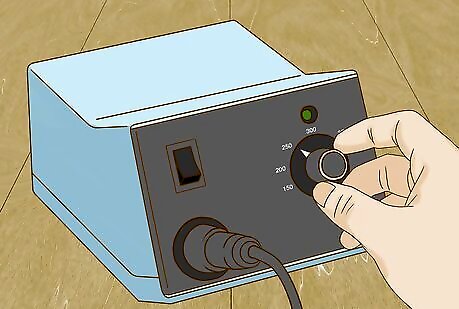
Select a temperature. The temperature should be as high as needed to heat the work rapidly - within a second or so - to the point where it can melt additional solder onto itself, but not much hotter. Too cool, and still intense heat will have time to work itself up leads into delicate components; too hot, and, similarly, excess heat will work its way into components as your dexterity, rather than iron temperature, limits the speed at which you can remove the iron. 600 degrees F is a starting point for "surface mount" components that sit in little blobs of solder in circuit boards; 700 degrees for smallish components and thin wires; and 800 or so for largish components and lamp-cord-size wires.
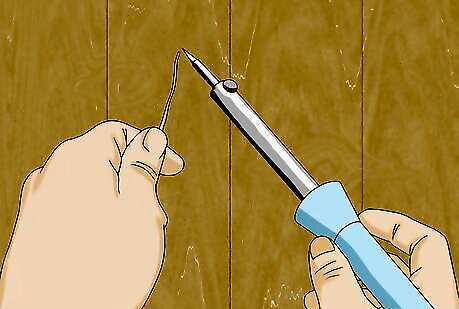
"Tin" the soldering tip. Before you start, and every several minutes afterward (especially as the soldering iron seems to become less effective), apply a small amount of fresh (and flux-cored, as usual) solder to the tip where it will contact the work, sufficient to coat the end with fresh, soft, silvery metal. Wipe off any excess that hangs down against the damp sponge in the iron rest. Before soldering each joint that doesn't have some solder on it already, apply just a little solder to the iron to provide a wider, squishy contact to dump heat into the joint. The purpose is not to add much of the solder from the iron to the work--a recipe for unreliable, unwetted "cold soldered" joints--but simply to efficiently heat the work by a sizable surface rather than a point so that it can accept solder well itself.
Solder as usual. But better!


Comments
0 comment