views
- Waifu2x can be used to upscale and improve the quality of images.
- You'll need to download Waifu2x from the website and extract the files.
- You'll be able to select denoise level and magnification rate for your new images.
Using Waifu2x-Caffe for Windows
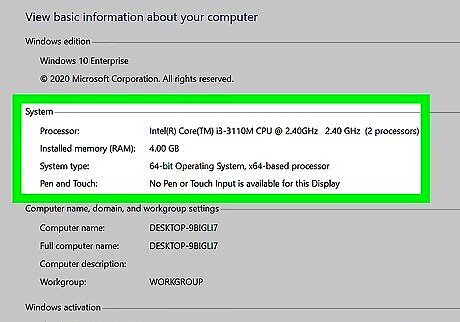
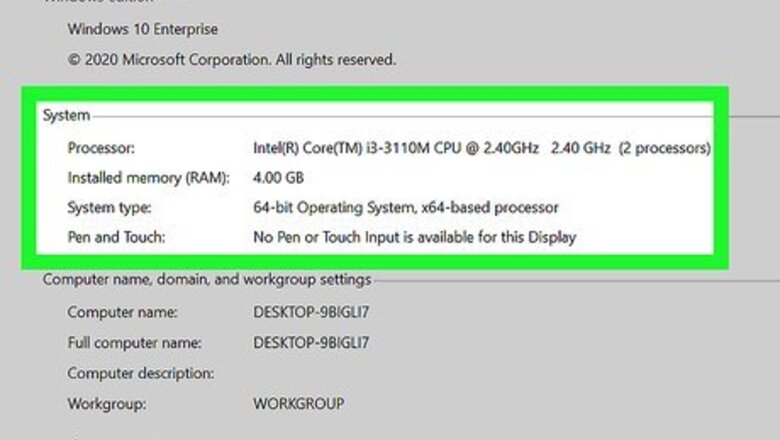
Make sure your PC meets the requirements. The developer of Waifu2x recommends that Windows users use a version called Waifu2x-Caffe for best results. The program will run on most modern PCs, although it will perform better if you have a speedy processor and/or video card (also called a GPU). You'll need: A 64-bit Windows 10, 8.1, 8, or 7. At least 1GB of available RAM when you're ready to process the image. For the fastest possible processing, you'll want to have an NVIDIA GPU with Compute Capability 3.0 or higher. Check your GPU's computing capability at https://developer.nvidia.com/cuda-gpus. If you don't have an NVIDIA GPU, you can process images with your CPU. If your NVIDIA GPU supports CUDA, install the CUDA Toolkit update from https://developer.nvidia.com/cuda-downloads, and then the cuDNN installation package from https://developer.nvidia.com/cudnn. This ensures that Waifu2x takes full advantage of your GPU's processing power during the conversion, as processing with your CPU can be kind of slow. Unless you speak Japanese, you'll want to use Google Chrome or any other web browser that has a built-in translation tool.
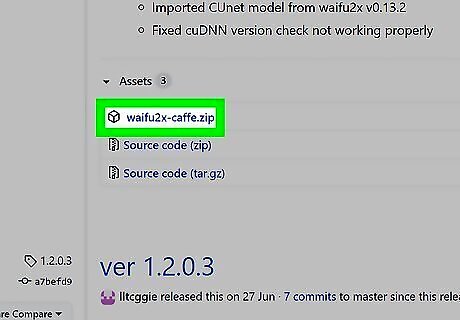
Download the Waifu2x-caffe ZIP from https://github.com/lltcggie/waifu2x-caffe. First, if you don't speak Japanese, right-click the page and select Translate to English (or your language) so you can read the page. Then, click the latest version number under "Releases" in the right column. Scroll down to click waifu2x-caffe.zip. If the download doesn't start immediately, click Download or Save to start it.
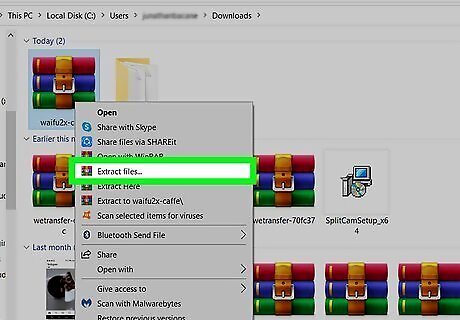
Unzip the downloaded file. To do this: Open your downloads folder. Right-click waifu2x-caffe.zip and select Extract all. Select a location for Waifu2x. There's no installer, so you can just choose its permanent folder location here. Click Extract to unpack the files.
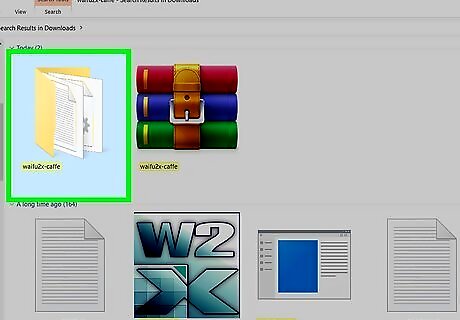
Double-click the new folder called waifu2x-caffe. If the folder opened automatically, you can skip this step.
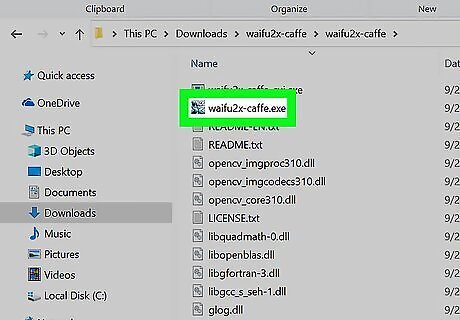
Double-click waifu2x-caffe.exe to open the app. If Windows warns you that the app is not signed, just click More info and choose to run it anyway. If you do not have Windows set up to display file extensions, you may not see the ".exe" part at the end. Just double-click the file called waifu2x-caffe to launch the application.
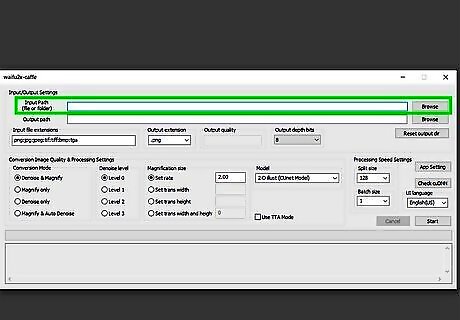
Select the image you want to correct. An easy way to do this is to drag the image file to the "Input Path" field. You can also do this by clicking the Browse button, selecting the file, and clicking Open. Supported image file types are PNG, JPG, JPEG, TIF, and TIFF. This updates the default output path, which will be a new file in the same folder with a similar name.
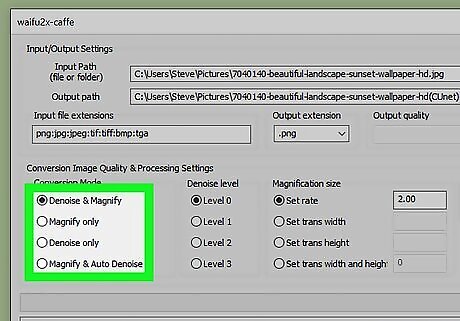
Select the conversion mode. There are four options: Denoise and magnify is best used if you're working with a small low-quality image (like an icon or avatar) and want to make it larger and clearer. A combination of upscaling and noise removal may still degrade the image quality, although the results still blow away the competition. Magnify only will work if the image's quality is high enough that you don't need to reduce noise. This simply upscales the image without removing artifacts. Denoise only is good for when you just want to clarify an image without adjusting its size. Magnify & Auto Denoise magnifies the image and runs an automatic denoiser based on the file type. For example, with this option, PNG files will not be de-noised and JPG files will.
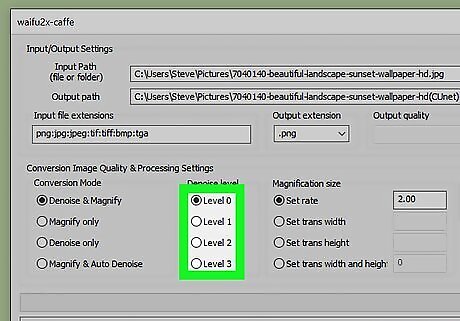
Select a denoise level. The levels at the center of the screen go from 0 to 5, with 5 being the most amount of denoising. You may have to play around with this setting depending on your image—start with Level 1 and work your way up if necessary. The higher the level, the more you risk blurriness or an oil painting effect. If you're not denoising the image, you can leave Level 0 selected.
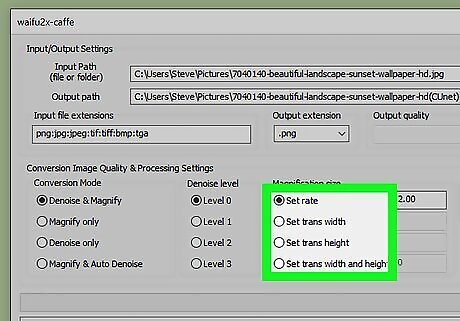
Select the magnification rate. The default "Set rate" is 2.0, which means the resolution will be doubled. You can adjust that as needed. To get a more precise scaling value, you can use simple math. Let's say you have a monitor with a 16:9 aspect ratio and 1920x1080 resolution: In most cases, the image you are working with will not be as wide as 16:9. Therefore, to calculate the scaling factor, you'd divide 1920 by the image's width. For example, an image of 1500x1000 would have a scaling factor of 1920/1500 = 1.28. You could enter 1.28 as the magnification rate. In the case where the image is wider than 16:9, you'd divide 1080 by the image's height. For example, an image of 1000x500 would have a scaling factor of 1080/500 = 2.16. Waifu2x always rounds down when it calculates the final image resolution. If your numbers are not round like in the examples, always round up in the third or fourth decimal place.
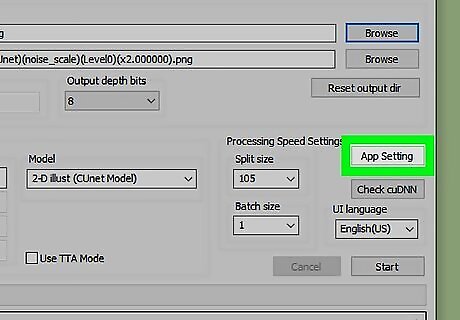
Specify your processor. Click the App Setting button to select CUDA if your GPU supports it, or CPU if you don't have an NVIDIA GPU, and then click OK. If you have a CUDA-supported GPU, you'll want to use it, as the processing time will speed up tremendously.
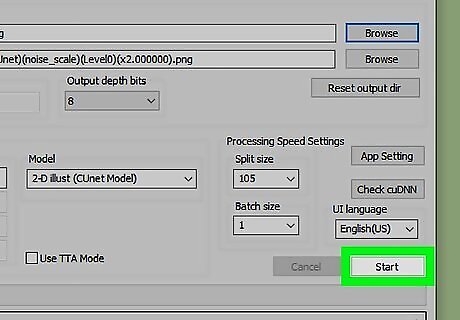
Click Start to process your image. When the process is complete, the resulting image will be placed into the folder you selected in the output path. It may take some trial an error before you get the image exactly as you'd like.
Using the Waifu2x on The Web
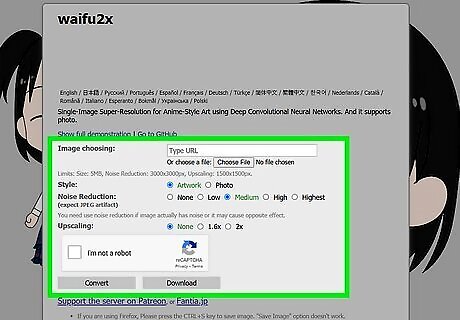
Go to https://waifu2x.udp.jp. The web-based version of Waifu2x is free, easy to use, and works in almost any web browser on any platform. This version can process images up to 5 MB. The only thing is that the website goes down quite often. If the site is down when you want to process images, your best bet is to use the Windows version of the software. If you have Windows and want a full-featured version of Waifu2x, see the Using Waifu2x-Caffe for Windows method. If the page loads in another language you don't understand, most browsers will prompt you to translate the page once it loads. If your browser doesn't translate for you, check out Google Chrome.
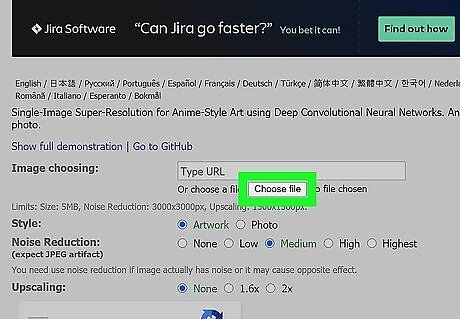
Select an image. If the image you want to process is on your computer, click Choose File, select the image file, and then click Open. If it's on the web, you can copy and paste the URL into the "Image selection" blank. Websites that host high-quality anime images are Pixiv, DeviantArt, and Konachan (wallpapers). If you find an image in Google Image Search, make sure to go to the page that hosts the image and copy the link (or download the image) from there. Otherwise, you might be starting with a smaller thumbnail version of the image with poorer quality.
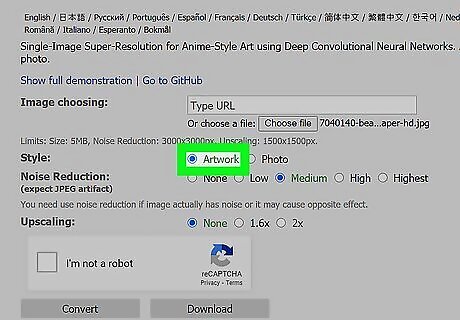
Select the style. Choose Artwork if you're working with an illustration, such as an anime scene or character. This option will also work for any type of minimalist art that uses simple textures and color gradients. If you're working with a photo, select Photography instead.
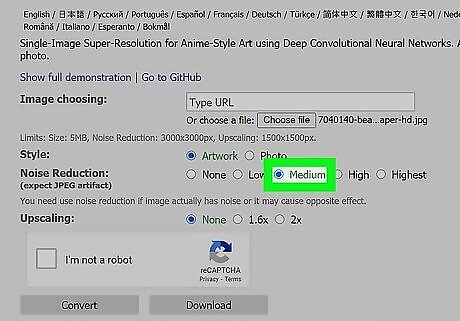
Select the noise reduction level. There are four options, you'll usually achieve the best results using either None or Medium. While Waifu2x can seriously reduce noise and improve image quality, an oil-pastel effect may appear on the finished product using Tall or Highest, especially with highly-detailed art (such as a background with the night sky). This is why the program is intended for anime art.
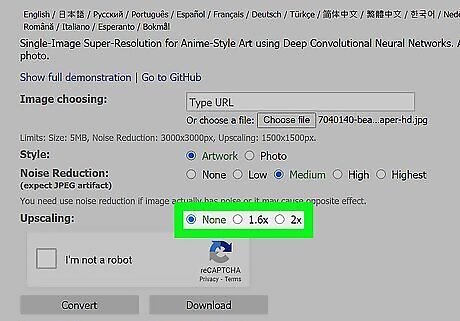
Select the upscaling. Choose one of the three values in the "Resolution increase" section for your final product—this will increase the size and resolution. The options are None, 1.6x, and 2x. A combination of upscaling and noise removal will still slightly degrade the image quality, but it'll still look much better than it would if you simply resized it or upped the resolution in an app like Photoshop.
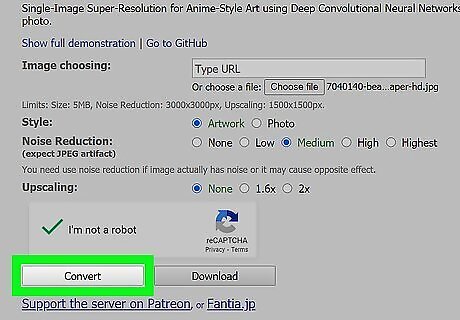
Click Convert. The conversion will take a few moments and then display an improved image. If you aren't satisfied, try again after playing around with the settings.


Comments
0 comment