views
Opening the Bracelet with Your Fingers
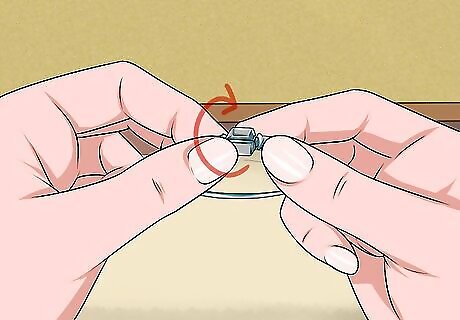
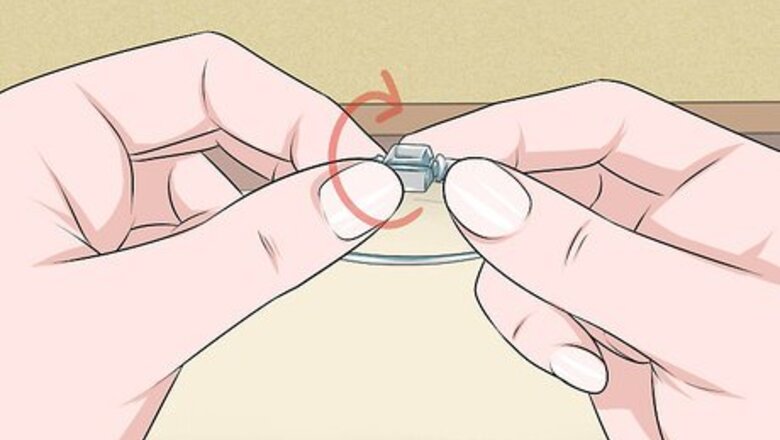
Rotate the clasp until the groove on it faces upwards. Turn the clasp with your fingers. You will soon see a vertical line running end to end along 1 side. The clasp opens along this line. The standard barrel clasp has a groove. Pandora also sells some lobster clasps, which are like keychain hooks. You simply press the button to open the clasp, then slide the end of the bracelet off it.
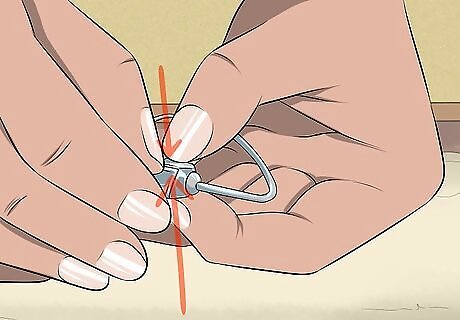
Insert your fingernails into the groove. Slide your thumbnail in first, followed by another fingernail if you can fit it. The easiest way to do this is with both thumbs, but you can do it with your other fingers as well. Position your thumbs so both nails touch back to back. Brace the sides of the clasp with your other fingers or the side of your body. After you get accustomed to opening the bracelet, you may be able to do it with a single nail. Starting with 2 nails is easier and gives you more leverage on the clasp.
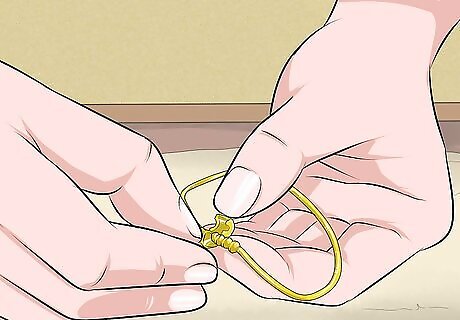
Pry the sides apart until the clasp opens. Push both nails outwards to separate the ends of the clasp. Apply gentle but firm pressure. The clasp will soon pop open so you can remove or put on the bracelet. To keep the charms secure, the clasp may be a little stiff and difficult to open. Apply more force to leverage it without the use of additional tools. If you have trouble opening the clasp, adjust your grip and try again. Most clasps pop open without much trouble, but you may need to get a clasp opener to remove a stuck clasp.
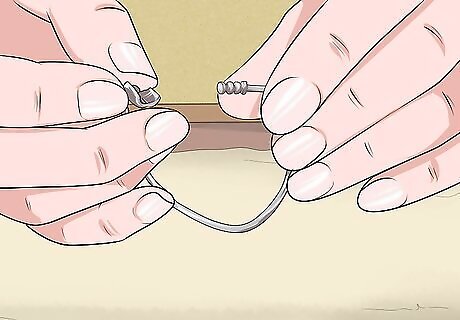
Lift the rod out of the clasp to free the ends of the bracelet. The clasp is permanently secured to 1 end of the bracelet. The other end looks like a small plug. Simply pick it up and move it out of the clasp to finish opening the bracelet.
Using a Clasp Opener
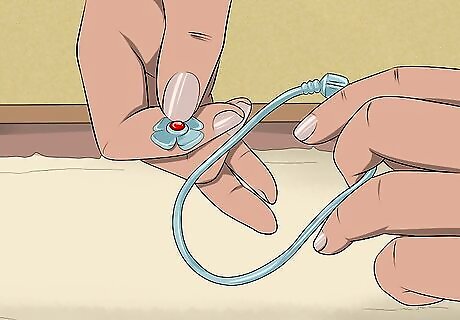
Pinch the thumb and forefinger. Curl your fingers in like you're making a fist, but rest your fingertips on your palm. With your other hand, set the clasp on top of your forefinger, then squeeze it in place with your thumb. Position the opener so a flat, broad edge points away from you. Pandora sells a clasp opener that looks like a flower pendant. It has 4 petals, each with a flat edge that can be used to open clasps. If you don't have a Pandora clasp opener, you can use a generic clasp opener. Look for tools designed for jewelry or even phones. You can also use small coins or other sturdy objects with a flat edge.
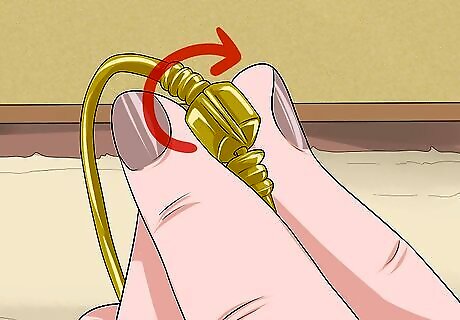
Rotate the clasp until you see its groove. Turn the clasp with your fingers until you see a gap in the clasp. The gap is a vertical line running between the clasp's top and bottom edges. Face the groove upwards so you can get plenty of leverage with the opener.
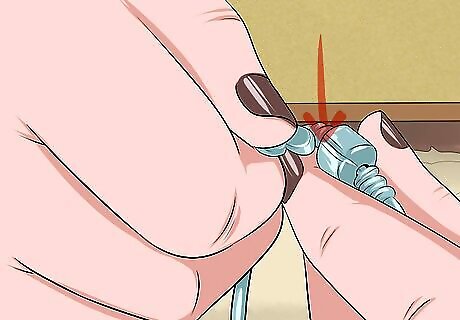
Insert the opener into the groove. Wedge the clasp opener's flat edge into the gap. Push it in as far as it will go, but avoid forcing it. Hold the clasp steady by bracing it against your fingers or the side of your body.
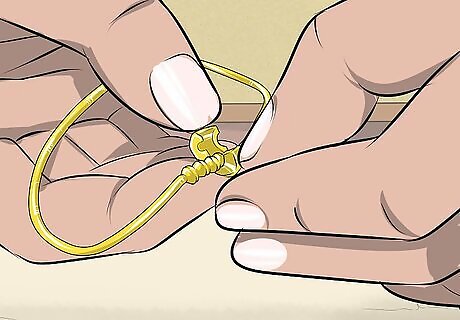
Pry the clasp open to free the bracelet. Wiggle the clasp opener back and forth, pressing it against the sides of the clasp. Maintain a steady amount of pressure. The clasp will usually pop open right away without much of a struggle. Then, pull the bracelet's loose end out of the clasp to finish opening it. If you can't open the clasp right away, adjust your grip on it. Make sure the opener is firmly wedged in the groove. The bracelet permanently attaches to the clasp at 1 end, so identify the removable side and pinch it between your fingers to lift it out.
Closing the Bracelet
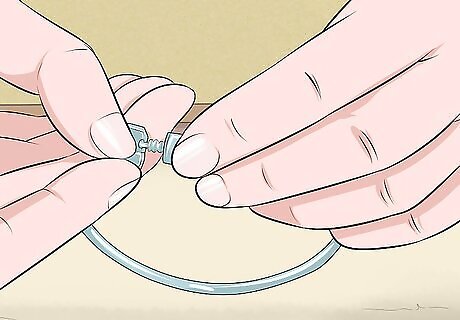
Place the bracelet's rod into the open clasp. Take a look at the ends of the bracelet. The bracelet will have a small head shaped like a rod at one end. Make sure the clasp is open, then rest the rod in it. Push the rod as far as you can into the curved groove of the clasp. The easiest way to put the bracelet on is by draping it over your wrist. Position the clasp on top of your wrist, then bring the rod end around to meet it. If the rod is outside of the groove, the clasp will not close correctly. The bracelet may end up falling off your wrist. Check the placement carefully as you close the clasp.
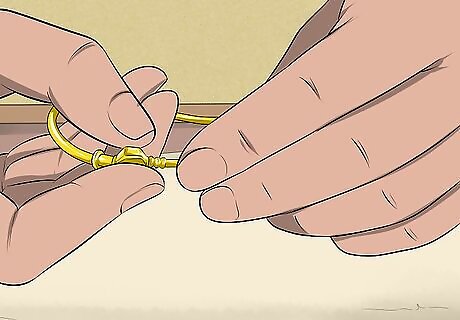
Grasp the sides of the clasp with your fingers. Place your thumb against one side of the clasp, then reach your forefinger over to the other side. Grasp the clasp firmly between your fingers. Use your free hand or fingers to hold the rest of the bracelet steady as you work.
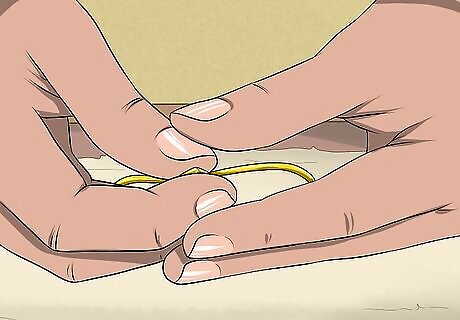
Squeeze the ends of the clasp together to close it. Bring your thumb and forefinger together to snap the clasp shut. You won't need to use a lot of force to do this. Check the clasp to make sure the head is secure inside of it. If the clasp seems loose, open it up and adjust it. Avoid forcing the clasp if it doesn't close correctly. You could end up breaking it. The problem likely is that the rod isn't snug in the clasp's groove. Open it up and try again.
Opening and Closing Clip Beads
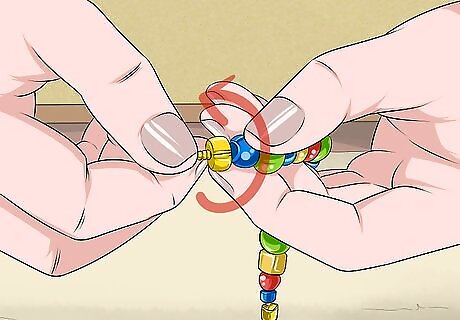
Rotate the bead so the opening groove faces upwards. The clip bead will be at the end of the bracelet, directly behind the rod component on the bracelet's latching mechanism.Turn the bead with your fingers. You can spin it on the bracelet until you see the groove. It is a thin gap that runs down the bead's side. Note that you have to open the bracelet before you can open any beads. This allows the clip bead to prevent other components from sliding off the bracelet. Opening the clip bead is very similar to unlocking the bracelet itself. They both use the same type of mechanism.
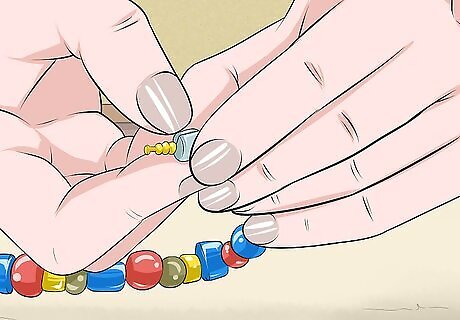
Insert your fingernails into the gap. Slip your thumbnail into the groove. You can usually snap open the bead with a single nail. If you need more leverage, try using your other thumb as well to pull the bead's sides in opposite directions. If you're wearing the bracelet, pin it to your wrist with your fingers to keep it still. You can also use a clasp opener or the side of a thin coin to open the bead.
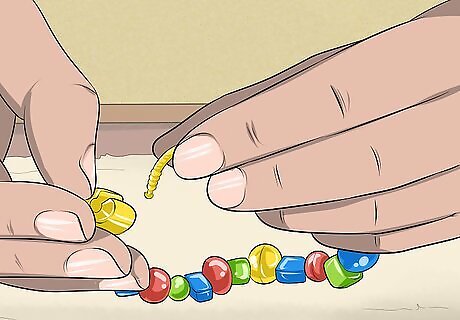
Pry open the bead set it aside. Use firm, even pressure to pull open the gap in the bead. As you push outwards, it will pop open. The remaining beads will be loose, so hold on to the end of the bracelet and keep it pointed upwards. Now you can reach any other beads you wish to remove. As soon as the bead pops open, you can move it off the bracelet. Be careful to avoid spilling the other beads.
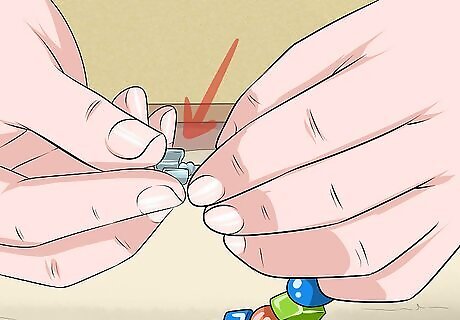
Pinch the bead between your fingers and fit it around the bracelet. Hold the bead between your thumb and forefinger, keeping its inner groove facing upwards. Bring the end of the bracelet over and set it inside the groove. Make sure it fits snugly inside the curve of the bead. Hold the bead steady with your other fingers. You can pin it against a flat work surface or your wrist to prevent the other beads from shifting.
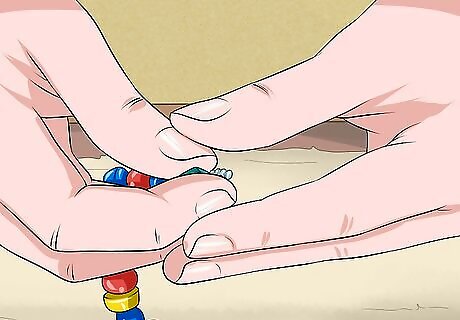
Snap the ends together to close the bead. Push your fingers together. The sides of the bead will come together without the need for much force. Continue pushing until you hear the bead click closed. If the bead doesn't seem to close correctly, avoid forcing it. Open it up and check its alignment. The bracelet may not be firm inside the bead's groove.






Comments
0 comment