
Open Kodi on your PC or Mac. It’s in the All Apps area of the Start menu in Windows, and the Applications folder in macOS.
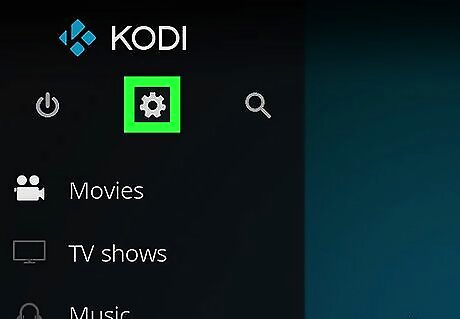
Click the gear icon. It’s at the top of the left column.

Click Player Settings. It’s the first icon in the list.
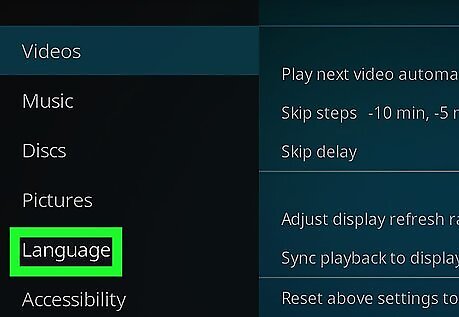
Click Language. It’s near the bottom of the left column.
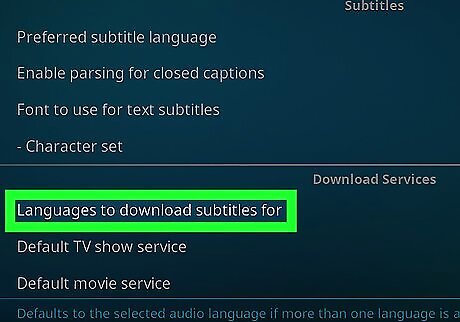
Click Languages to download subtitles for. It’s in the right panel under “Download Services.”
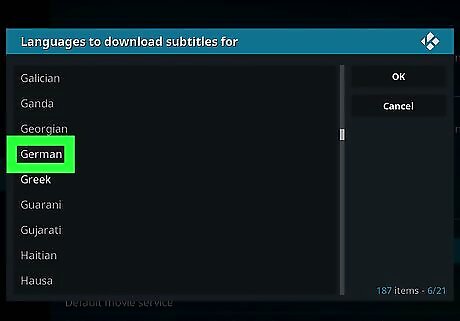
Click a language. The language you select is the one in which your subtitles will appear.
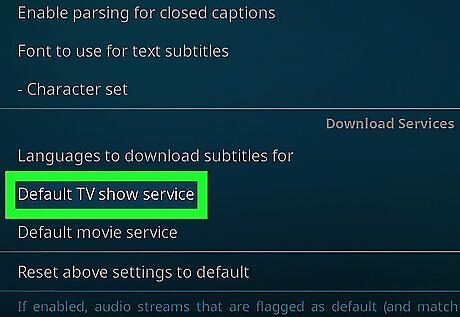
Click Default TV show service. It’s in the right panel under “Download Services.” A window will expand.
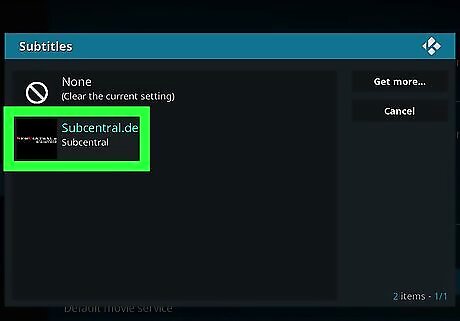
Select a service. The service you select is will be the source of your subtitles. If no services are listed: Click Get more… Double-click a service. If you’re not sure of which to use, try OpenSubtitles.org by OpenSubtitles.
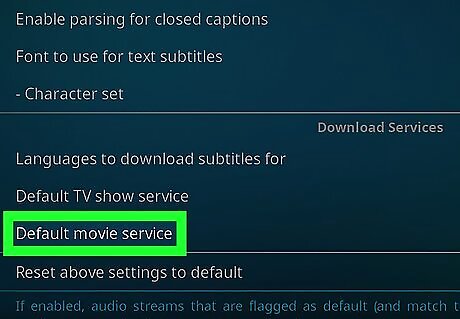
Click Default movie service. It’s in the right panel under “Download Services.”
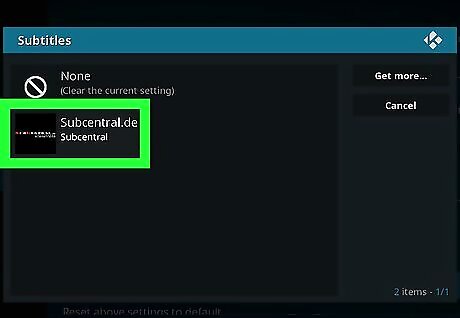
Select the service you want to use. For example, if you are using OpenSubtitles.org, double-click it now.
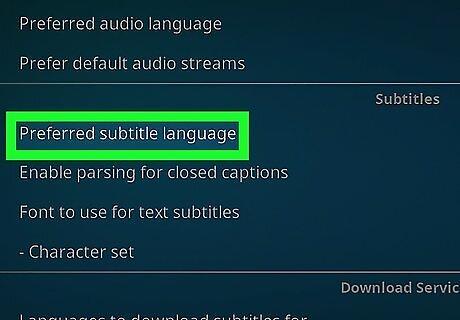
Click Preferred subtitle language. It’s in the right panel under the “Subtitles” header. You only should do this if your subtitles will be in a different language that the video’s default language.
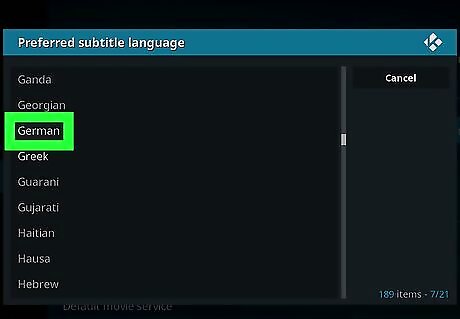
Select a language. Double-click the language in which you want to view your subtitles. Subtitles are now configured in Kodi.


Comments
0 comment