views
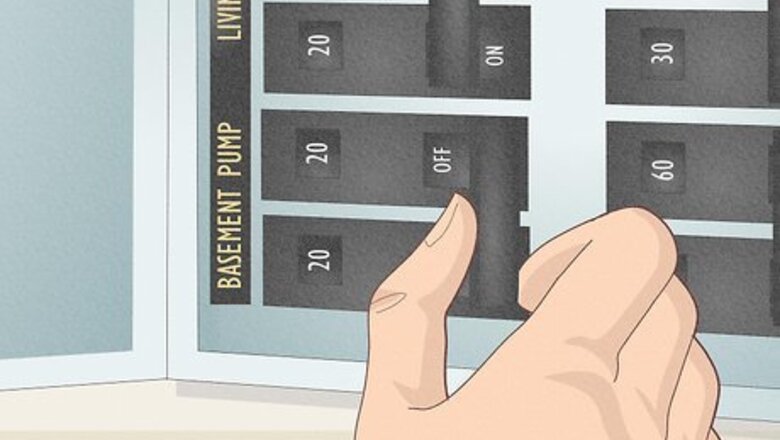
Turn off the breaker connected to the pump.
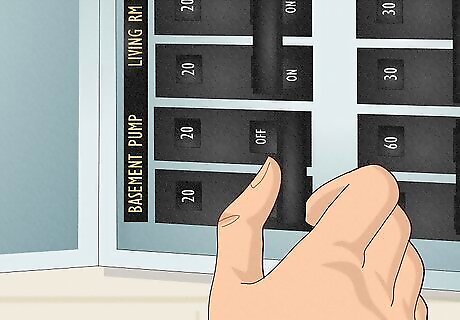
Shut off the power to keep yourself safe. Working on a pressure switch that’s still connected to power is extremely dangerous. Either turn off the breaker or disconnect the power before getting started.
Take off the cover to the pressure switch.
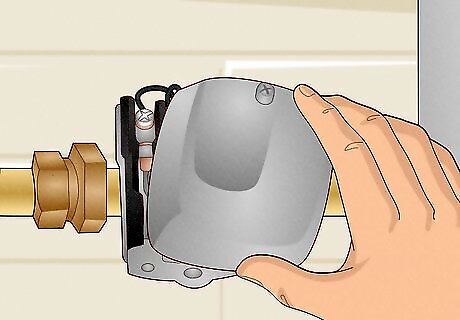
Loosen the nut on the cover to remove it. Look for the cover of the pressure switch, which is usually a small black or gray cube made of plastic. Loosen the nut with a wrench or untwist it by hand, then lift the cover straight up.
Check the inside of the cover for the pre-set settings.
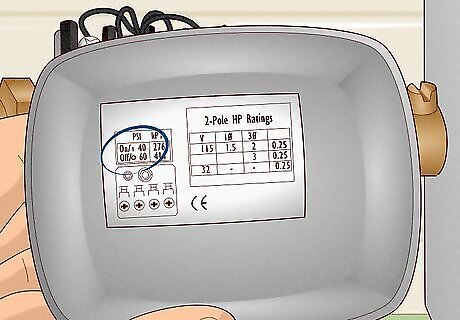
The PSI range is usually listed on the well’s inside cover. Most pumps come with a factory set range of PSI. Turn the cover over and look on the label inside to see what the range of your pump is. Most well pumps have a range of 30 to 50 PSI, meaning they turn on at 30 PSI and turn off at 50 PSI. If you have a submersible pump, it will probably be set to 40 - 60. Some smaller jet pumps are set to 20 - 40. These ranges are also sometimes called the “cut-in and cut-out” pressures, meaning the pump will “cut-in” (turn on) at the bottom of the range and “cut-out” (turn off) at the top of the range.
Adjust the PSI range with the center nut.
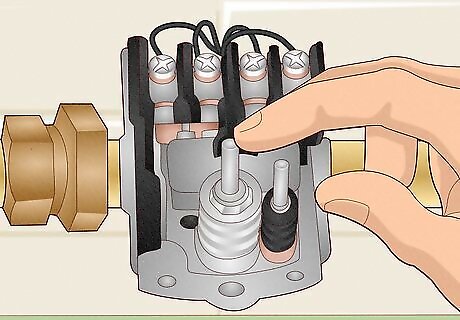
Raise or lower the PSI with the center nut. Take a look at the pressure switch: you’ll notice 2 separate nuts. The larger, center nut adjusts the range of PSI, meaning where it starts and where it ends. This is usually the nut you’ll be working with to adjust the pressure of your pump. For instance, if your pump is set to 30 - 50, you could use the center nut to raise it to 35 - 55. Or, you could lower it to 25 - 45. Lowering the PSI range will lower the pressure, meaning your water won’t come out as forcefully. Raising the range will raise the pressure, meaning your water will come out more forcefully.
Adjust the highest pressure with the right nut.
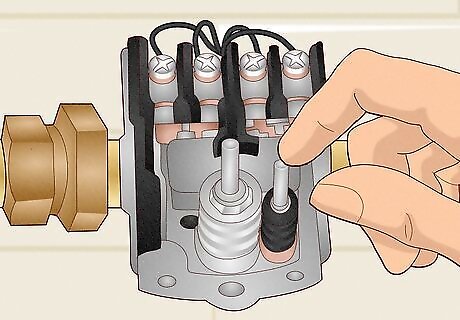
The right nut only adjusts the highest pressure in the range. This is a less commonly used part of the pressure switch, and you’ll only want to adjust this one if you have a very specific reason to do so. You can turn this nut to raise or lower the high number in your range. For example, if your pump is set to 30 - 50, you’d use the right nut to change it to 30 - 45. Raising the pressure of your range can damage the pump, especially if you adjust it a lot. You’d only want to do this if your range was already too low (meaning you had less than 20 PSI in your range).
Turn 1 full turn for a 2 to 3 PSI difference.
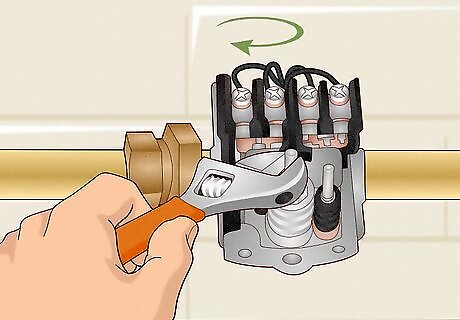
Use a wrench to turn the nut and adjust the PSI. In general, 1 full turn will adjust the PSI by 2 or 3. To raise the PSI, turn the nut clockwise. To decrease the PSI, turn the nut counterclockwise. Unfortunately, the pressure switch won’t tell you how much you’re adjusting the PSI until you turn it back on. Do your best to raise or lower the pressure accurately, but be prepared to do some adjusting.
Check the pressure by turning the pump back on.
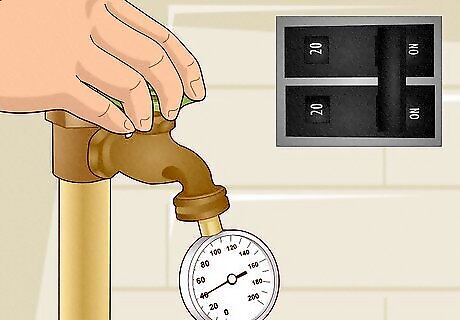
See how much you raised or lowered the PSI by checking the pump. Put the cover back on and switch the breaker to bring power back to your pump. Check the readout on your pump: the lower PSI will be when the pump turns on, and the higher PSI will be when it turns off. Turn the pump on to see where the range is and decide if you need to adjust it anymore. When the pump turns on, that’s your new cut-in pressure. When it turns off, that’s your new cut-off pressure. If you do need to adjust the pressure switch again, be sure to turn the breaker off before doing so.







Comments
0 comment