

Enabling a Guest Account

Sign into your computer with an Administrator account. The first account created on a computer is the Administrator by default. If you only have one user account, then it is the Administrator account. You cannot make changes to User Account Controls without administrator privileges.
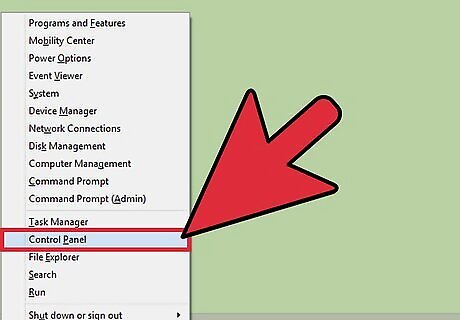
Press ⊞ Win+X and select “Control Panel” from the menu that appears. The Control Panel contains various settings for your computer. Windows XP, Vista, and 7 users can press ⊞ Win and select “Control Panel” from the start menu.
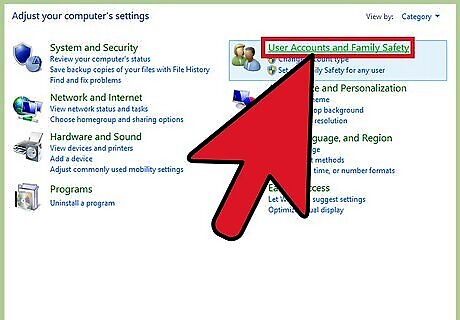
Click "User Accounts and Family Safety" from the available options. This will take you to the User Accounts control panel page.
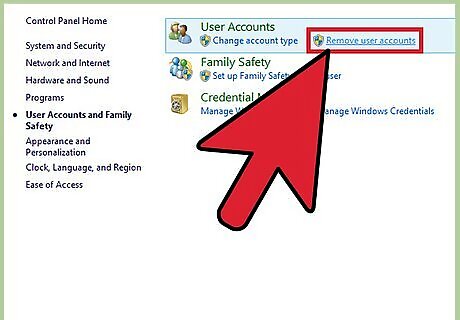
Click the “Remove user accounts” link. This link appears under the “User Accounts” header.
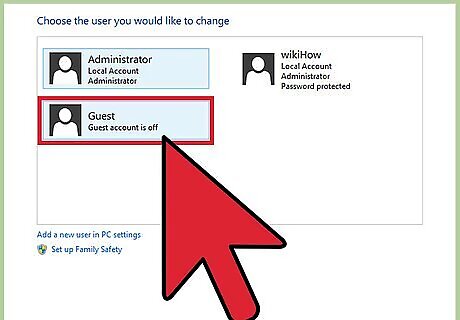
Click “Guest Account”. This will appear listed with the other accounts on your computer and will take you to a guest account screen prompting you if you want to enable the feature.
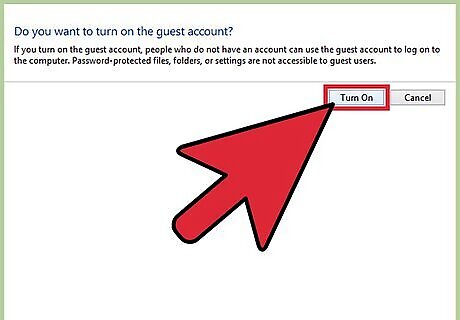
Press “Turn On”. The Guest account can now be accessed from the login screen after logging out or restarting your computer.
Making a Guest Account an Administrator

Sign into your computer with an Administrator account. The first account created on a computer is the Administrator by default. You cannot make changes to User Account Controls without administrator privileges.

Press ⊞ Win+X and select “Control Panel” from the menu that appears. The Control Panel contains various settings for your computer. Windows XP, Vista, and 7 users can press ⊞ Win and select “Control Panel” from the start menu.
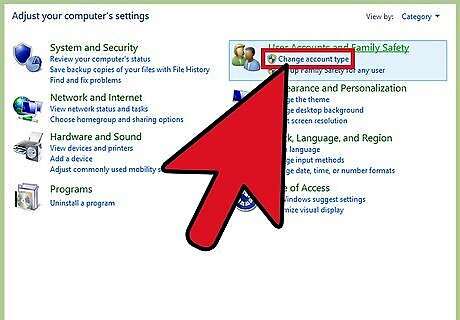
Click “Change Account Type”. This button will appear under the “User Account and Family Safety” button and will take you to a list of your computer’s accounts. If prompted to verify the action by User Account Control (UAC), click "Continue."

Click the Guest Account. This will take you to the account details page.
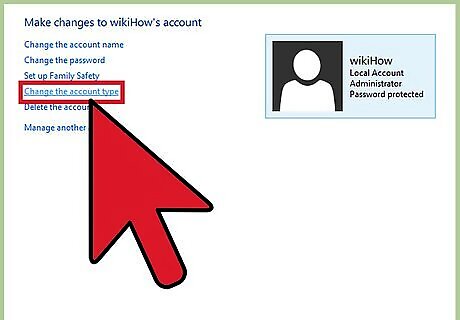
Click “Change the Account Type”. This button is listed under the “Make Changes to the Account” header and will take you to a list of account types.

Select the “Administrator” account type.

Press “Change Account Type”. This button is the lower right of the window and will set the Guest account as an administrator. Administrator status grants this account full access to the software and files on the computer.


Comments
0 comment