views
Making a Stitch Chart with Graph Paper
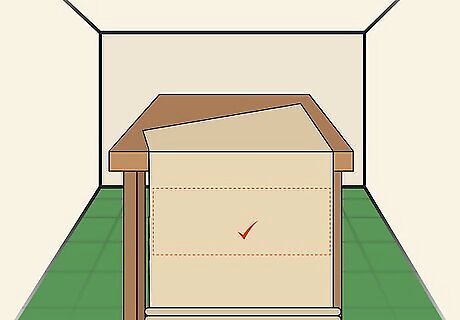
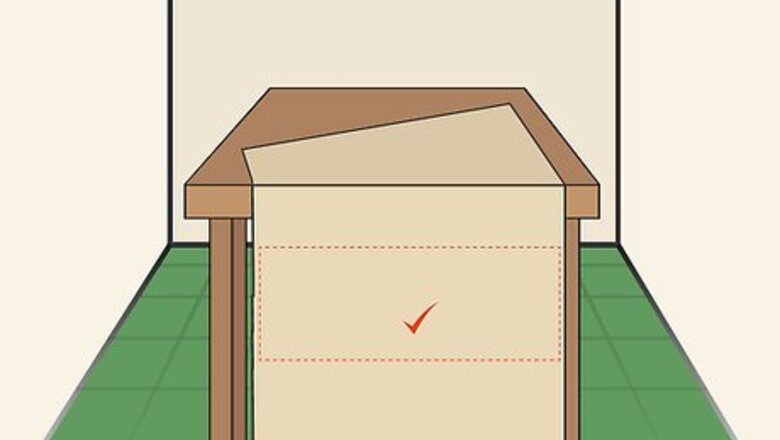
Identify the area of the blanket where you want to place the letters. Consider how big you want each of the letters to be. You can make the letters as large or as small as you want as long as they will fit on the blanket! You can use paper cutouts or stencils to help you determine where and how big to make the letters. Place these on the blanket where you want the letters to go.
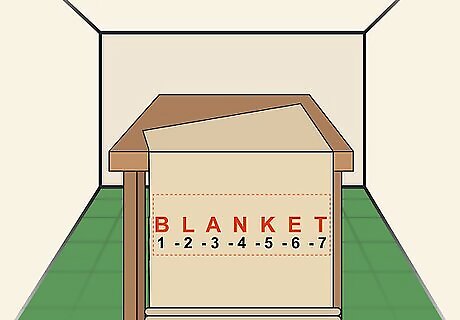
Count from the sides of the letters to the edges of the blanket. There will be stitches between the edges of each of the letters on all sides and the edges of the blanket. Count the number of stitches from the edge of each letter and the corresponding side of the blanket. This will help to ensure that the letters end up exactly where you want them. It is important to identify the distance between the edges of the blanket and the borders of the letters, or you might end up with letters that are off center or not where you planned to add them.
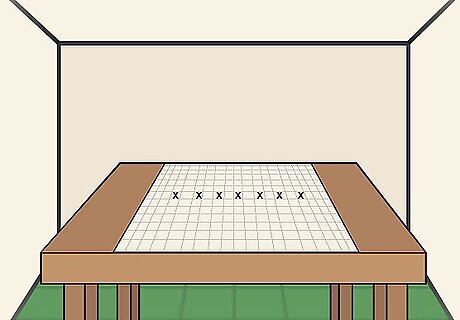
Place an “X” into each space on the graph paper where a stitch will go. Together, these stitches will form a letter. You do not need to map out the entire blanket on the graph paper. Only map out the section of the blanket where you want to add letters. Keep in mind that you will be working on a grid, so letters with curved or slanting lines will have some slightly jagged edges.
Starting the First Letter
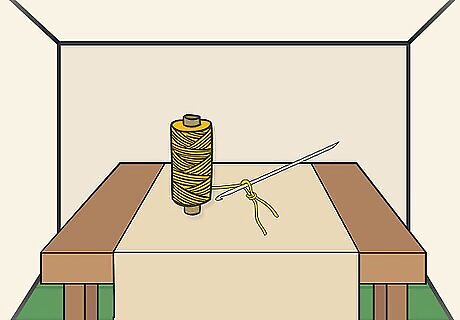
Make a slipknot and place it on your crochet hook. Loop your yarn around your index and middle finger 2 times. Then, pull the first loop through the second loop and tug on the tail to secure the slipknot. Slide the slipknot onto your crochet needle and then tug the tail to tighten it around the crochet hook. The slipknot does not need to be attached to anything yet! You will use it to anchor your yarn to the blanket.
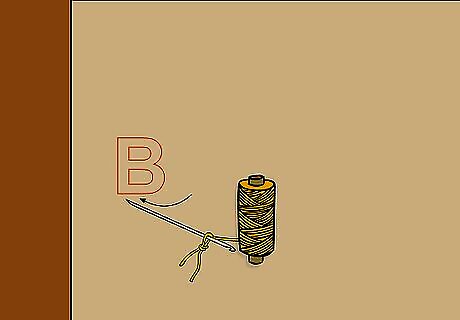
Insert the hook into the stitch where you want the first letter to begin. Identify the first stitch you want to make on your crochet chart. Then, insert your crochet hook through this stitch from the front side of the blanket. Make sure to go all the way through the stitch to the other side of your work.
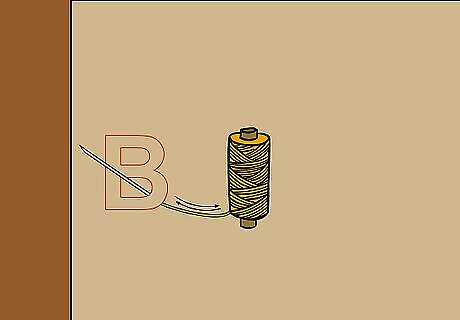
Loop the yarn over the hook and pull it through the stitch. This slipstitch will anchor the yarn to your blanket so that you can begin working crochet stitches into it. Keep in mind that the yarn should stay on the backside of your blanket. You will be pulling it through to work stitches.
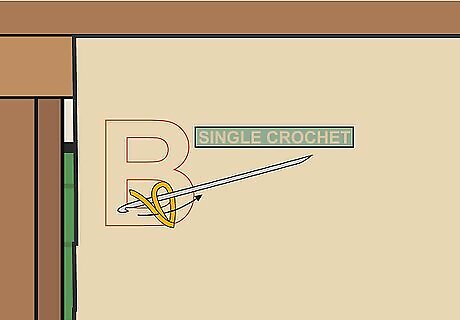
Work a single crochet stitch into the next space. Insert the hook into the stitch, loop the yarn over, and pull through the first loop on the hook. Yarn over again, and then pull through the remaining 2 stitches on the hook to complete the stitch. Single crochet works well for adding letters to a blanket, but you can use any stitch you like to create your letters.
Finishing the Letters
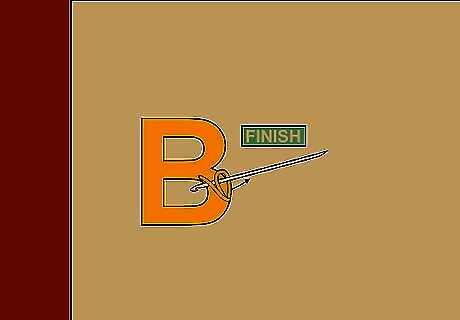
Continue to crochet until the first letter is complete. Keep following your graph chart until you have single-crocheted 1 time through each of the marked spaces. Remember that you can use any type of crochet stitch you want to create the letters. Work 1 stitch into each stitch on your chart. Depending on how large you are making the letters, this may be quick or something you will want to break into a few sessions. For example, if you are crocheting a letter that only takes up a 3 by 3 in (7.6 by 7.6 cm) space, then you may be able to complete it in under an hour. However, if the letter will take up a 18 by 18 in (46 by 46 cm) space, then this may take several hours to complete.
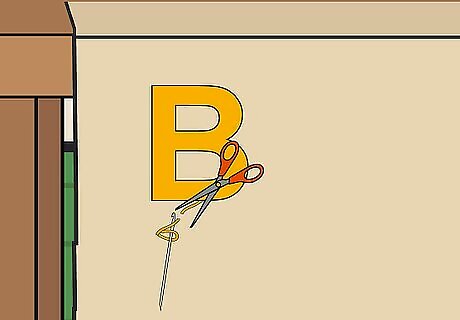
Tie off the last stitch and cut the excess yarn. When you finish crocheting your first letter, cut the yarn about 6 in (15 cm) from the last stitch. Then, pull the tail of the yarn through the last stitch and tug the tail to secure the stitch. Cut the yarn about 0.5 in (1.3 cm) from the knot to complete the letter.
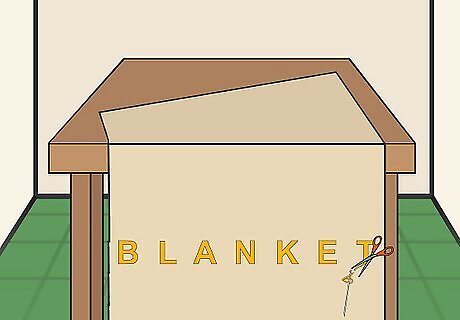
Repeat for the other letters. After you have finished the first letter, repeat the process for the other letters. Keep crocheting letters onto your blanket until your project is complete! Make sure that all of the letters are the same height and width, and that they are evenly spaced. Consult your graph chart often to ensure that you are crocheting into the correct stitches.
Using Special Techniques to Form Letters
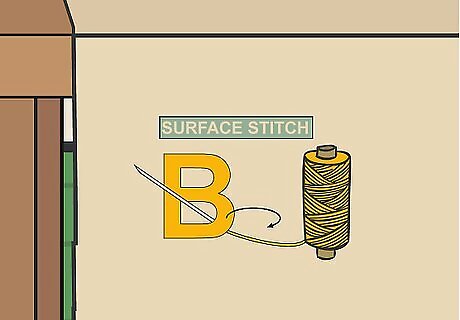
Move to a new section using a surface stitch. Insert the crochet hook through the surface of a stitch on the right (front) side of the blanket. Do not insert the hook all the way through the blanket! Then, yarn over and pull through. Continue to surface stitch until you reach the next stitch on your chart. Doing this on the backside of your blanket will ensure that only the letter stitches will be visible on the front side. Use surface stitching to move to a new section without severing the yarn, or to crochet a letter with curved or slanted lines. Curved letters include B, C, D, G, J, O, P, Q, R, S, or U. Letters with slanted lines include A, K, M, N, V, W, X, Y, or Z.
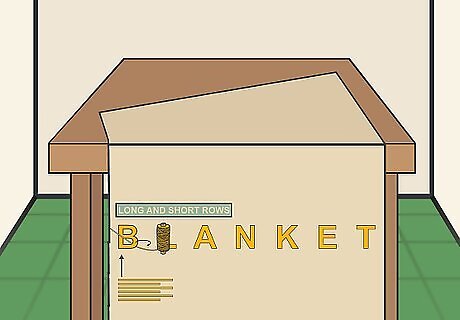
Crochet over the existing stitches in long and short rows for straight letters. Depending on how thick you want your letters to be, you might need to stitch multiple long and short rows. If the letter is made up of straight lines, such as an E, H, I, or L, then you can simply stitch up and down the rows you have identified on your chart. For example, if you want to stitch a thick letter “H” onto a blanket, you would need to crochet down 1 row, then back up another row, and possibly even down a third row for each side of the “H”. To make a curved or slanted letter the desired thickness, you might need to work up and down several short rows. For example, if you are creating a letter “A,” then you will need to work up and down the slanted edge of the “A” in short sections as you have identified on your graph chart.
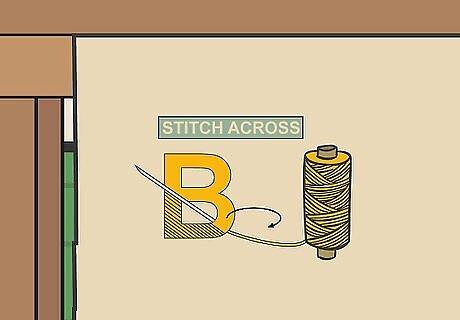
Stitch across the blanket diagonally to create curves and slanting lines. Use the existing stitches and work into them in the shape of diagonal lines and curves. This will allow you to create straighter lines for slanted edged letters and smoother curves for a curved letter. Crocheting onto the surface of a blanket will give you more freedom to create curves because you can stitch into any of the spaces. For example, if you are crocheting a letter “V,” stitch diagonally from square to square to cover the spaces you have identified in your graph. For a curved letter, such as a “C,” crochet diagonally from square to square, and you can also crochet vertically and horizontally as needed at the top, bottom, and sides of the “C.”






Comments
0 comment