views
Measuring Where the Hole Needs to Go
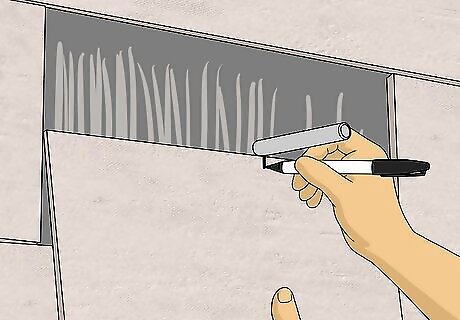
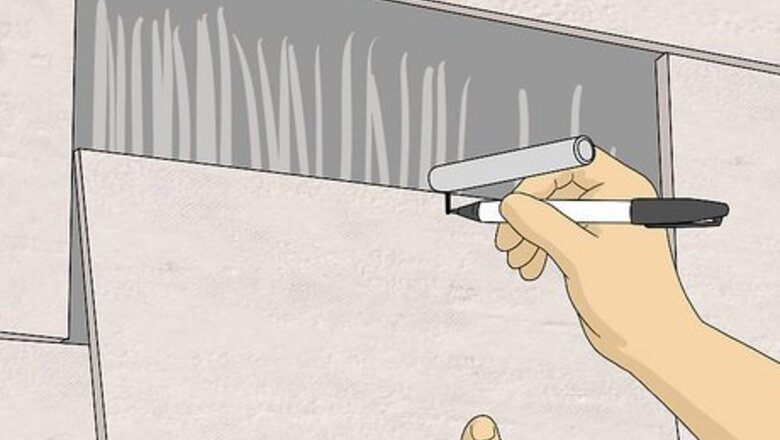
Mark where the hole is along the top of the tile. If the pipe or fitting is coming out of the wall, have the rest of the tile in place except for the piece of tile that needs to go where the pipe is. Hold the tile up to the where it should go. Put the tile on the wall like you're going to slide it into place from the bottom, lining up the edges to the left and right. Stop when you hit the pipe, and mark where it hits the tile on the top. Use a felt-tip pen or a grease pencil to make the marks.
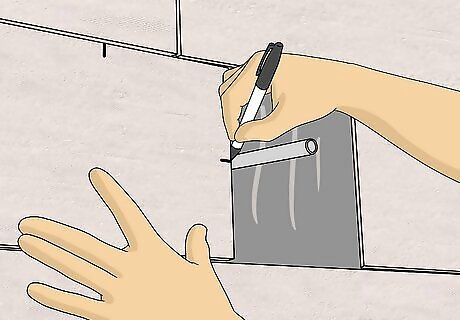
Note where the pipe is on the right side of the tile. Slide the tile in from the side, lining up the top and bottom edge as you do. When you hit the pipe, stop. Mark where the pipe is in marker. Make sure to mark where the center of the pipe is. If it's a large pipe, you can mark both edges instead.
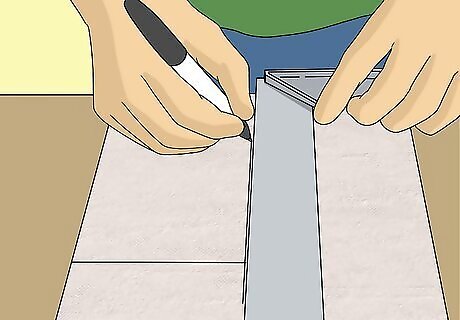
Draw straight lines from the 2 places you've marked. Lay the tile down flat on a table. Draw a straight line from each of the sides. Where the marks meet is where the center of the pipe will go.
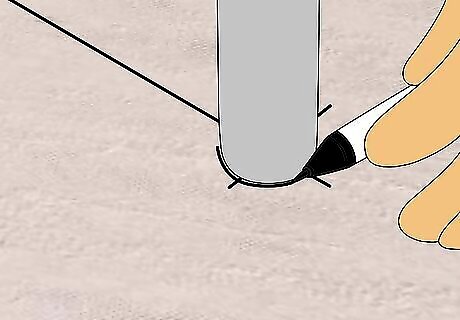
Trace around the pipe for a large hole. If you are making a large hole without a hole saw, you may want to just trace around the pipe instead. Lay a matching fitting on top of the tile, centering it over the place you marked, so you can mark the size of the hole.
Making a Hole with a Drill Bit, Chisel, and Hammer
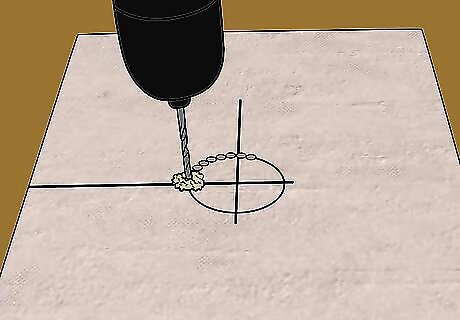
Drill holes around the circle with 0.25 inches (0.64 cm) masonry drill bit. Place a piece of tape over the circle. If you can't see it very well, mark the hole on the tape, too. Drill holes close together all around the circle. The tape helps your bit gain traction. You can use a nail set and hammer to tap out holes around the circle, which can help cut through the glaze in a minute. However, it's not absolutely necessary. If you are cutting porcelain, you'll need a diamond-head drill bit instead, and you may need to add water to the area you're drilling to keep it from overheating. You can also dip the drill bit in water to keep it wet.
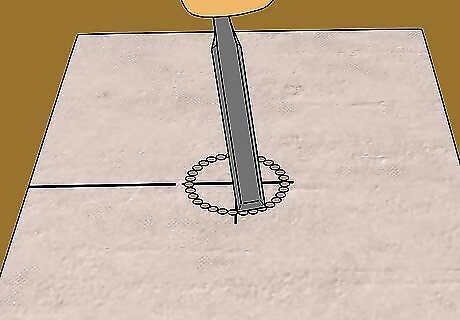
Chisel out the glazed bits between holes. The glaze will keep the circle from falling out, so angle a cold chisel in the holes you've just made. Chisel out as much of the glaze as you can between the holes. If you don't have a chisel, you can skip this step, but it will be more difficult to hammer out the hole.
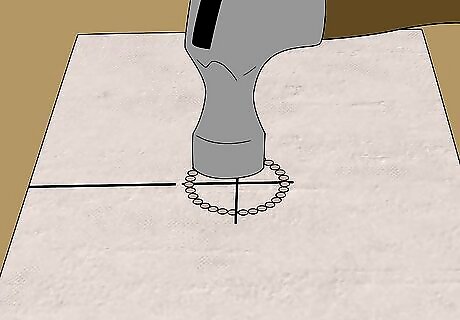
Tap around the inside edges of the circle with a hammer. Move around the circle, tapping as you go. Tap a few times in the center, as well, to gently release the circle. If you didn't chisel out the edges, keep tapping around the inside edges, as it will take longer to break the circle free. The edges will be rough, but they should be covered by your fixture.
Cutting a Hole with a Coping Saw
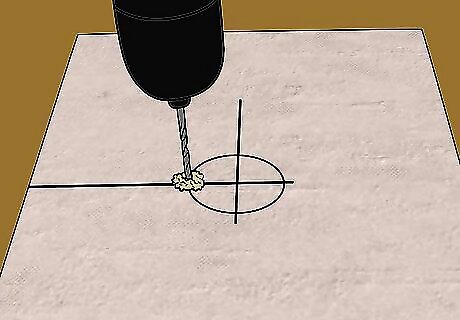
Drill a pilot hole along the edge of the circle. Place a piece of tape on the edge of the circle you've drawn. The tape will help give your bit traction. Use a masonry drill bit to make a hole right on the edge of the circle. Keep the drill at a low speed and use light pressure. Before drilling, make sure your drill isn't set to use the hammer action if it has it. This hole will allow you to put the blade of the coping saw through the tile, so measure the blade to make sure the drill bit is large enough to make a hole this size.
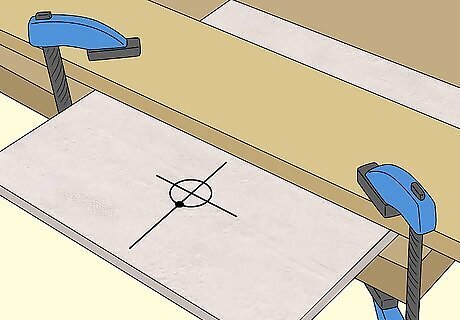
Clamp the tile in place on the edge of a worktable. Hang where you want to cut the hole off the edge of the table, and clamp down the the tile by the edge using a clamp. This will hold it in place while you use the saw.
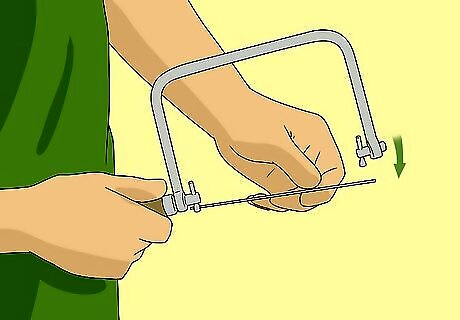
Take the blade off on one side of the coping saw. Turn the wing nut on one side of the saw. Slide the blade out on that side. Be careful not to cut yourself on the blade as you slide it out. Make sure you're using a blade for ceramic tile, which you can get at most hardware stores. You can use pliers to pull the blade out or wear protective gloves to protect yourself.
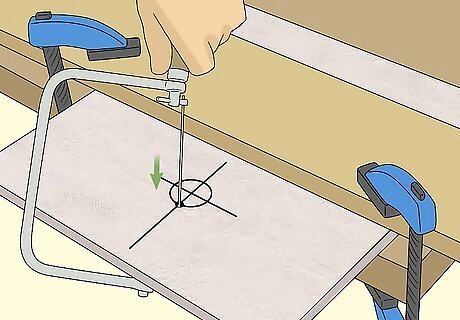
Slide the blade through the hole. Pass the open side of the blade down through the hole to meet the coping saw on the other side. Put the blade back into the coping saw and turn the wingnut to lock it in place.
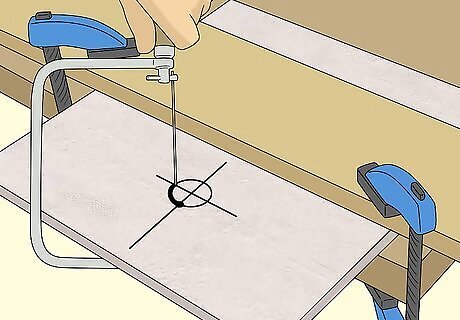
Saw the hole out with the blade. Move the saw up and down as you curve around the circle you want to cut. Keep going around until you've cut out the complete hole and the circle falls out. Remove the blade the same way you did before and slide it out of the hole.
Using a Hole Saw
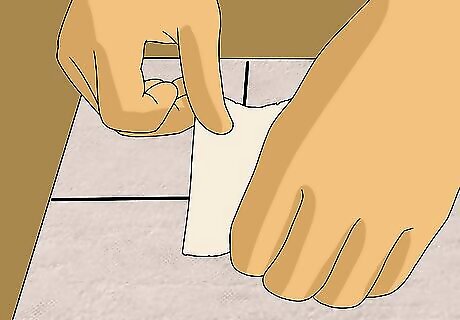
Place a piece of masking tape across where you're drilling. The drill may slip around on tile, as the surface is glossy. Laying down a piece of masking tape helps the drill get traction on the tile. Make sure to continue the marks you made on the tile onto the tape, so you know exactly where to drill.
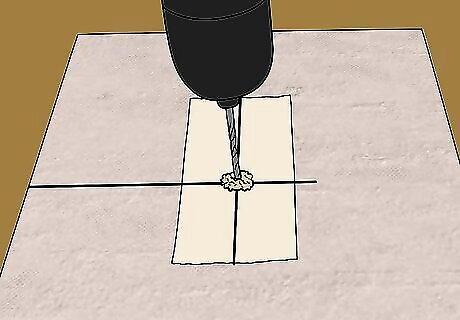
Drill a pilot hole with a smaller masonry drill bit. Set your drill to standard drilling, meaning you don't want to use the hammer action if your drill has it. Hold the drill straight above the center you marked, and slowly drill into the center. Don't apply much pressure. Let the drill do the work. Keep it at a slow speed, as hard materials like ceramic are tough for a drill. You may also need to keep the drill bit wet in order to keep it from getting too hot.
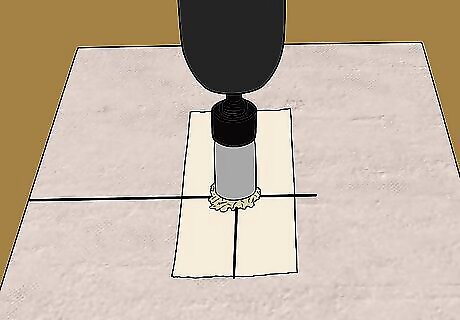
Cut the hole with a hole saw. A hole saw is an attachment for ceramic tile you add to the end of your drill. It has a rim embedded with carbide grit that turns and cuts a whole. Wet the are you're drilling, as it can heat up. Hold it over the area you need to drill, centering it over the hole you just made. Turn the drill on low, and let it slowly cut out the hole for you. Don't apply too much pressure, as you can damage the tile or your drill. A 1.25 inches (3.2 cm) hole saw will suffice for many projects.



Comments
0 comment