
Doing a Basic Two-Step

Begin the dance with 2 quick steps. Your first 2 steps each last 1 quick beat—count out “1, 2, 3, 4, 5, 6,” and take your first 2 steps on “1” and “2.” The leader takes their first step forward with their left foot, and the follower mirrors, taking a step back with their right foot. Then take another quick, short step with your other foot. Take comfortable, even steps that feel natural for both you and your partner. Imagine that you’re just walking, but to the rhythm! Some variations follow the first quick step with an immediate step or tap from your other foot to realign. If you like, incorporate this tap when you get a better grasp of the dance.Tip: An easy way to remember the Two-Step is to repeat the phrase, “Quick, quick, slow, slow.” 2 quick steps, then 2 slow steps.
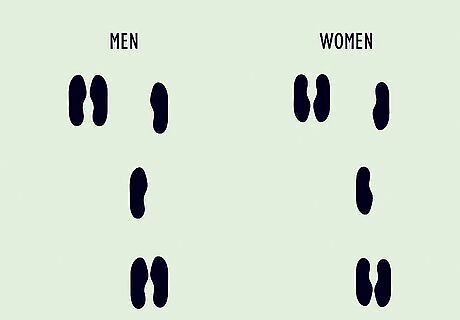
Take 2 slow steps that last for 2 full beats each. Slow your movement so that both of your next steps take 2 beats instead of 1. Step forward with your left leg if you’re the lead, or step backward with your right leg if you’re following. If you’re counting out the rhythm, take a slow step on “3, 4,” and another slow step on “5, 6.” You’ll step the same way as you did for the first step, but this time it will be slow.
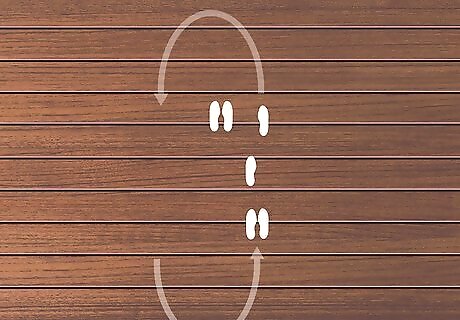
Move counterclockwise around the room as you dance. The line of dance is an imaginary line that goes around the dance floor. Faster dancers stay to the outside of the dance floor, while slower dancers move closer to the inside. The line typically moves counterclockwise, but always follow the flow! If people are line dancing, they'll do it at the center of the dance floor inside the line of dance. Once you’re comfortable with the basic steps, mix it up by turning 180 degrees during the quick steps, so that the leader is now the follower.
Adding Turns
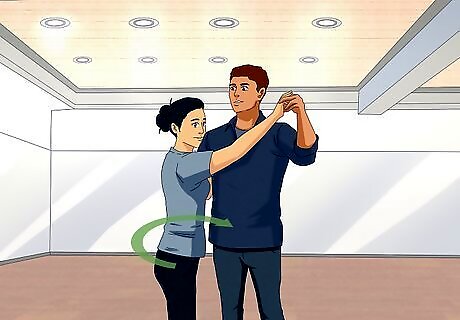
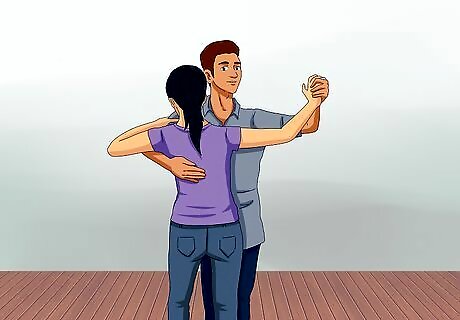
Begin the turn after a full sequence of steps. Turns go at the end of a quick, quick, slow, slow sequence. After you complete a set, the leader indicates that they’re starting a spin by pushing gently on their partner’s shoulder blade with their right hand.
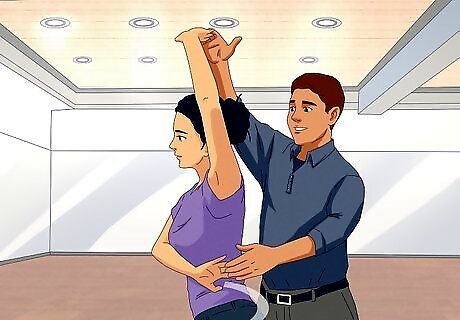
Push the follower clockwise under your left arm. Let go of each other’s shoulders. The leader then guides the follower under and through the leader’s left arm. Keep holding hands all the while, but keep your grip loose to help your hands shift during the spin. If you need to, temporarily release each other’s hands during the turn if necessary. Don’t twist your wrist as you turn.
Return to your dancing position on the slow steps. After the turn, get back into your dancing frame. Stay on the balls of your feet as you return to your starting position. Then, take 2 slow steps to complete the set. Continue into your next set of steps. The turn lasts the duration of the 2 quick steps. While the leader takes 2 quick steps, the followers spins. You don’t need to do a turn every sequence–your partner will get dizzy! Throw a turn in here and there, just to mix things up.
Getting into Position
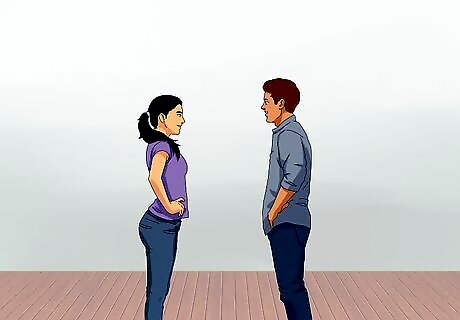
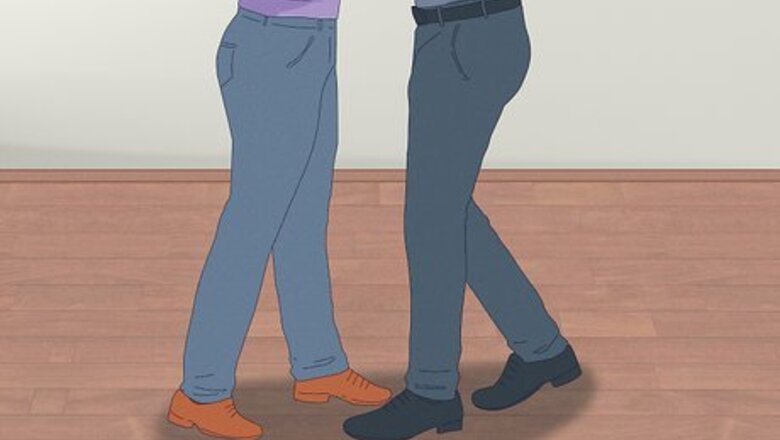
Stand facing your partner, with your bodies about 6 in (15 cm) apart. Stand tall with your back straight and your legs about hip-width apart. Position yourselves about 6 in (15 cm) apart with your feet slightly offset; the leader stands a bit to the left of the follower. Keep your body close to your partner’s to help you stay together and balanced while you’re dancing.Did You Know? Your starting position in a partnered dance is called your “dancing frame.” The standard Two-Step dancing frame has both partners facing each other in a “closed position.”
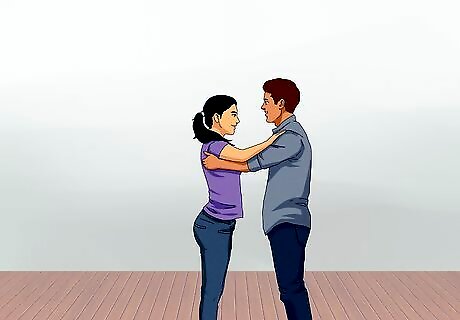
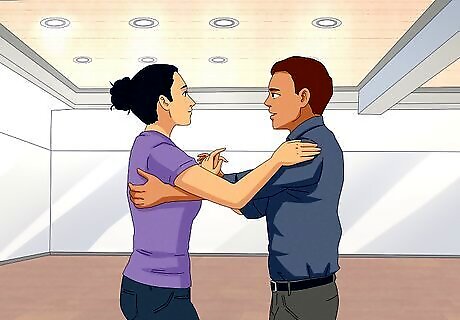
Put your right hand on your partner’s left shoulder blade if you’re leading. The leader wraps their right arm loosely around and under their partner’s left arm, placing their palm on the follower’s shoulder blade. The follower places their left hand just above the leader’s right bicep, resting but not pushing down. Don’t push, pull, or grip too hard—keep your stance loose and relaxed.
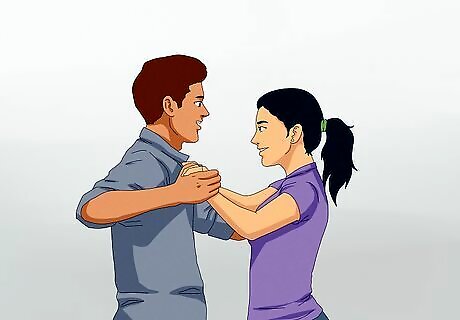
Hold your partner’s hand out to the side at eye level. As the leader, extend your left hand out and to the side, palm-up, about level with your partner’s eyes. As the follower, place your hand in your partner’s so that your palm faces down, with your fingers resting in the crook of their thumb, just like ballroom dancers do. Keep your grip loose to avoid hurting your partner’s hand. For a more casual, comfortable posture, lower your hand to shoulder-level, or drop it even further. Whatever feels right!Variation: Change up your dancing frame once you’ve mastered the standard Two-Step. Stand side-by-side, or position the lead behind the follower, with their left arm over the follower’s shoulders.
Stand to the left so you can see over your partner’s right shoulder. Stagger your stances so that your line of sight is slightly to the right of your partner’s head. This allows both of you to see your surroundings, and offers a slightly more natural dancing position. Line up your right foot so that it points between your partner’s feet for a sturdy, agile stance. If you can’t see over your partner’s shoulder, allow them to be the leader so they can guide you around the dance floor.


Comments
0 comment