views
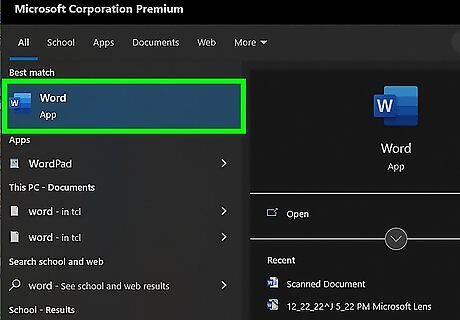
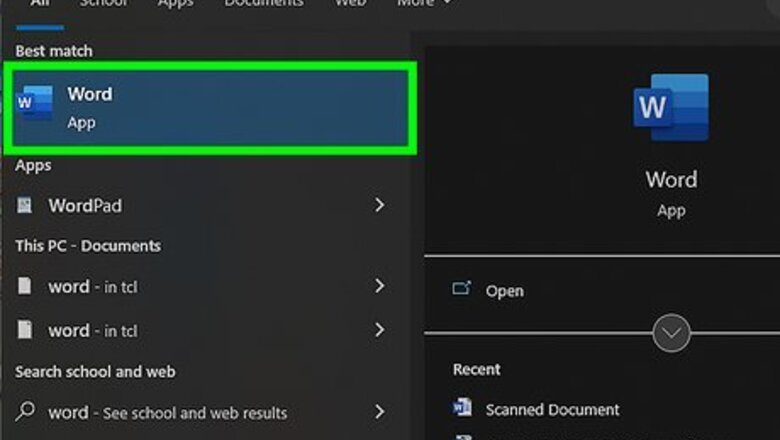
Open Microsoft Word. Double-click the Word icon, which resembles a white "W" on a dark-blue background. If you want to draw on an existing document, double-click the document instead, then skip the next step.
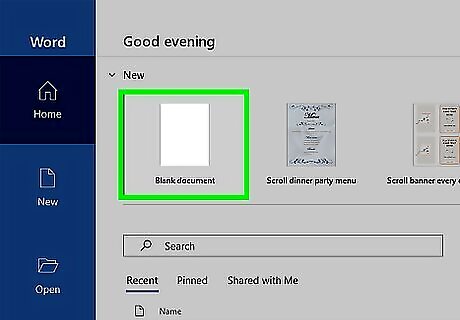
Click Blank document. It's in the upper-left side of the window. Doing so will open a brand-new document. If you're on a Mac, a new, blank document will likely load by default. If so, skip this step.
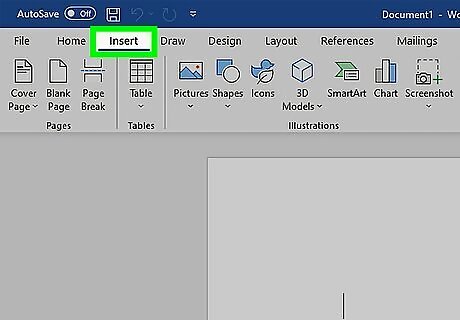
Click the Insert tab. This option is in the left side of the blue ribbon that's at the top of the Word window. Clicking it causes a toolbar to display below the blue ribbon. If you're on a Mac, make sure you click Insert in the blue ribbon and not in the menu bar.
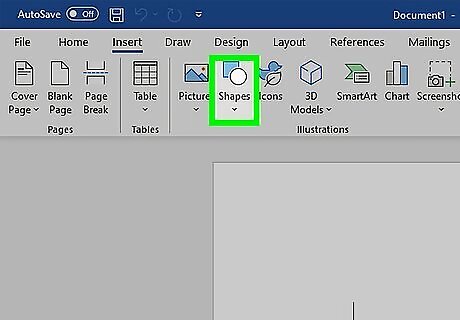
Click Shapes. It's in the "Illustrations" section of the Insert toolbar. Clicking Shapes prompts a drop-down menu.
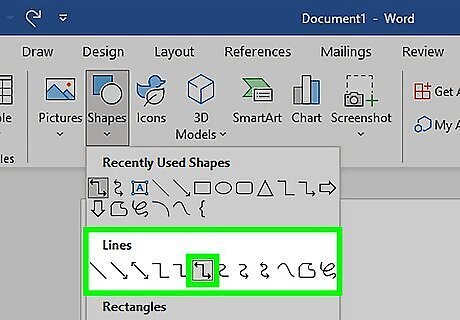
Select a line option from the drop-down menu. In the "Lines" heading, select a line type from the drop-down menu by clicking on it. You can select a pre-determined line by clicking one of the straight line icons or select the "freeform line" by clicking on the squiggly line icon on the far-right under the "Lines" heading.
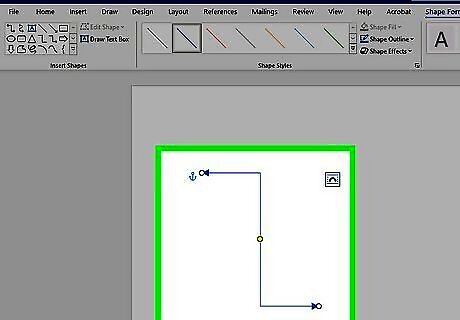
Draw a line in your document. Click and drag to draw, then release the mouse button to cement the shape. You can click and drag the line around after it's cemented. To delete a line, click it to select it and then press the Delete key.
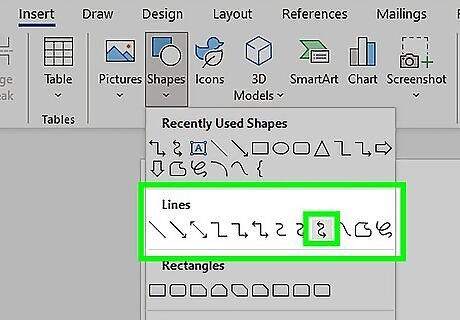
Add more lines. To add another line once the one you created is cemented, simply select a line template from the Shapes menu and repeat the drawing process.


Comments
0 comment