views
Feeding Your Reptile Crickets
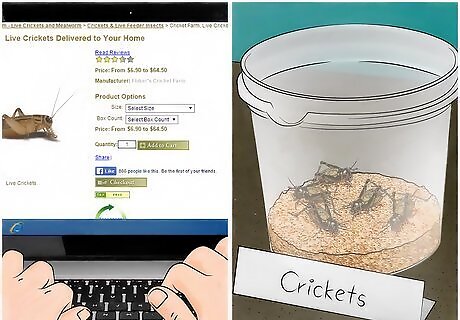
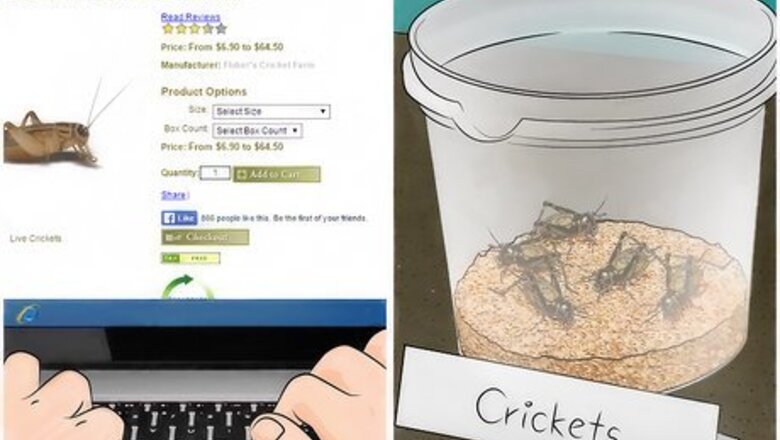
Buy crickets. The first step in feeding your reptile crickets will be to gather the crickets. You can buy crickets on-line or from a local pet store, raise them yourself, or capture them from outdoors. Whichever way you choose, make sure you have enough crickets to feed your particular reptile enough and maintain a good level of nutrition. You will want to buy house crickets (Acheta domestica) for your reptile. Don't buy too many crickets at once as they may die before your reptile gets a chance to eat them all. You will likely want to have some kind of storage container for your crickets. A plastic bin with cardboard tubes for the crickets to hide in can work fine.
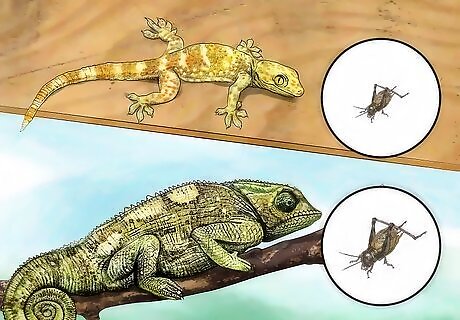
Make sure the crickets are the right size. An important part of offering crickets to your reptile is selecting crickets that are a safe size. Exactly how large the crickets you choose are will depend on how large your reptile is. Larger reptiles will enjoy larger crickets. However, smaller reptiles may be injured by larger crickets or may not eat them at all. Make sure the crickets you are offering are an appropriate size for your reptile. Your reptile should be able to easily fit a cricket in their mouth. Crickets larger than your reptiles mouth should likely be avoid. If a cricket is larger than the distance between the reptile's eyes, it's too big.
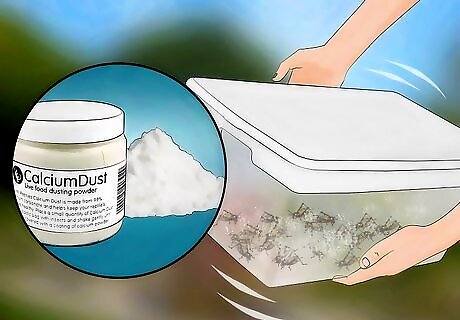
Dust the crickets. In order to provide the best nutrition for your reptile, you will want to dust the crickets in a coating of calcium powder. This will allow your reptile to get even more nutrition and ensure that they are strong and healthy, reducing the chances of illness or injury occurring. Always make sure to coat the crickets in calcium powder when feeding your reptile. This powder can be bought at most pet stores or online. You can put the powder in a simple plastic container. A tall plastic pitcher can work well. Shake some crickets into the container. Lightly shake the container to coat the crickets in the powder. The crickets should be coated completely in the calcium powder and can then be fed to your reptile. It's a good idea to find a powder that contains both calcium and vitamin D3.
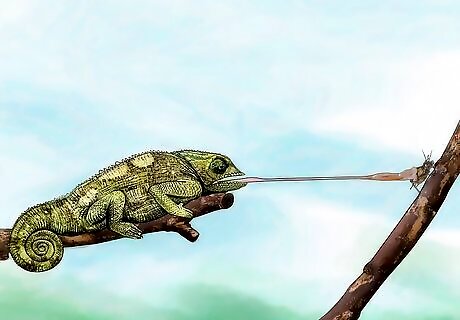
Introduce the crickets. Once you've dusted the crickets and selected which ones are an appropriate size for your reptile, you can begin introducing them to your reptile's enclosure. If you already know how much your reptile generally eats, add only that amount of crickets to the cage. If you are unsure of how many to add, try adding only a few at a time and waiting to see if your reptile eats them all, before adding more. Don't dump an uncounted amount of crickets into the reptile's enclosure. You can try adding them one at a time by picking them up with tweezers and placing them in the enclosure.
Managing How Much Your Reptile Eats
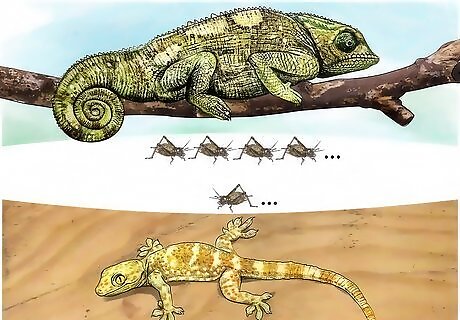
Watch how many crickets your reptile eats. Once you've added the crickets to your reptile's environment, keep an eye on how many your reptile eats. It's important that you only feed them the amount they are able to eat in one meal. Count how many crickets you placed in the cage and compare it to how many crickets are left untouched after about 10-15 minutes. Next time, add only the amount of crickets your reptile can eat in one meal. Give your reptile a maximum of one-half of an hour to eat all the crickets you've added.
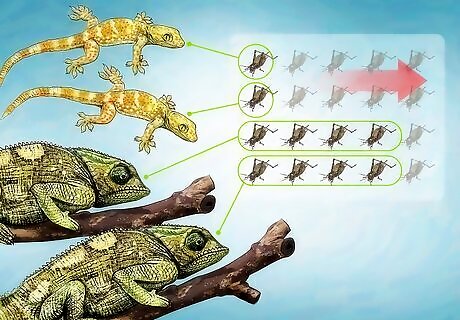
Remove extra crickets. Crickets are omnivorous and will attempt to bite and eat your reptile if they are left in the enclosure for too long. Save your reptile needless stress and pain by removing any uneaten crickets at night. Adjust how many crickets you feed them next time based on how many extra were leftover. Never leave leftover crickets in the reptile's enclosure. If your reptile is not hungry, it will not eat the crickets. Leaving extra crickets in the enclosure will only cause your reptile problems. Crickets can also carry diseases or parasites and will also create waste in your reptiles enclosure.
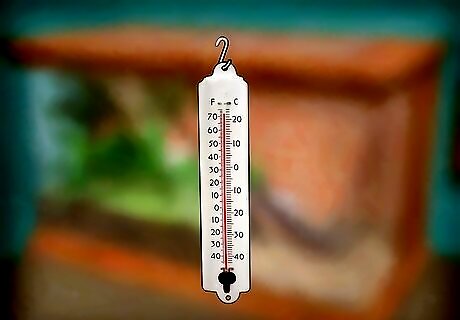
Maintain the right cage temperature. Reptile's metabolism is based on how warm their environment is kept. Warmer environments will increase activity levels, metabolic rates, and will allow your reptile the energy to hunt and eat healthy amounts of food. Always watch the enclosure's temperature to ensure that your reptile is able to eat and properly digest their food. Your reptile will have varying temperatures that it enjoys depending on what type it is. Generally, the temperature will be lowered at night and your reptile won't want to eat during that time. Make sure they eat enough during the warmer hours of the day.
Raising Your Own Crickets
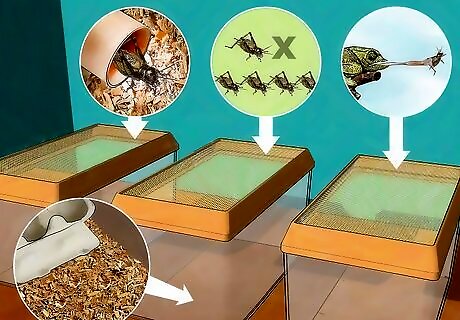
Provide housing for your crickets. You will need a few spaces for your crickets to live, reproduce, and grow in. Making sure that they have everything they need will help ensure that the crickets are healthy and are able to reproduce, eventually providing nutritious food for your reptile. Try to build your cricket houses with some of the following features in mind: You will likely want three houses. One for normal living, one for breeding, and one for the crickets who are soon to be fed to your reptile. These can be simple plastic or glass containers. Make sure the lid is screened and not airtight. The housing container should have things like cardboard tubes for your crickets to hide and live in. The breeding container will have the same tubes but should have moist dirt on the floor, encouraging your crickets to lay eggs. The feeding container will be set up the same way as you have built your housing container. Check out this guide for more detail about cricket housing.
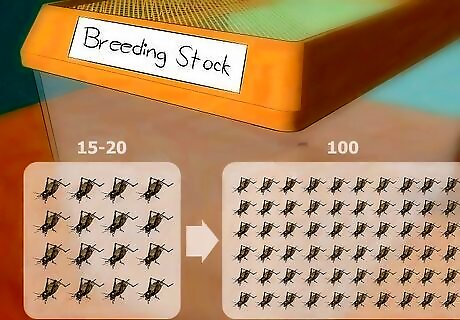
Purchase or gather your crickets. If you want to raise your own crickets, you will need to obtain enough crickets to start a colony. These starter crickets will breed and produce a substantial amount of hatching crickets, growing the size of your colony and providing plenty of food for your reptile. Keep some of the following tips in mind when starting your cricket colony: These crickets will likely be labeled as “breeding stock”. You will need around 15-20 large crickets to start your colony. This colony should produce around 100 hatchlings.
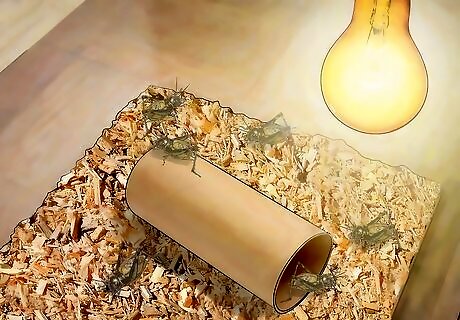
Provide warmth. Your crickets will need to stay warm in order to maintain health and keep reproducing. You can provide warmth by using an incandescent bulb during the day. Use a thermometer to check the temperature, keeping it at a level that is best for your crickets. A 40 watt incandescent bulb will provide enough warmth for a 10 gallon tank. Use the light for around 16 hours a day. Keep the temperature between 75° to 85°F
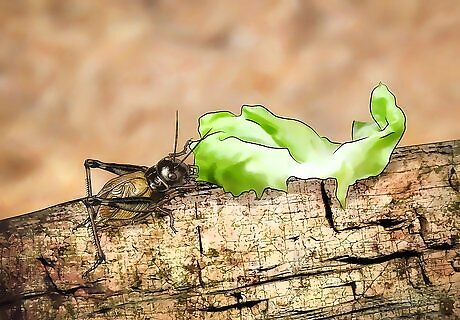
Gut-load the crickets. Although the goal is to provide proper nutrition to your reptile, properly caring for your crickets is just as important. Well-fed crickets will be loaded with all the vitamins, minerals, and other elements that your reptile needs in their own diet. Gut-loading your crickets is a simple and effective way to make sure that your reptile is receiving the most nutrition they can get. Feed your crickets pesticide free, leafy greens. Fruits are also a great meal for your crickets to eat.
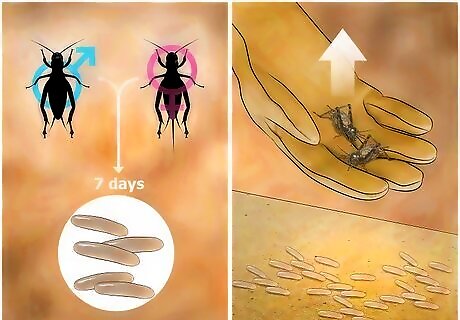
Manage cricket reproduction. To successfully breed your crickets, you will need to move them back and forth from the breeding container and the housing container. This will ensure that the numbers of crickets are being kept at an optimal level and you won't run too low or have too many crickets. Keep the following tips in mind when managing your crickets and their housing: You will want a few pairs of males and females in your breeding container. Females have a long tube that comes out of their abdomen. This is used to deposit eggs. Males will not have this tube. Eggs should appear within four to seven days. Return the adult crickets to the housing container to keep the eggs safe and allow them to hatch.
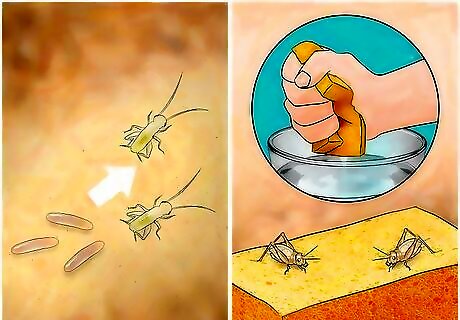
Wait for the hatchlings to appear. After you notice eggs in the breeding enclosure, it's time to wait for them to hatch. However, you will have to care for both the eggs and the hatchlings while they are growing. Keep these points in mind when caring for your cricket hatchlings: Keep the eggs moist to allow them to properly hatch. Once hatched, give the crickets water by providing a damp sponge. A water bowl will cause the hatchlings to drown. In four to six weeks, the hatchlings will be fully grown and can return to the colony.




Comments
0 comment