views
- Clean the tub spout to see if that solves your issues with the diverter leaking.
- Replace the washer inside of your diverter if the current washer has erosion or excessive grime on it.
- Swap out the old spout for a new one if you want an inexpensive solution and the repair proves challenging.
Soak the spout in vinegar.
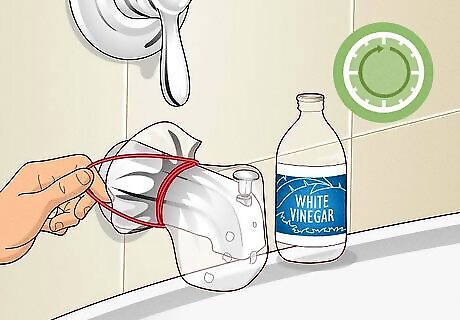
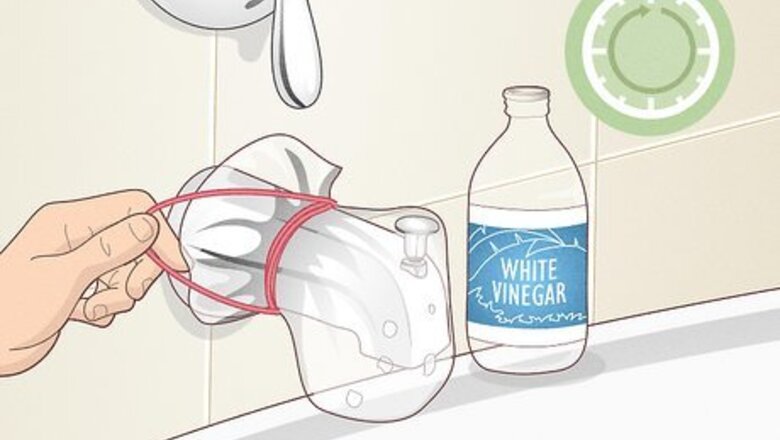
Cleaning your spout may fix leaks when you’re running the shower. Fill an airtight plastic bag ¾ of the way with distilled white vinegar. Slide the bag over the spout so that the opening of the spout is completely submerged. Wrap multiple rubber bands around the bag and the spout to hold it in place. Leave the bag for 12-24 hours before removing it and test your diverter. Gunk can build up inside of the spout and create a gap between the diverter and the opening for the water.
Cover your drain.
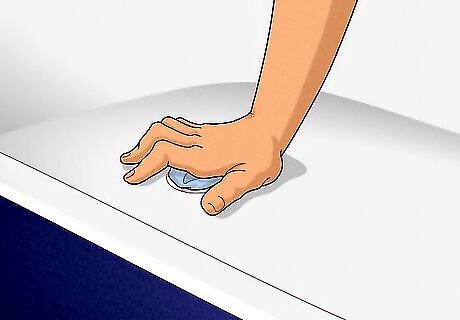
Stuff your tub with a cloth to avoid losing screws or bits. Most spouts are screwed onto the wall by hand and have zero fasteners holding it in place. However, some spouts do. It’s better to be safe than sorry, so block your tub’s drain to avoid losing something you really need as you remove the spout.
Remove the spout.
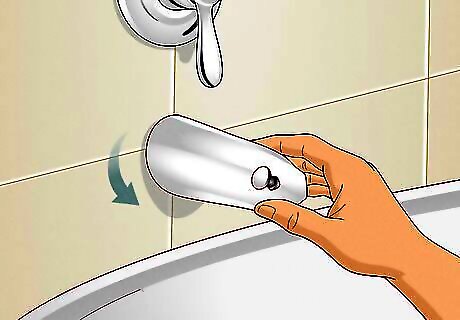
Twist the spout counterclockwise and pull the spout out. If you can’t turn the spout counterclockwise, look on the underside for a hex nut or screw and remove it using a hex key or screwdriver. Don’t shy away from using a little bit of force as you’re turning the spout. Some spouts slide on and off of the pipe. Typically, they’re screwed on to a threaded pipe. In either case, twisting counterclockwise will work to get it off. This process applies to diverters attached to your spout. If you have a standalone diverter, remove the cap and unscrew the central screw to pull it out. Unfortunately, you need to replace the entire diverter unless your faceplate is loose. In that case, try tightening the screws to see if that fixes it. For some models of diverters that don't easily come apart, you may need to open up a section of your wall to access all of the parts.
Disassemble the diverter.
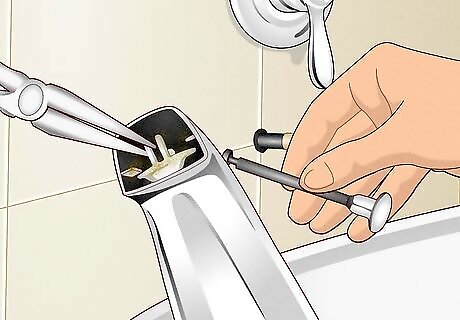
Take the diverter apart with pliers and some gentle force. To be specific, the diverter is the little pin that slides up and down, and the (usually white) bracket that holds the pin in place. Open the bracket holding the pin in place by forcing the it open with pliers or a screwdriver. At the same time, pull up on the pin’s knob to remove it. You now have two pieces. The pin/knob, and the diverter valve, which sits inside of the spout and blocks or opens the flow of water. If you have a two- or three-valve diverter, you’ll need to replace the entire assembly. Take the busted diverter to a home improvement store and find a new one. EXPERT TIP Greg Jeiranyan Greg Jeiranyan Licensed Plumber Greg Jeiranyan is a Licensed Plumber based in Los Angeles, California. With over 10 years of professional experience, Greg and his team specialize in residential and commercial plumbing service calls. His company, Plumbing Geeks, is rated 5 stars on Yelp and is a family-owned and operated plumbing company. Plumbing Geeks has been serving Los Angeles and its surrounding areas since 2021. Greg Jeiranyan Greg Jeiranyan Licensed Plumber Remove the diverter handle and replace the cartridge if needed. To repair the diverter knob, remove the cover or set screw with an Allen key or screwdriver. Replace the handle and tighten the screw securely. If the cartridge needs replacing, remove the handle and trim plate first. Use pliers or a special tool to swap out the cartridge. This ensures a working shower diverter.
Pry out the rubber washer.
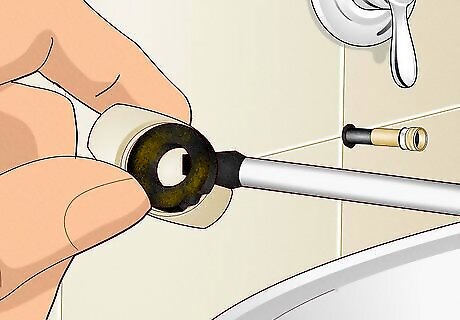
A corroded or damaged washer is often the main culprit for leaks. The washer refers to the round rubber piece on the diverter valve. Use your fingernail or grab a flathead screwdriver and pull it out and inspect it. If the washer looks filthy, cleaning it is very likely to fix your leak. If the washer appears damaged, replace it.
Clean the washer or replace it.
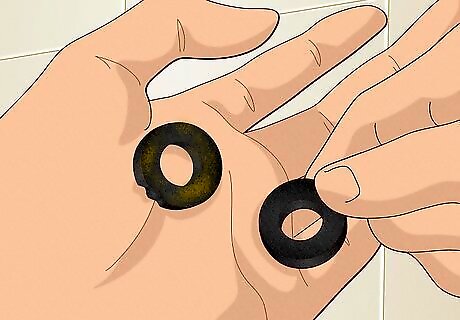
Use soap and water if it’s simply dirty, or buy a fresh replacement. Don’t use any cleaning chemicals on the washer, since they may cause the washer to decay over time. Squirt some soap on it and rinse it under water. If the washer is broken, take it with you to the home improvement store and purchase an identical washer to replace it. Coat the washer in silicone grease before putting it back in the diverter. The silicone grease is mandatory. If you don’t grease the washer, it won’t slide smoothly inside of the diverter valve, which will eventually break it. You can buy silicone grease online or at your local hardware store. You generally need to replace the shower diverter’s washer every 4-5 years.
File away grime inside the spout.
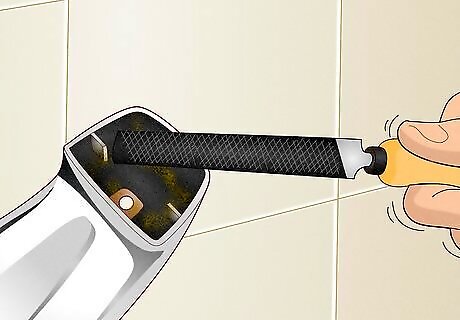
Cleaning the inside of the spout will ensure a tighter flow of water. Look inside of your spout where the water flows out and you should see some calcification and grime. Use a flat file to scrape away all of that gunk. Rinse the spout and continue repeating this process until your spout looks brand new. If you don’t have a flat file, you can use a knife or the tip of a flathead screwdriver to clean the inside of the spout. If you still can’t get the inside of the spout clean, try soaking it in white vinegar overnight.
Reassemble the diverter.
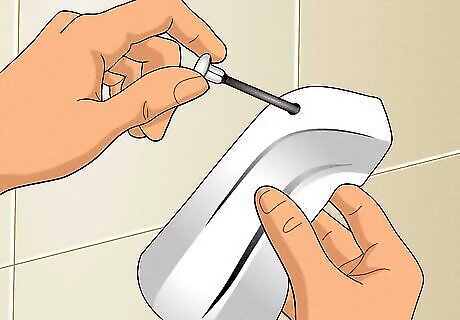
Put your diverter back together inside of the spout. Slide the valve back into the spout and push the knob in through the opening on top of the spout. Use a fair bit of force to reinsert the pin into the valve. You can use pliers to keep the tabs open while you reinsert it if you prefer. Once the pin is attached to the valve, pull the knob up and down to ensure that it’s working correctly. There should be a divot in the pin where the tabs on the valve slide into place.
Put new plumbers tape on the pipe.
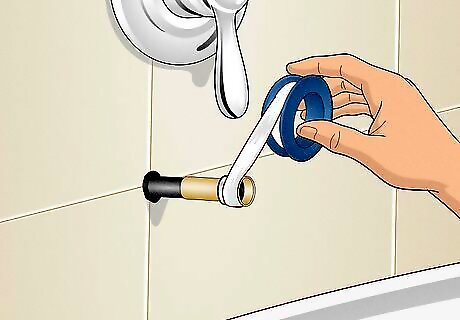
This will guarantee a clean connection from the spout to the pipe. Scrape off any old plumbers tape by hand or with a pin. Grab some Teflon plumbers tape and apply 4-5 layers of the tape to the threading on the pipe. Your spout may leak if you skip the plumbers tape. Plumber’s tape is also known as thread sealant.
Reinstall your spout.
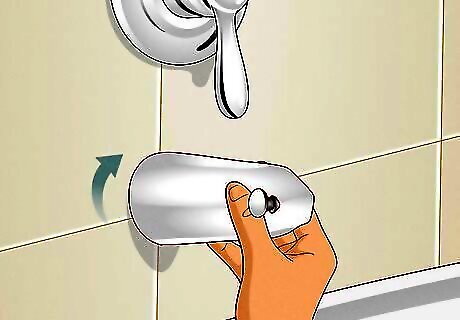
Put the spout back on the same way you removed it. Slide the spout over the water supply pipe and twist it clockwise. Continue to turn it until the spout is resting against the tile and the opening is pointing directly downward. Don’t overtighten it. So long as the spout is attached firmly to the supply pipe, you’re good to go. If you had to remove a section of wall to access the diverter, be sure to close it back up and retile the surface.
Use the diverter a few times.
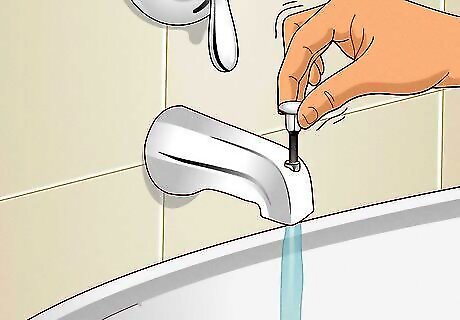
Turn the water on to pull the diverter up and down to seat it. Turn the water halfway on and then pull the knob on the diverter pin. If the diverter kind of sticks or catches, don’t worry. Push it back down and repeat this process until you can feel a clean opening and closing. If you can’t get the diverter to open and close properly, the pin may be bent or the valve may be broken. You’ll need to replace the spout.
Replace the entire spout if necessary.
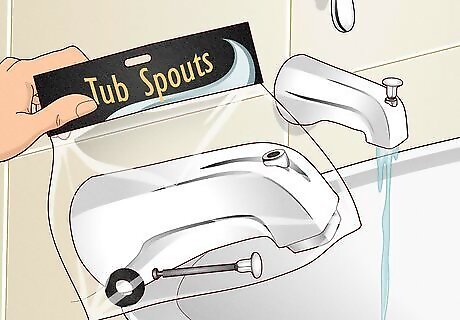
If you can’t get the spout to work correctly, replace it. Tub spouts tend to be extremely inexpensive, and replacing a spout is as easy as sliding it over the pipe and turning clockwise. If you need a replacement spout, take it to the hardware store, find a spout that matches it, and purchase it. A replacement spout shouldn’t run more than $20-80.



Comments
0 comment