views
Hiding Display and Mood Lighting
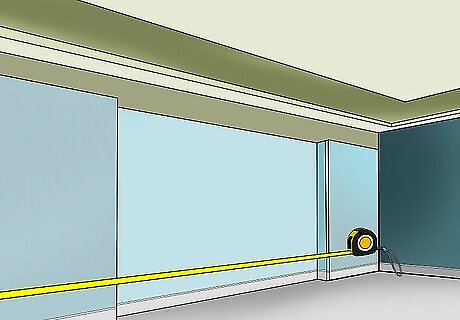
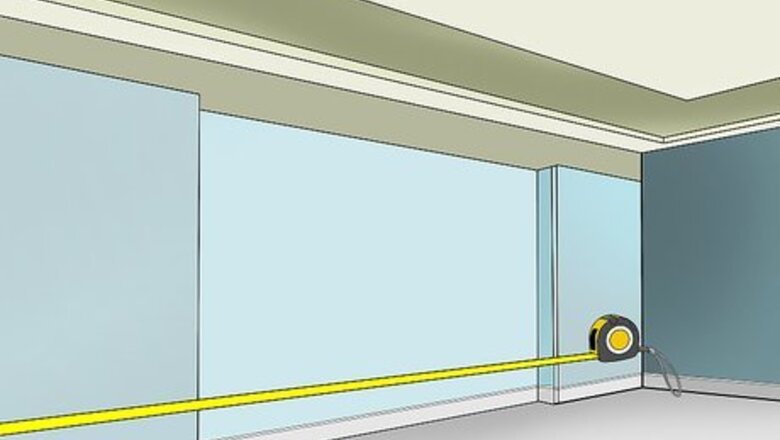
Measure your desired surfaces with a ruler or tape measure. Determine the length of your surface, such as a wall or table. Round your measurements to the nearest inch or centimeter so you can purchase a LED roll long enough to cover your intended surfaces. If measuring objects square or rectangular objects, it is helpful to start your measurements from a corner. If measuring circular objects, you can start anywhere you’d like.
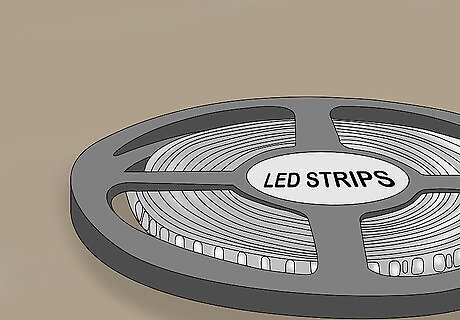
Purchase LED light strips in stores and online. You can find LED strips in home supply stores, electronic retailers, and various online companies. They come in either individual pieces or long rolls. Make sure the lights you select come with the required controller and A/C adapter, and select a roll long enough for your intended surfaces. LED strips costs anywhere between $10-40, depending on length. You can buy LED strips in lengths like 3.28 ft (1.00 m), 9.84 ft (3.00 m), 16.40 ft (5.00 m), 32.80 ft (10.00 m), and 49.21 ft (15.00 m). Use small pieces when illuminating smaller objects, like end tables or mirrors. Use long rolls for accenting larger objects, like your bed or door frame. Purchase color changing LEDs for extra fun. Many come in remote-controlled or automatic color changing options. You can also control the brightness, as most are fully dimmable.
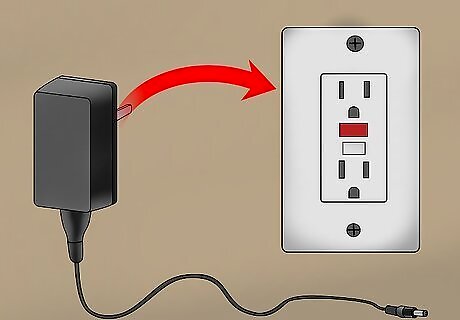
Locate power outlets before you plan your LED placement. Your LED strips plug into a controller, which plugs into an A/C adapter. To power your lights, you will plug the A/C adapter into an outlet. Look around your home for nearby outlets so you can plan where to plug in your LED lights. If there are not outlets nearby, you can use an extension cord.
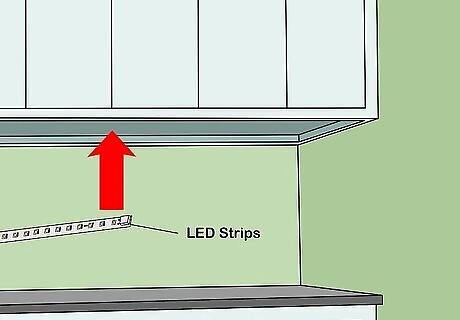
Place LED strips on the bottom of your cabinets to brighten counters. The LEDs provide additional light to your counters, helpful when cooking and baking. You can also add LEDs to the width of your cabinets if you’d like. The length of LED roll will vary depending on the size of your kitchen. You can go with a 16.40 ft (5.00 m) roll and trim it to your desired length.
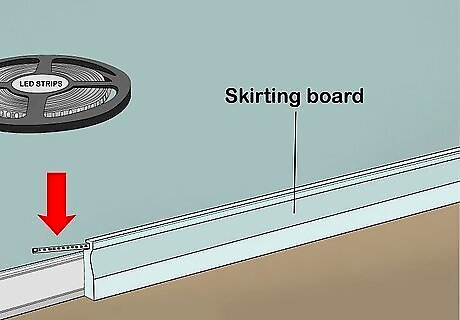
Place your LED strips on top of floor molding to light up the room. After you install the LEDs, get a skirting board ⁄2 in (13 mm) taller than your existing trim molding from a home supply store. Apply wood glue to the edges of the your new board and line up the edges so they are flush at the floor. Hold the boards together for about 30 seconds to ensure they bond together. Your LEDs will be hidden behind the floor molding and will light up your walls. Use anywhere from a 16.40 ft (5.00 m) roll to a 49.21 ft (15.00 m) roll, depending on the size of your rooms and how many rooms you want to illuminate.
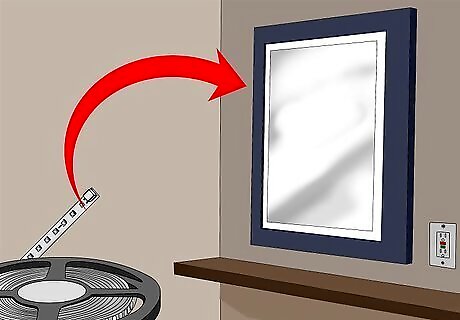
Create a well-lit vanity by running LEDs around your mirror. Use a mirror at least 0.39 in (9.9 mm) wide. Placing LEDs around your mirror creates a brightly lit glow, helpful when applying makeup and styling your hair. By installing LEDs to your mirror, you can make a custom vanity for a fraction of the cost. You can use round or rectangular mirrors. A 9.84 ft (3.00 m) or 16.40 ft (5.00 m) roll should suffice.
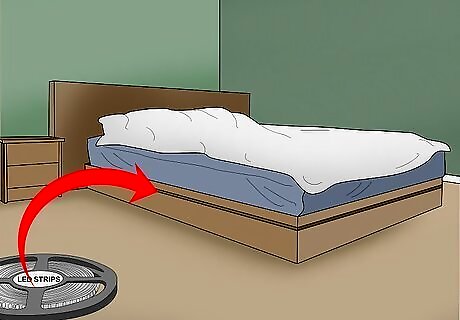
Set an ambient tone by installing LEDs to the bottom of your bed frame. You will need a bed frame at least 0.39 in (9.9 mm) wide. Once the LEDs are installed, your bedroom will have a cool, relaxing atmosphere. A 32.80 ft (10.00 m) roll of LED light strips should be adequate. Use LED strips longer or shorter, depending on the size of your bed.
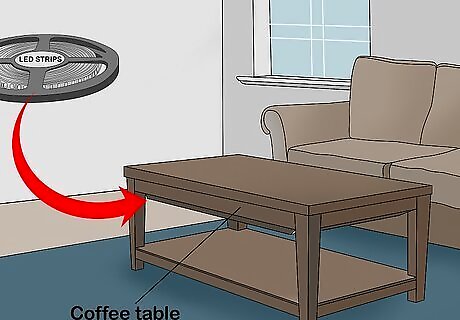
Position LEDs around the bottom of your coffee table for a modern look. You can do this for both coffee tables and end tables, either glass or wooden. Both will give off an illuminating effect. The LED strips are better hidden underneath of wooden tables, however. Most tables can be lined with a 9.84 ft (3.00 m) or 16.40 ft (5.00 m) roll of LED strips.
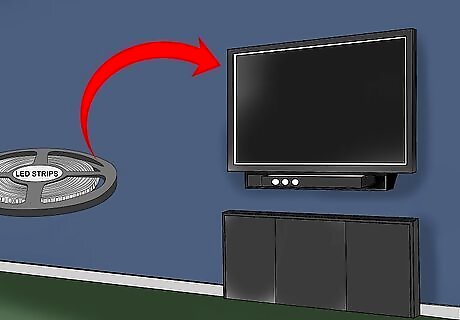
Place LED strips on the back of your TV for a backlit effect. You can install the LED strips to the back of your TV, entertainment unit, or the wall behind your TV. This illuminates your entertainment area and creates an ambient mood. Use an LED roll based on the size of your TV. For small TVs, go with a 3.28 ft (1.00 m) or 9.84 ft (3.00 m) roll. For larger TVs, use a roll 16.40 ft (5.00 m) or longer.
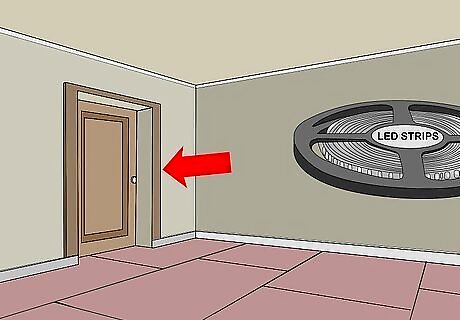
Accent your entryways by lining your door frames with LEDs. You can do this for 1 door or several, such as your bedroom, living room, or basement. Use a 16.40 ft (5.00 m) roll of LED light strips.
Installing the LED strips
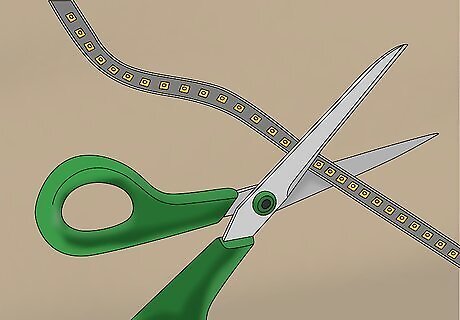
Cut your light strip to the size of your surface with a blade or scissors. Make your cuts following the guidelines. Your LEDs have bold guidelines in between individual lights to help you make your cuts without damaging the LEDs. LED strips cut easily with a little pressure. Make sure you don't cut through where the connection is; otherwise, the lights won't work.
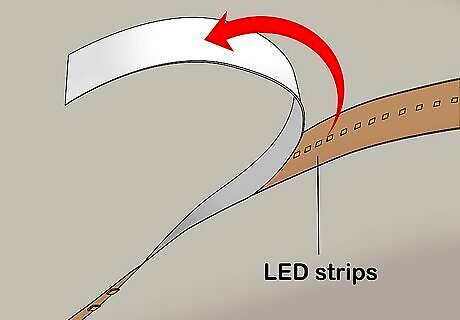
Peel off the entire adhesive backing if you are using shorter strips. The adhesive side of your LED strip is protected by a thin plastic covering. When you are ready to install it, separate the plastic backing from the strip. The sticky side of your strip should be completely exposed. Do this for LED strips about the size of your arm span. It can be tricky to work with strips longer than your reach.
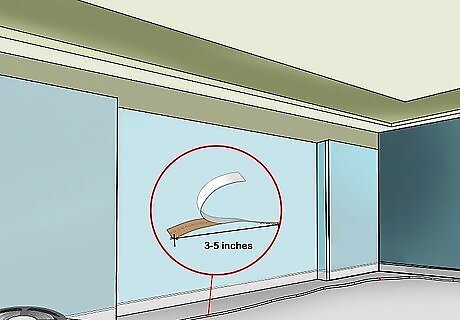
Remove the adhesive backing as you go if you are installing long strips. Unroll about 1 foot (0.30 m) your LED strip, and remove roughly 3–5 in (76–127 mm) of the backing tape. As you stick the strip your surface, peel away peel away 3–5 in (76–127 mm) of backing. For long stretches of LED strips, gradually removing the adhesive backing makes it easier to work with. This way you don’t get the strip tangled or stuck to other objects.
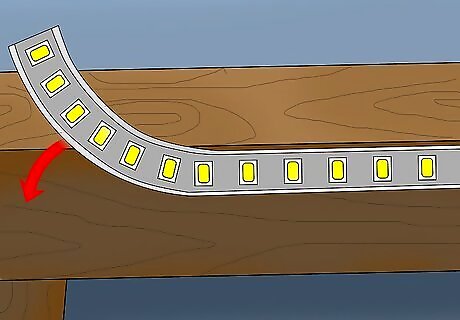
Place your LED strip in your desired location. LED strips are easy to use because you can stick them to nearly anything. Simply put the strip down on top of your object or surface, and smooth over the strip with your hands to make sure it adheres completely.
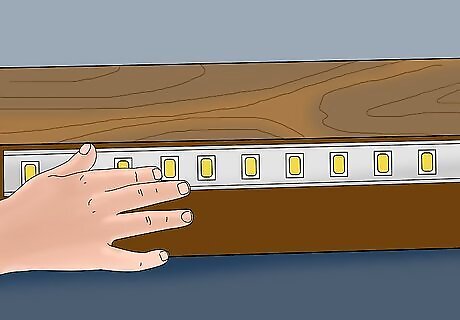
Secure your strips to corners by sticking the strip to both edges. Adhere the LED strips to 1 side of your surface, then stick it to the other side. Then, pinch the LED strip in corner to secure it from both sides. You can also cut your strips at the guidelines and stick 1 to each side.
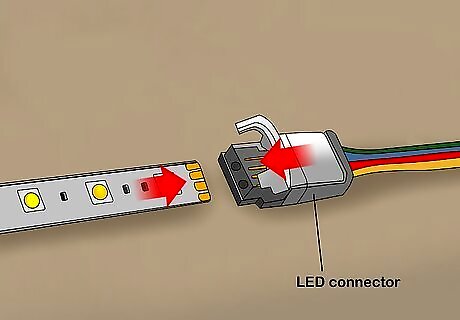
Attach the connector pieces from the LED strip and the controller box. There is a small, square connector piece at the end of your LED strip and attached to the controller box. They both have arrows on top to show you how to connect them. Slide the prongs of the LED connector piece into the opening of the controller connector piece, so the arrows line up. This is the first step to providing power to your lights. The connector piece on your lights has 4 prongs that slide into the connector piece on the controller.
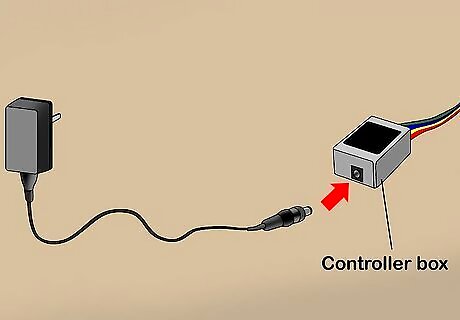
Connect your controller box to your A/C adapter by the attaching cords. On the other end of your controller, there is a opening for the A/C adapter connector piece. Insert the prongs of the A/C adapter into the opening in the controller box. Most LED strip lights use a 2A 12V power supply.
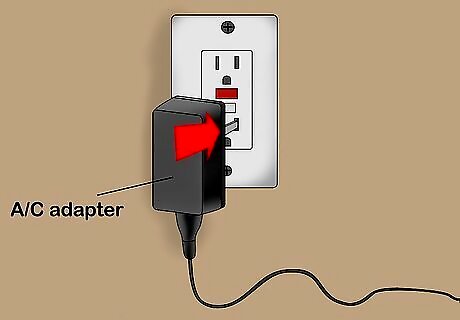
Plug the A/C adapter into the outlets you previously located. Your lights will now be connected to a power source. If using an extension cord, first plug the A/C adapter prongs into your extension cord, then insert the prongs of the extension cord into your outlet.
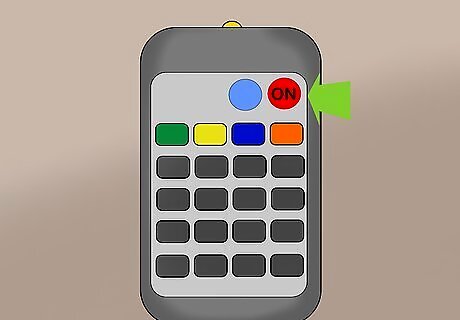
Use the remote to turn on the LEDs and change the settings. Press the red power button to turn on your lights. Change the color of your lights by pressing the corresponding button on the remote. You can also control the brightness levels with the up and down arrows. Your lights likely have numerous different settings listed on the remote. Try out settings like flash, fade, and jump.






Comments
0 comment