views
Creating the Body of the Car Seat Cover
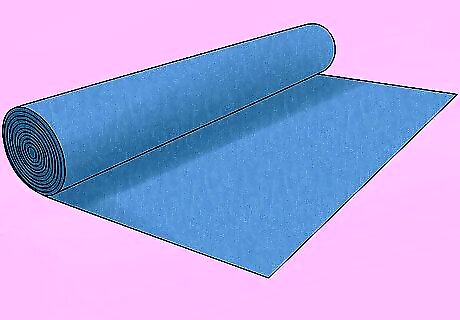
Purchase a yard of stretchy, breathable fabric. A stretchy knit or jersey fabric works well for making a baby car seat cover. This type of fabric will mold itself around the outside of the car seat for a snug fit while still allowing air to flow through the fabric. Jersey fabric and other types of stretch knit fabric will not fray around the edges and do not require hemming. Make sure to pre-wash the fabric to ensure that it won’t shrink after you make the car seat cover. Tip Choose a lightweight stretch fabric for use during the summer months or a heavyweight stretch fabric for use during the winter months!
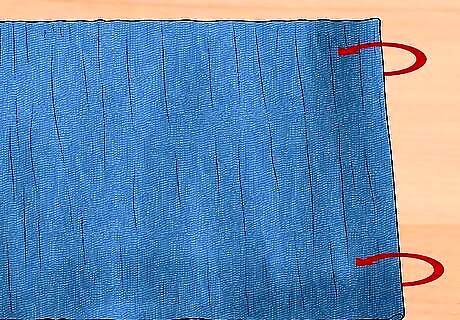
Fold the fabric in half width-wise. Take the 2 shortest ends of the fabric and line them up so that the fabric is folded in half. Smooth out the fabric to ensure that there are no bumps. Fold the fabric the same way that it was folded when it came off of the bolt.
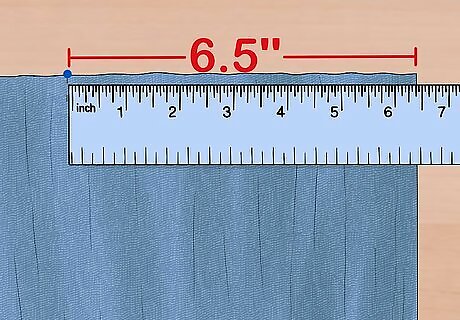
Insert a pin 6.5 in (17 cm) from the edge of the fold. Line up your ruler with the folded edge so that it is flush with the top of the fabric. Then, insert a pin at the 6.5 in (17 cm) mark. Push the pin through both layers of fabric. Use a clear ruler with angle lines across it to identify where to cut your fabric. You can find this type of ruler at a craft supply store.
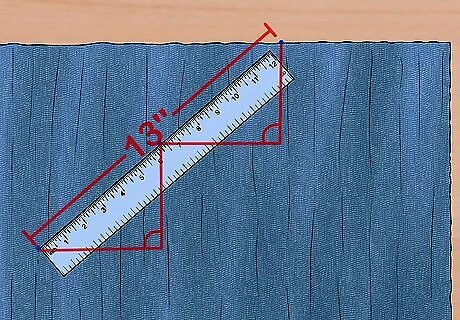
Measure 13 in (33 cm) down at a 45 degree angle from the first pin. Follow the 45 degree angle line from the first pin down to the bottom of the ruler. Then, insert a pin at the bottom of the 45 degree angle line. Make sure the pin goes through both layers of fabric. Then, measure from the pin with the measuring tape. Angle the measuring tape so that it is going across the second pin. Continue measuring at a 45 degree angle and place a third pin at the point 13 in (33 cm) from the top edge. You may also use a ruler to locate this point if you have a ruler that is long enough.
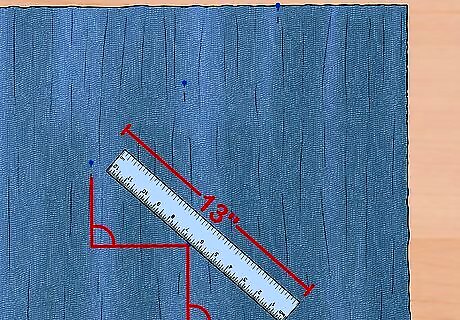
Use the ruler to identify and mark another 45 degree angle. Align the bottom corner of the clear ruler with the last pin you placed. Then, flip the ruler over going towards the bottom edge of the fabric to reverse the direction of the angle lines. Measure 13 in (33 cm) down from the last pin you placed. Use the measuring tape and clear ruler to position the measuring tape at a 45 degree angle from the pin going towards the bottom of the fabric. Place a pin at the 13 in (33 cm) mark. Remember to measure in the opposite direction. This angle should mirror the first one.
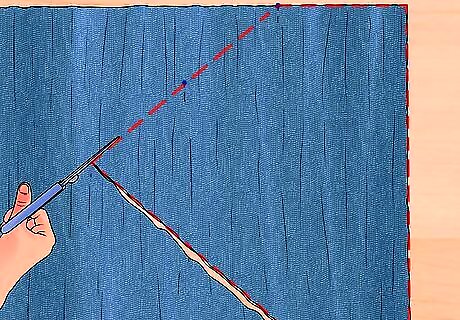
Cut along the pin marks to create a hexagon and then make a second hexagon. Use a sharp pair of scissors to cut the fabric going around the outside of the pins. Cut from pin to pin to get the required shape. The finished piece will be a hexagon, which is a 6-sided polygon. Repeat to make a second hexagon in the same dimensions as the first.
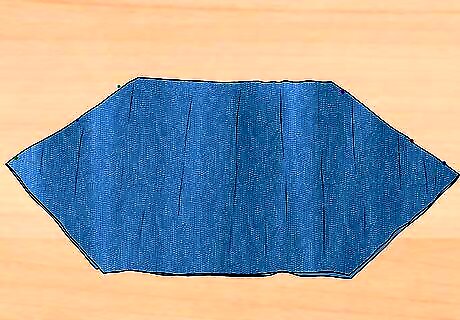
Pin the 2 pieces with the right (print) sides together. Place the first piece right side up on a flat work surface, such as a table or clean hard floor. Then, place the other piece on top of this piece with the right side facing down. Make sure that the edges of the pieces are even. Locate the top edges of the hexagons and place 3 evenly spaced pins along each of the angled edges. Insert the pins so that they go all the way through both pieces of fabric. Smooth out the fabric pieces to ensure that there are no bumps before you pin them. Position the pins so that they are perpendicular to the edges. This will make it easier to remove them as you sew.
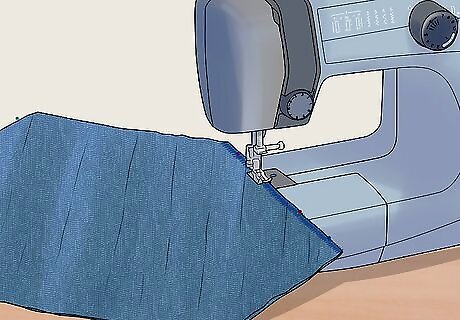
Sew a zigzag stitch 0.5 in (1.3 cm) from the angled edges. Set your sewing machine to the zigzag stitch setting and then place the end of the first angled edge under the presser foot. Lower the presser foot and apply gentle pressure to begin sewing along the edge. Sew from 1 end of the angled edge to the other. Then, stop the machine and cut the thread. Repeat for the other angled edge. If possible, install a ballpoint or stretch needle before sewing your car seat cover. Otherwise, a universal needle will be fine. Make sure to remove the pins as you sew. Do not sew over them or you may damage your sewing machine!
Cutting and Sewing the Strips
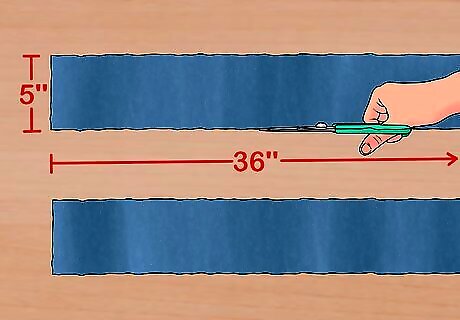
Cut out 2 strips that measure 5 by 36 in (13 by 91 cm) each. Measure the fabric to find a section that is 5 by 36 in (13 by 91 cm). Mark on the fabric with chalk in these dimensions. Then, cut along the lines you have drawn. Repeat to create another strip in the same dimensions.
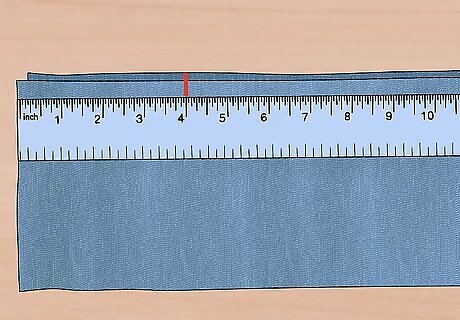
Place the 2 strips together and measure 4 in (10 cm) from the end. Stack the strips on top of each other. Then, use your ruler to measure 4 in (10 cm) from the end of the strips. Mark this spot with a piece of chalk. You may also place a pin to mark the spot if you prefer.
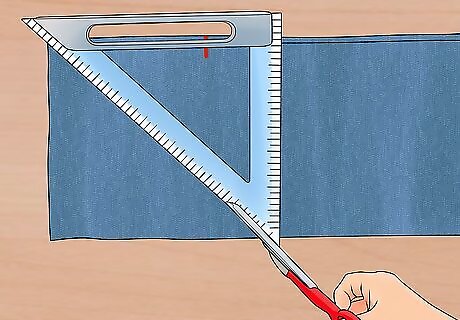
Use the angled ruler to find a 45 degree angle and cut along this line. Align the angle so that it is going from the chalk mark or pin to the short edge of the strip. Use a sharp pair of scissors to cut along the angle you have identified and discard the pieces that you cut off. Repeat this on the opposite end so that the angles will match up when you fold the strip lengthwise. The pieces you cut off the ends of the strips will look like triangles.
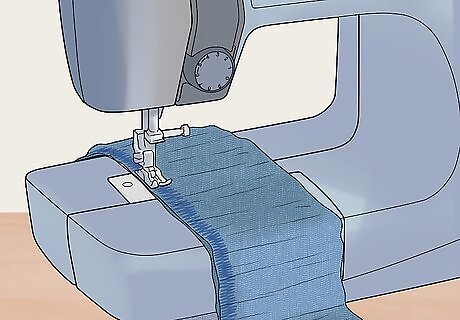
Sew a zigzag stitch along the angled ends of the strips. Lay the strips so that their right sides are facing each other. Line up the angled ends of both strips. Then, sew a zigzag stitch along each of the angled edges. This will connect the 2 strips in 1 circular piece. Tip Take your time when sewing 2 pieces of stretch fabric together! You may need to readjust the fabric a few times to ensure that the edges are aligned.
Connecting the Body and Strip of Fabric
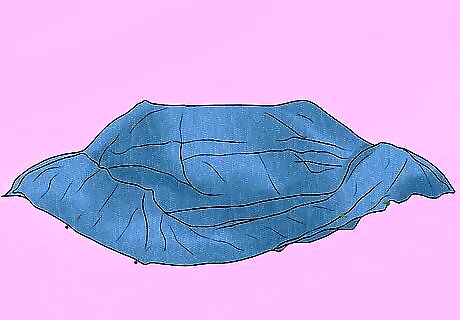
Pin the strip and cover together starting at the matching side seams. Flip the cover right side out so that the seams are hidden, and leave the strip inside out so that the seams are visible. Locate the seams on the cover and the strip. Line up 1 seam of the strip with 1 seam of the cover. Position the strip along the outside of the bottom of the cover so that their edges are aligned. Place pins through the strip and cover, starting at the seam. Insert the pins perpendicular to the edge of the fabric to make it easier to remove them as you sew. Keep in mind that some types of stretch fabric can be slippery! It might take a few tries to line up the edges just right.
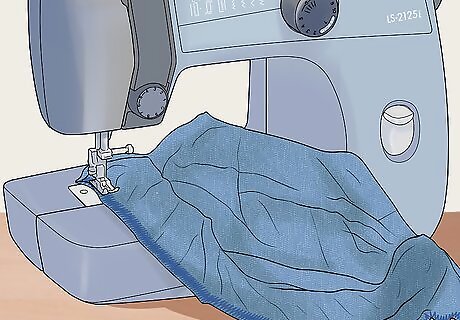
Sew a zigzag stitch along the edges of the cover and strip. Position the edge of the cover and strip under the presser foot and lower it. Then, apply gentle pressure to the pedal to sew forward. Sew all the way around the edges of the cover and strip. Make sure to remove the pins as you sew. Do not sew over them! Cut the excess thread when you reach the end.
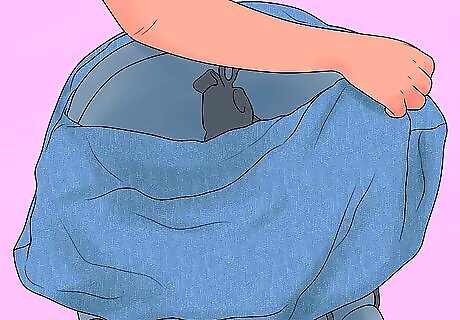
Turn the pieces right side out and slip the cover onto your car seat. After you have finished sewing the 2 pieces together, flip the strip over so that the seams are hidden again. Then slip the car seat cover over the car seat so that the edges stretch over the outside of the seat and the opening is positioned over the car seat handle. Always put the car seat cover on after baby is in the car seat, and remove it before you take baby out of the car seat. Tip When you are not using the car seat cover, fold it up and stash it in your diaper bag or purse! The cover is compact so you can easily fit it in.








Comments
0 comment