views
Making a Standard Dart Paper Airplane
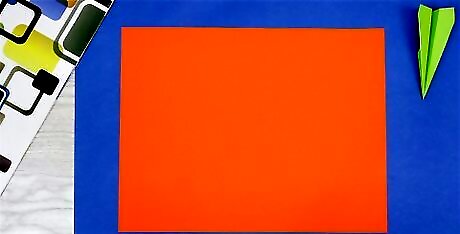
Start with a standard letter-sized piece of paper that measures 8 1/2 inches by 11 inches (A4, printer paper). This size is usually easy to find, as it's the one used in most printers.
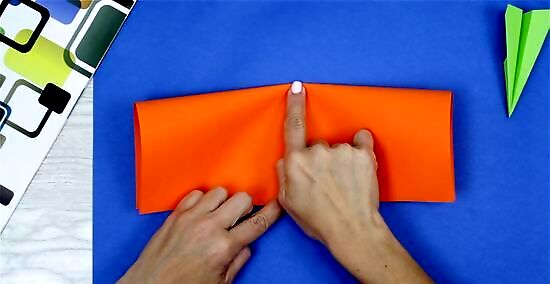
Fold the whole piece of paper in half lengthwise. This means that the short ends will be folded in half, while the long ends will stay the same length. Make sure that the opposite corners match up to each other perfectly, so that each side is exactly the same.
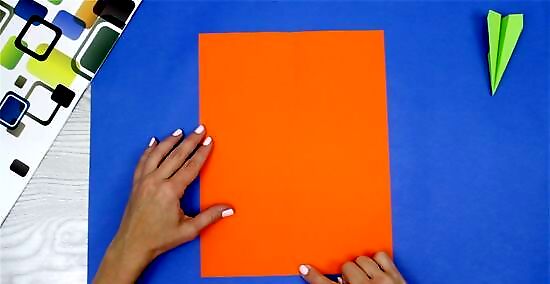
Crease the paper down the middle and then open the piece of paper back up. Lay the paper down so that one of the short sides is closest to you and so that the raised part of the center crease points up.
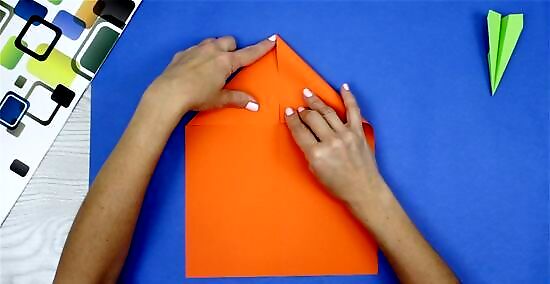
Fold the top corners down and in toward the center crease, so that what used to be the top edge lines up with the center crease. Crease these folds. Once folded, these two corners should meet each other at the center crease but not cross it. Keep these corners folded in. The point made at the top of your paper by these corners being folded down will eventually form the front of your dart paper airplane.
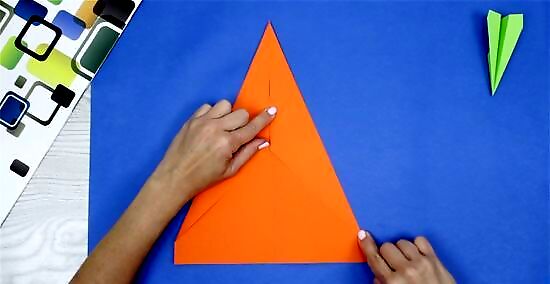
Grab each edge that comes off of the top point, basically the creases you made in the previous step. This time you will fold both of these edges down and in to line up with the center crease. These folds basically make your top point skinnier (and stronger) and the outer edges longer (from about 5 inches long to about 10 inches long). Remember to keep the edges lined up with the center crease but don't go over it. You are going to refold the paper airplane along this fold again, so you need to have symmetrical folds on both sides for proper balance.
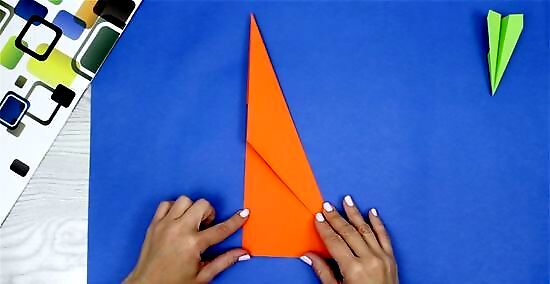
Refold your paper airplane along the center line. If you refold the center line and both of your sides are totally smooth, you have folded it the wrong way. Open the paper airplane back up and make the centerfold in the opposite direction, so the previous folds are not concealed inside.

Lay the paper airplane down on your work surface. It should be shaped like a really pointy triangle right now, with one edge the original length of the paper and one edge half the original width of the paper. The other edge should be the longest of the three and should be opposite the right angle of the triangle. Have either of the sides facing up. It doesn't matter which one because you will do the same steps to both sides.
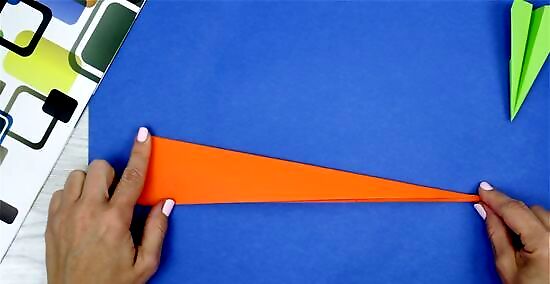
Take the long edge of one side and fold it over so the whole edge runs along the center crease. In essence, you are just folding one wing of the paper airplane in half. Repeat this same process on the other side as well.
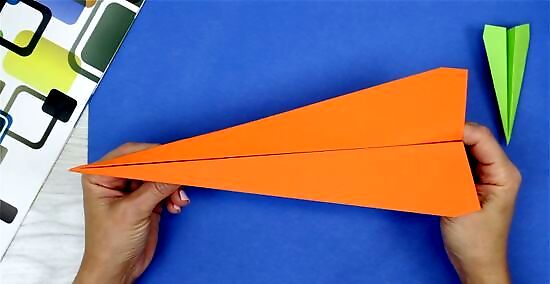
Open up both of these last creases halfway so that the long edges furthest from the center crease form two wings. The center crease you have had all along will now be at the bottom of your paper airplane. Your finished airplane should be about 12 inches long and 4 inches wide at the widest point of the wings.
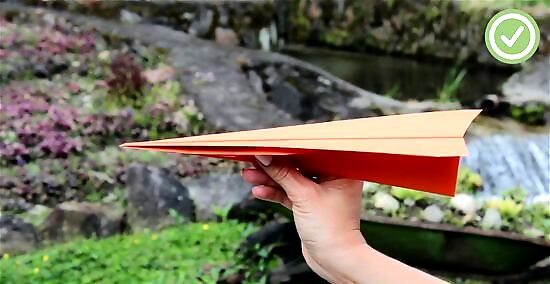
Grab your paper airplane along the bottom crease and throw it! You now have a dart paper airplane. If your airplane has problems flying, experiment with changing its weight distribution. Attach a small paper clip to the bottom crease, pointing up toward the wings. Try positioning it in different locations up and down the center crease to determine where the weight helps the most.
Making a Deluxe Dart Paper Airplane
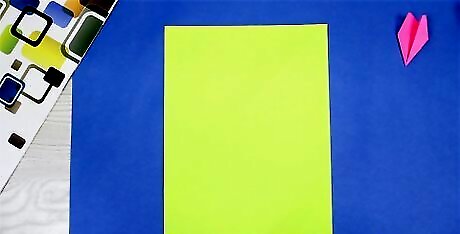
Start with a standard letter-sized piece of paper that measures 8 1/2 inches by 11 inches (A4, printer paper). This size is usually easy to find, as it's the one used in most printers.

Grab the top left-hand corner and fold it down and to the right on the other side of the paper. Once folded, the original top of the paper should be aligned with the right side. Make a crease along this fold.

Grab the top right-hand corner of the paper and fold it down and to the left. This point should meet the left side of the paper at the very end of the first crease you made. Make a crease along this fold.
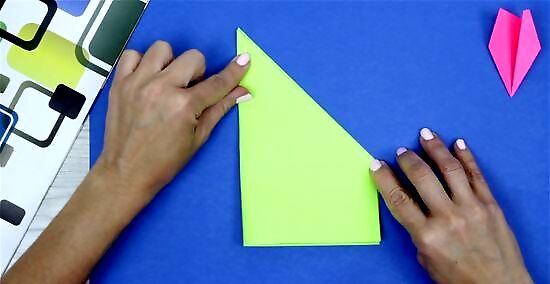
Fold the paper in half lengthwise. Make sure that this fold conceals the previous folds inside.
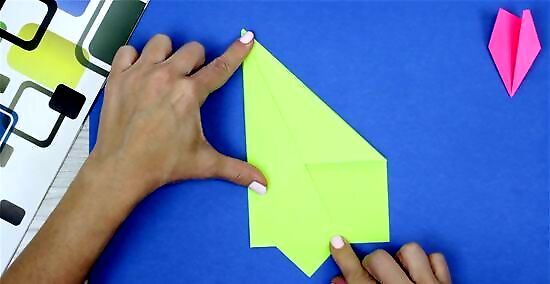
Grab the right outer point (opposite the centerfold) and fold it down and to the left, so the edge coming down from the top point aligns with the center crease. Remember to make a crease along this fold.
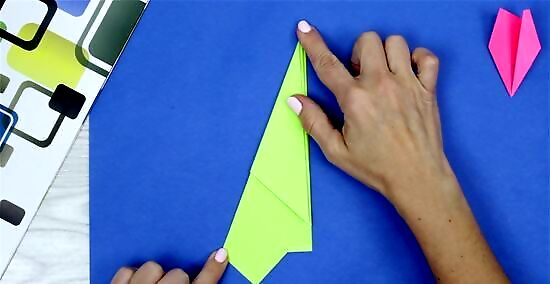
Flip your plane over and repeat the previous fold on the opposite side. Remember to crease this fold as well.
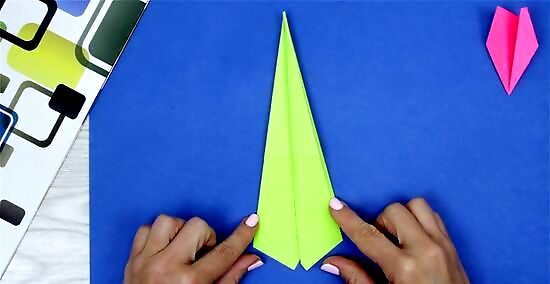
Fold each side in half again, bringing the long edge of each side down to meet the center crease. You will end up with two very long sides and small points coming out of the short end.
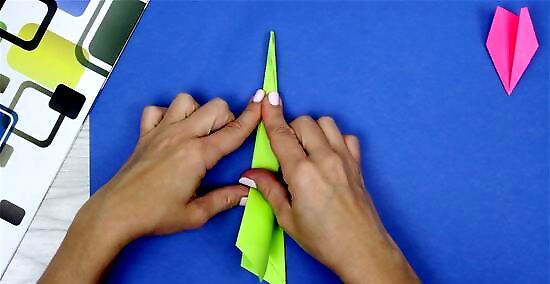
Fold the new long edge down to meet the center crease one more time. Repeat this on both sides. These folds may be hard to make, as they will result in really skinny long wings, but will create a very fast and straight flying paper airplane.
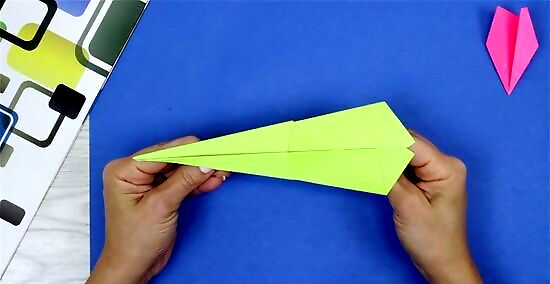
Open up these last folds halfway. Hold the airplane so that the wings stick out and you are holding the body of the plane.
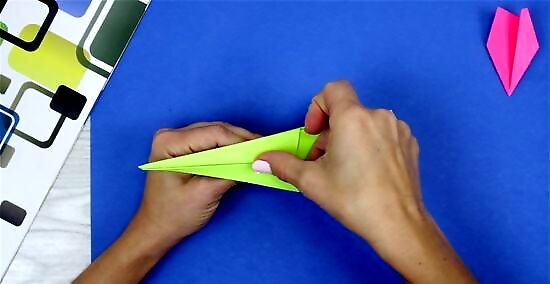
Place an inch-and-a-half (3.81cm) long piece of tape along the top over the crevice between the two wings. This will keep your plane in the right shape. Do not go all the way across and don't start from the very tip. Start where the corners of the tape stay within the wings. The tape is simply there to keep the wings together.
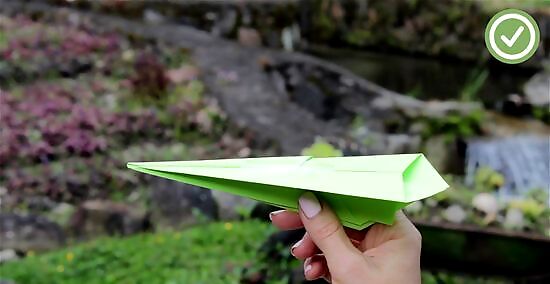
Hold your paper airplane by the body and toss it. Watch it fly!






Comments
0 comment