views
- Use the HTML code below to build out a basic table into your WordPad document.
- Go to "Insert Object" or "Insert" > "Object" and select either "Excel Worksheet" or "OpenDocument Spreadsheet." Then, fill in your data.
- With Windows 8 or newer, use + to start or end each cell and - to set the width of the cell: +--+-+--+. Press .↵ Enter to create the row. Repeat for new rows.
Creating an HTML Table
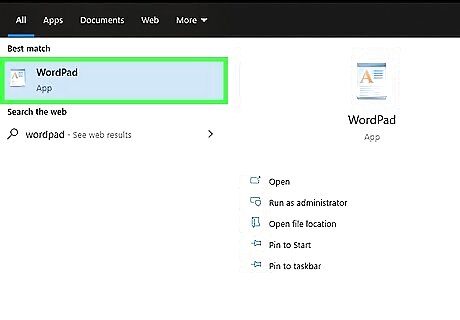
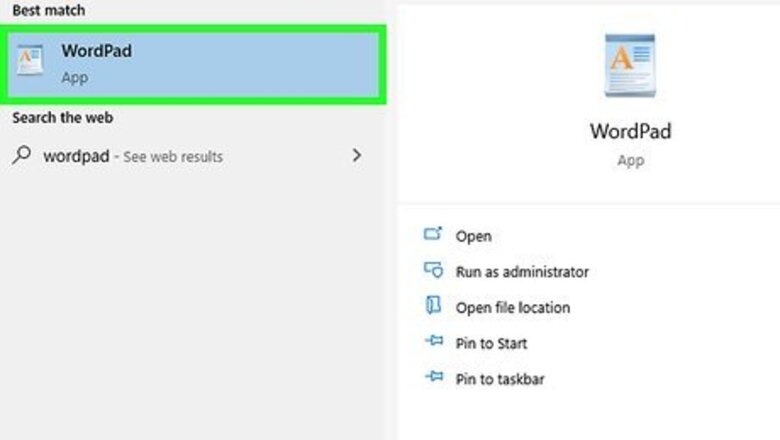
Start a new WordPad document. You can use WordPad to create a table in HTML that can be open and displayed in any web browser.
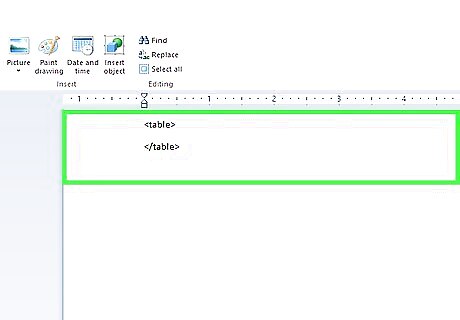
Add the table tags. These are the tags that your table code will be enclosed in.
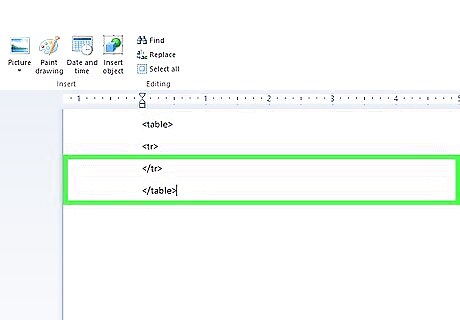
Add the first row to your table. This will be the header row for your table.

Add the table headings to the first row. Use the table heading tags to add as many columns as you would like.
| Column 1 | Column 2 | Column 3 | Column 4 |
|---|
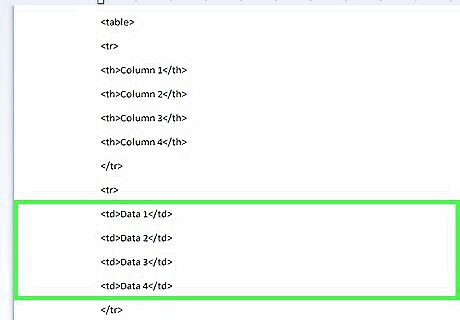
Add another row beneath the headers. Now that you have your column headings, you can add your first row of data.
| Column 1 | Column 2 | Column 3 | Column 4 |
|---|---|---|---|
| Data 1 | Data 2 | Data 3 | Data 4 |
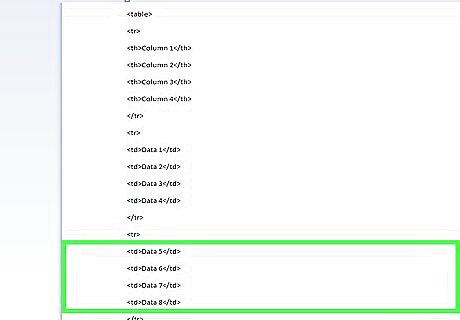
Continue adding rows. You can use the tags to continue adding rows of data to your table. Make sure that you close each one with a tag.
| Column 1 | Column 2 | Column 3 | Column 4 |
|---|---|---|---|
| Data 1 | Data 2 | Data 3 | Data 4 |
| Data 5 | Data 6 | Data 7 | Data 8 |

Click File and select "Save as." This will allow you to save the document as an HTML file. It needs to be in HTML format so that you can see the table when you load it in a web browser.
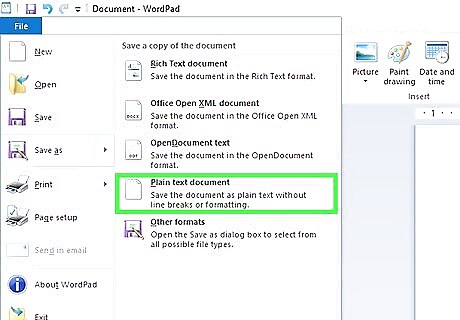
Select "Text" from the "Save as type" menu. This lets you change the extension.
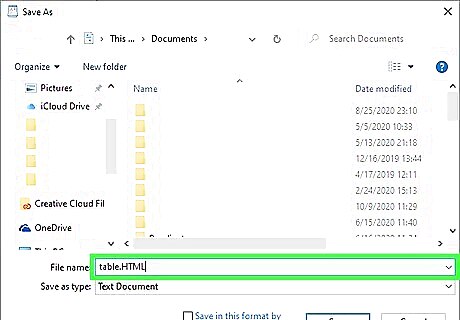
Change the extension at the end of the file name to .html. This will change the format to HTML format.
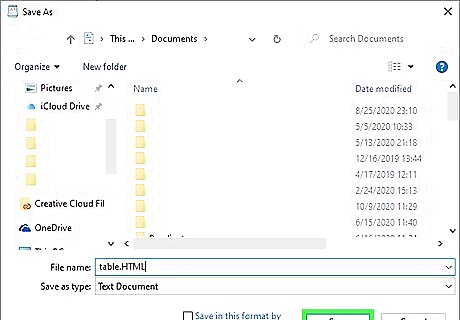
Save the file. You can now name and save the file as whatever you'd like. Make sure that it has the .html extension.

Open the file in a web browser. Double-click the newly-created HTML file to load it in your default web browser. Your table will appear in the browser window.
Using a Spreadsheet Program

Ensure Excel or OpenOffice is installed. If you need a little more control over the table, you can use a spreadsheet program. You'll essentially be inserting a spreadsheet into your WordPad document. This requires a compatible spreadsheet editor. WordPad supports Excel and OpenDocument formats. OpenOffice and LibreOffice are both free office suites that support the OpenDocument format. See How to Install Open Office for detailed instructions on installing OpenOffice for free.
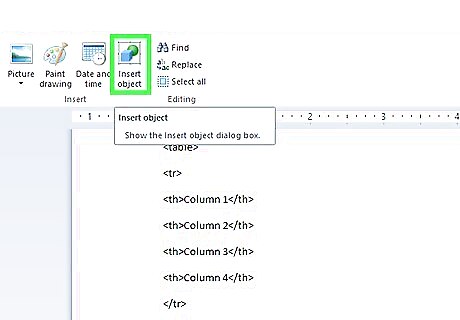
Click the "Insert object" button in WordPad. In newer versions, this can be found in the Insert section of the Home tab. In older versions of WordPad, click the "Insert" menu and select "Object".

Select the Worksheet option. A list of objects that you can insert will appear. If you have Excel installed, you can select "Excel Worksheet". If you have OpenOffice or LibreOffice installed, you can select "OpenDocument Spreadsheet". Selecting one of these objects will insert a blank spreadsheet in your WordPad document, and your spreadsheet program will open in another window.
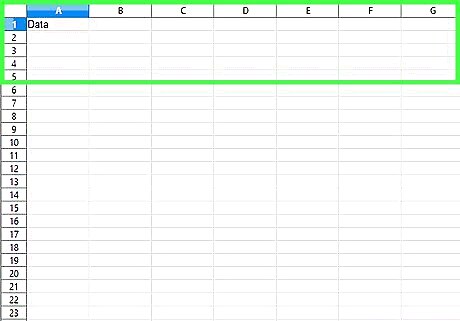
Fill out the table data in the spreadsheet program. After inserting the table, Excel or your OpenDocument spreadsheet editor will open. Anything you enter into the cells in your spreadsheet editor will appear in the table that you inserted into the WordPad document. Go through each cell and fill out the table with the important information. Even though only a small range of cells is shown in WordPad, the range will expand as you add data outside of the displayed range. If the table is smaller than the initial range, the table will shrink to fit your data.

Format the text. You can use the text formatting tools in your spreadsheet program to change the look for the text in the cells. You can change the font, size, color, and emphasis. Formatting text in Excel or your other spreadsheet program is very similar to formatting text in a word processor. The changes you make to the formatting will be displayed immediately in the WordPad table. You can create headers by bolding the contents of the first row in the spreadsheet program.
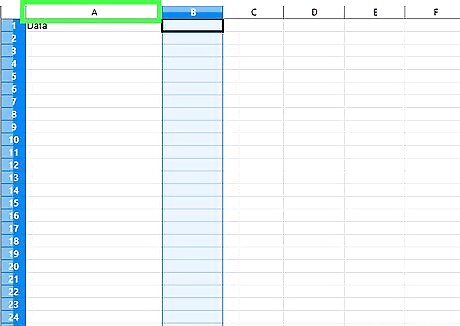
Resize your cells. Changes in the size of the rows and columns in your spreadsheet editor will be reflected in the table in your WordPad document immediately. Change the cell size to make your information easy to read.

Close the spreadsheet editor. This will finalize the data and you'll see your finished table in WordPad.
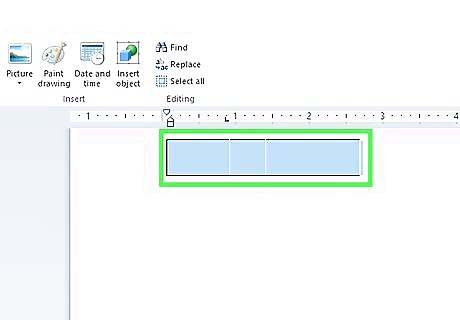
Move and resize the table. You can drag the boxes around the edge of the table to resize it. The content of the table will grow or shrink to match the new size. You can click and drag the table around your document as well.
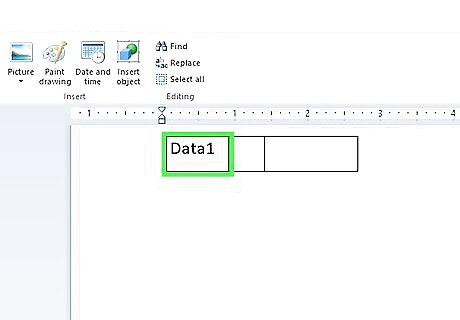
Double-click the table to make edits. This will open your spreadsheet editor, allowing you to change the table data. If you've resized the table, it will be reverted to the original size when you edit it. You'll have to resize it again after editing.
Using the Keyboard (Windows 8 or Newer)
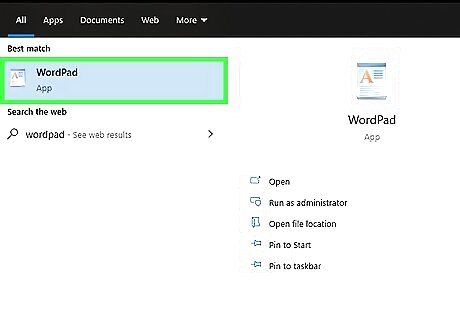
Know which versions of WordPad this works in. Creating a table using your keyboard is only supported in Windows 8 or newer versions of WordPad. If you are running Windows 7 or earlier, you'll need to try one of the other methods in this article.
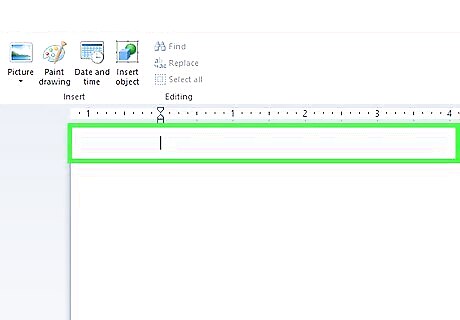
Place your cursor where you want your table to start. When you're using your keyboard to insert automatic tables, the table will start on the line you are currently working on. You can start a table anywhere in your document.
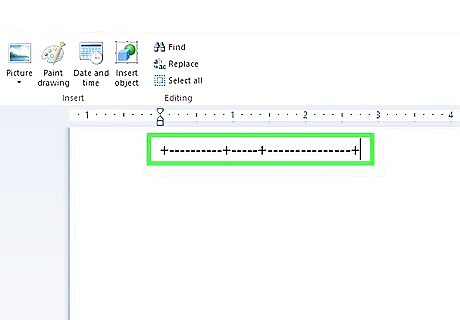
Create the first row. Use + and - to create the measurements for the first row of cells. Start and end each cell with a +, and use - to indicated how many characters wide the cell is. Don't worry too much about the actual measurements, as you can make adjustments later. See below for an example first row: +----------+-----+---------------+

Press .↵ Enter to generate the first row. Your characters will turn into the first row of the table, with the + signs becoming the borders of the cells. You can start typing text into each of the cells. The cells will resize automatically if the amount of text is too much to fit.
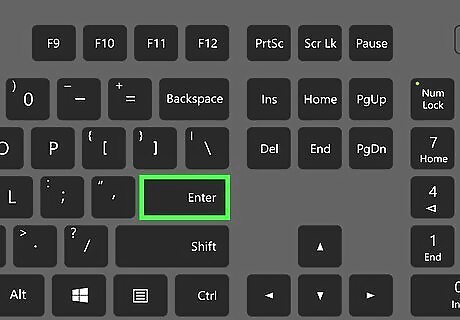
Add additional rows. Move the cursor to the very end of the first row, so that it is flashing right on the outside of the table border. Press ↵ Enter to create a second row for the table. Repeat this process to continue adding rows to the table. Pressing Tab ↹ while in the last cell will create a new row. Continuing to press Tab ↹ will move to the next available cell, creating a new row when you reach the end of the last row of the table.

Resize your rows and columns. Once you've added a few rows, you can use your mouse to resize them. Find the border that you want to move and click and drag it
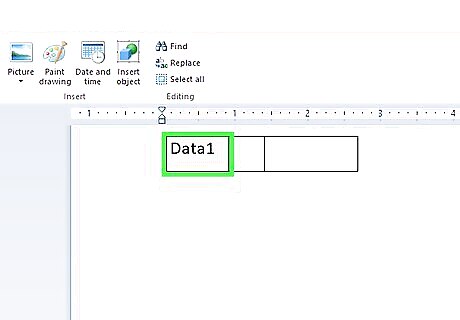
Add your content. Now that the table has been created, you can start adding your information to it. Simply move from cell to cell and enter the information that you want to add to the table. You can highlight and format the text however you'd like.

Save the file as a Rich Text Format (.rtf) file. This format will keep your newly-created table. If you save it as a text (.txt) file, your table formatting will be lost. Rich Text Format files can be opened in most word processors. You can also save it as a OpenOffice XML Document (.docx), which can be opened in Word.




Comments
0 comment