
Using Torctl on Linux
If you are running BlackArch Linux, simply type sudo pacman -S torctl and press Enter to install Torctl. Then go to the second step 5
Open the Terminal. The Terminal usually has an icon that resembles a black screen with a text cursor. Click the Terminal icon in whichever Linux distribution you are running. Torctl is built for BlackArch, but it can also be installed on other Linux distributions. If Torctl does not work for your Linux distribution, you can find other scripts here. You can also use iptables to route traffic through Tor.
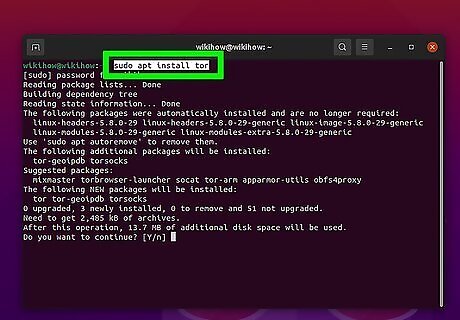
Install Tor. If you haven't already done so, install Tor by entering the following command and pressing Enter: sudo apt install tor
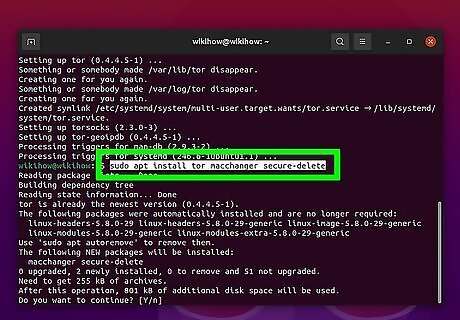
Install GNU MAC changer. GNU MAC changer allows you to change your MAC address. Enter the following command and press Enter to download and install the MAC changer: sudo apt install tor macchanger secure-delete
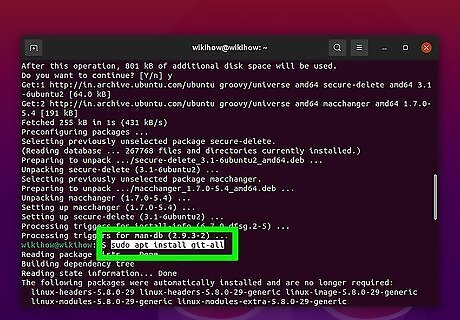
Install Git. If you haven't already done so, enter one of the following commands and press Enter to install Git on your Linux distribution: RPM-based Linux distributions: sudo dnf install git Debian-based Linux distributions: sudo apt install git
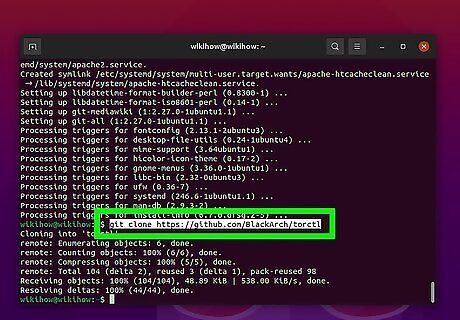
Clone the Torctl directory. Enter the following command in the Terminal and press Enter to clone the GitHub directory on your Linux system. git clone https://github.com/BlackArch/torctl

Type cd torctl and press ↵ Enter. This opens the Torctl directory that you just created. All the files you need to install Torctl are in this folder.
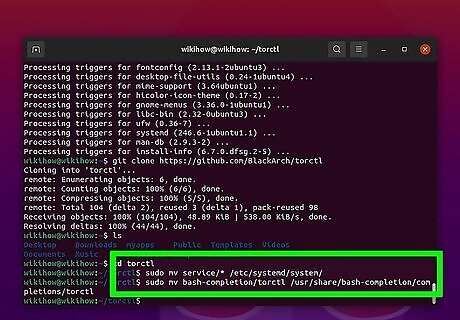
Move the contents of the "service" and "completion" folders. If you are using a regular Linux distribution, there are a few files you need to move. Enter the following commands and press Enter to move the contents of the folders. sudo mv service/* /etc/systemd/system/ sudo mv bash-completion/torctl /usr/share/bash-completion/completions/torctl
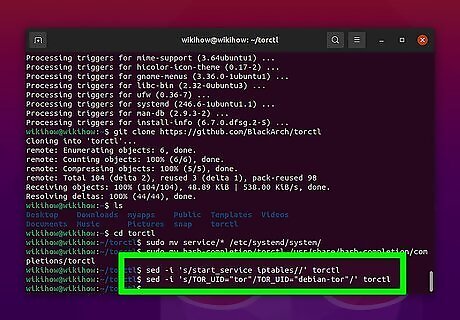
Edit the input commands of the script. If you are using a regular Linux distribution, you need to edit the input commands of the script. Skip this step if you are using BlackArch. Enter the following commands and press Enter to edit the input commands of the script: sed -i 's/start_service iptables//' torctl sed -i 's/TOR_UID="tor"/TOR_UID="debian-tor"/' torctl
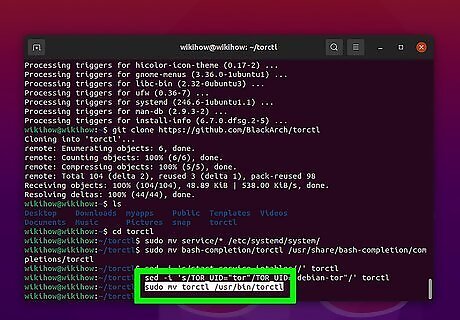
Move the Torctl script you just edited. After you finish editing the script, go ahead and enter the following command and press Enter to move it to the proper folder: sudo mv torctl /usr/local/bin/torctl.
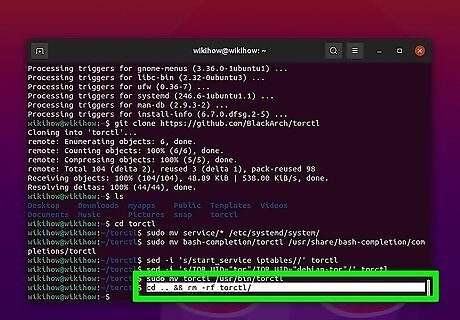
Remove the Torctl script from the original folder. After you move the script to its new folder, enter the following command and press Enter to delete the original copy: cd .. && rm -rf torctl/
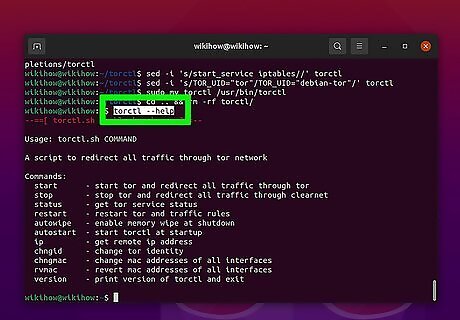
Use Torctl Terminal commands to operate Torctl: Enter any of the following commands in the Terminal and press Enter to operate Torctl:: Display list of commands: torctl --help Find your IP address: torctl ip Start Torctl and start routing traffic: sudo torctl start Stop Torctl: sudo torctl stop Check Torctl status: torctl status Change your IP address on the Tor Network: sudo torctl chngid Change MAC address: sudo torctl chngmac Recover original MAC address: sudo torctl rvmac Automatically start Torctl on startup: sudo systemctl enable torctl-autostart.service Remove Torctl from startup services: sudo systemctl disable torctl-autostart.service Add automatic memory cleaning when you shut down your computer: sudo systemctl enable torctl-autowipe.service Disable automatic memory cleaning: sudo systemctl disable torctl-autowipe.service
Using OnionFruit on Windows

Download and install OnionFruit. OnionFruit is a tool for Windows that allows you to connect your PC to the Tor network and use it like it's a VPN. It's only available for Windows. Use the following steps to download and install OnionFruit: Go to https://dragonfruit.network/onionfruit in a web browser. Click Download in the upper-right corner. Click the Install.exe file in your web browser or Downloads folder.
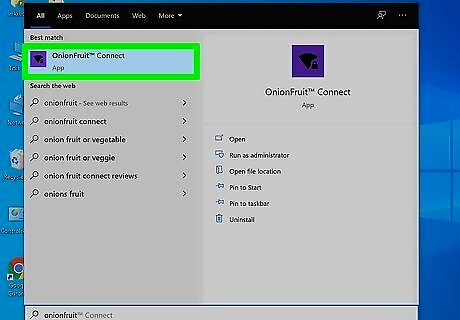
Open OnionFruit. OnionFruit will open automatically once it finishes downloading. To open OnionFruit manually, click the purple icon that resembles a diamond with a lock next to it on your Windows Start menu.

Open OnionFruit in the taskbar. If you don't see the OnionFruit toggle switch pop-up in the lower-left corner of your computer screen, click the orange circle icon in the taskbar to open OnionFriut.
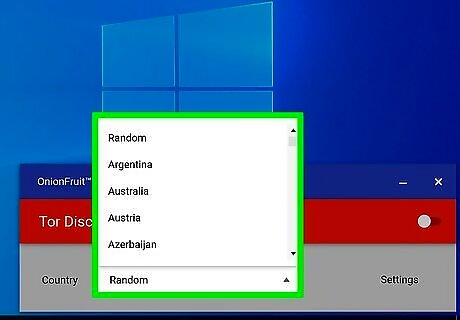
Select a country (optional). If you want to select a country to connect to as your point of entry, use the drop-down menu in the OnionFruit interface to select a country. If you don't have a particular country you want to connect to in mind, leave it as "Random."

Click the toggle switch Windows Switch On next to "Tor Disconnected." It's the orange bar in the interface. This switches the toggle switch on and connects your PC to the Tor Network. When it is connected, the orange bar in the OnionFruit interface will turn green. Your web browser will also open a landing page that says you are connected to Tor.


Comments
0 comment