views
- If you can't access a particular website or recently made some network changes, flushing your DNS can be a helpful troubleshooting step.
- If you're using Windows, flush your DNS using the command ipconfig /flushdns.
- On the latest versions of macOS, run sudo dscacheutil -flushcache; sudo killall -HUP mDNSResponder to clear the cache.
- Rebooting your computer will also flush the DNS cache automatically.
Windows
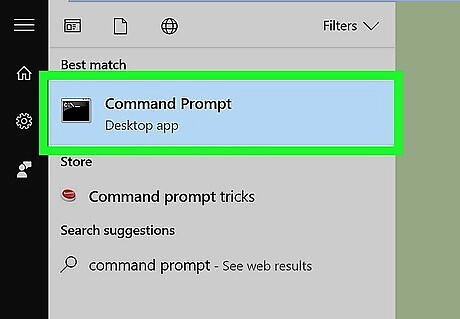
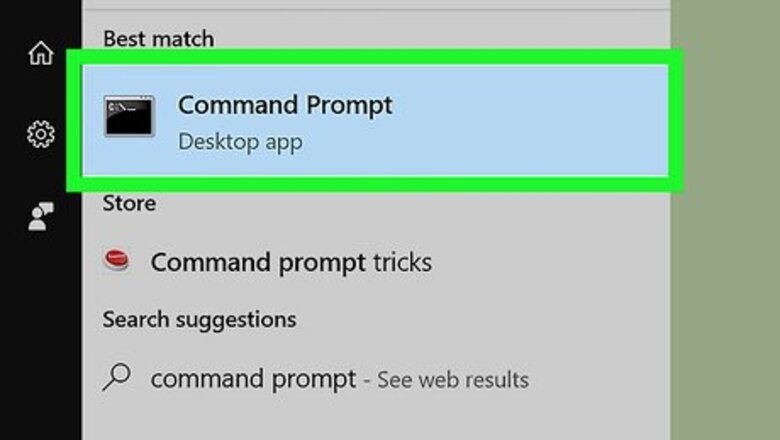
Open a Command Prompt window as an administrator. The easiest way to open Command Prompt with elevated access is: Press the Windows key on your keyboard and type cmd. Right-click Command Prompt in the search results. Click Run as administrator. Click Yes to confirm.
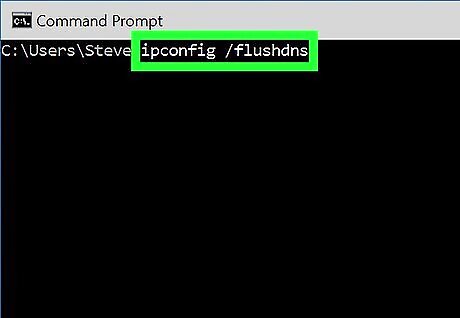
Type ipconfig /flushdns at the prompt and press ↵ Enter. This immediately flushes your PC's DNS cache. If you just want to see the contents of your DNS cache without flushing it, run the command ipconfig /displaydns instead. This command also displays entries from your hosts file. If your PC is a part of an Active Directory network, you may also need to run the command ipconfig /registerdns if you can't resolve other hostnames on your network. If you're still having trouble accessing websites after clearing your DNS cache, you may also need to clear your browser cache.
Mac
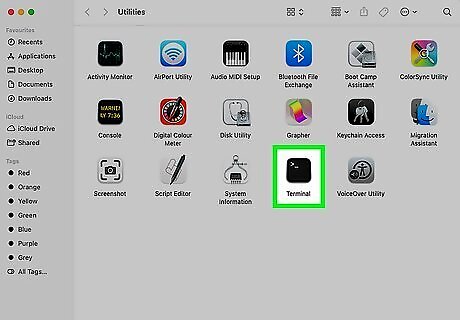
Open a Terminal window. There are two easy ways to open Terminal on your Mac: Open Finder, click the Go menu, select Utilities, and then select Terminal. Click the Spotlight icon (the magnifying glass) at the top-right corner of your desktop, type terminal, and then double-click Terminal. You can also press ⌘ Command+Space to open Spotlight.
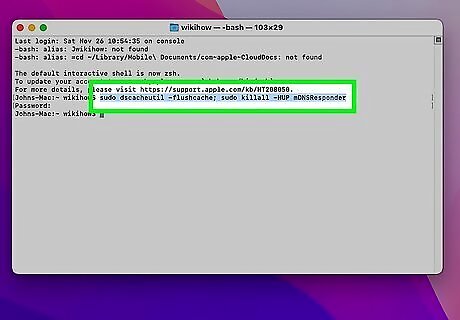
Type the DNS flush command for your version of macOS. The command you'll need to type depends on your version of macOS: Big Sur (macOS 11) and later: sudo dscacheutil -flushcache; sudo killall -HUP mDNSResponder El Capitan, Sierra, High Sierra, Mojave, & Catalina: sudo killall -HUP mDNSResponder Yosemite: sudo discoveryutil udnsflushcaches Lion, Mountain Lion, & Mavericks: sudo killall -HUP mDNSResponder
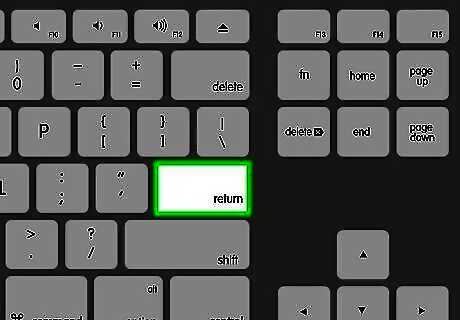
Press ⏎ Return to run the command. This clears your Mac's DNS cache. If prompted, enter your password to run the command. This will be the password you enter when logging in to your Mac. Terminal won't show your keystrokes as you type, but it will detect them. If you're still having trouble accessing websites, check out our guide to fixing common computer network issues. You can also try resetting your network.
Linux
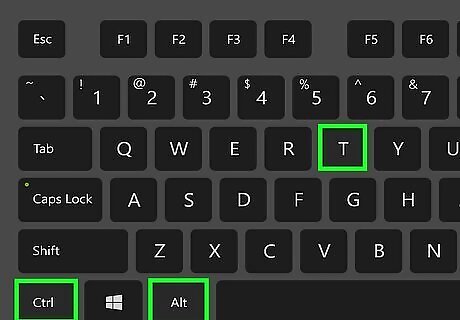
Open a new Terminal window. If you're logged in on your Linux desktop, you can press Ctrl + Alt + T to open a new Terminal quickly.
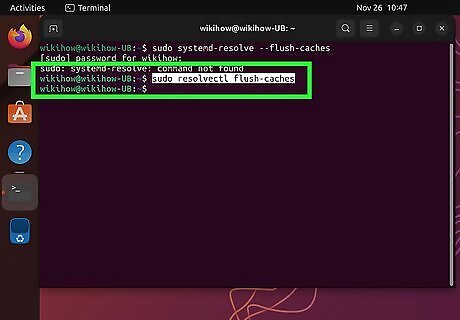
Run the DNS flush command for your Linux variant. The command you'll use will be different depending on which version of Linux you're using: Ubuntu & Debian: Type sudo systemd-resolve --flush-caches and press Enter. In newer version of Ubuntu you may have to use command sudo resolvectl flush-caches instead. To make sure the command worked, run the command sudo systemd-resolve --statistics to make sure the cache is empty. In newer version of Ubuntu you may have to use command sudo resolvectl statistics instead. RedHat & CentOS: Type systemctl restart dnsmasq.service and press Enter. You won't see any confirmation or errors, so don't worry if you don't get any feedback.
Chromebook
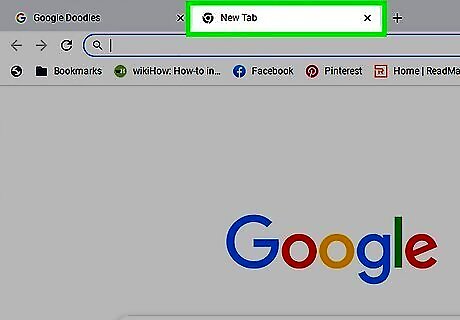
Open a new browser tab or window. To flush your DNS on a Chromebook, you'll need to use the hidden Net-Internals feature in Chrome.
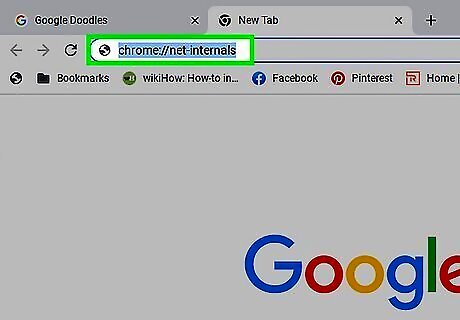
Go to chrome://net-internals in your browser. This opens a page where you can access a few handy network troubleshooting tools.
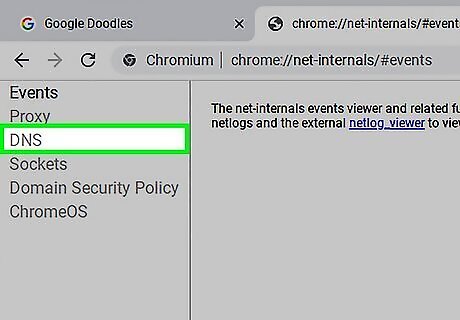
Click DNS in the left panel. Now you'll see the DNS Lookup page, where you can look up any domain or host name. You'll also see a button below this option to clear your host cache.
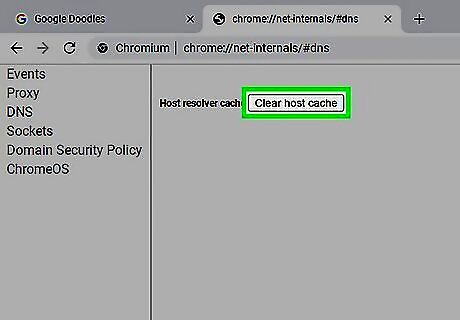
Click Clear host cache. This flushes the DNS cache in Chrome (or on your Chromebook). Don't be alarmed if you don't see a prompt or confirmation, as everything happens quietly in the background. If you're still having trouble accessing websites, you can also try clearing your browser cache,


Comments
0 comment