views
X
Research source
By cleaning your fan around every 6 months, you will be able to remove built up dirt before it becomes a problem.
Removing the Bathroom Fan
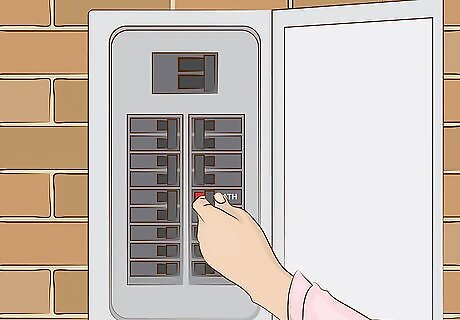
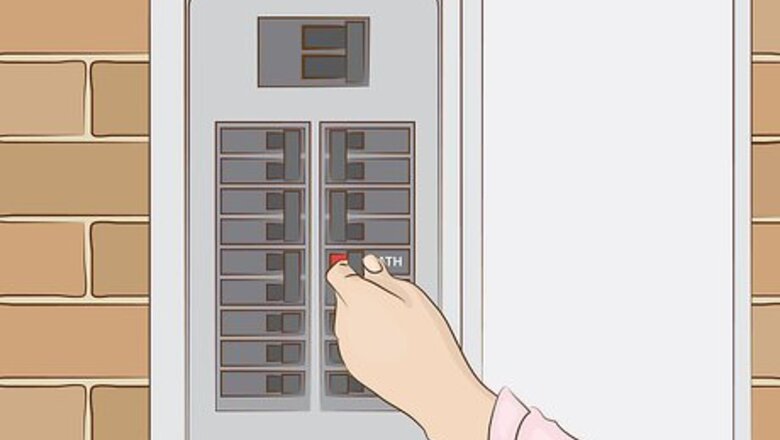
Turn off the power. Before you do anything else, ensure that the fan is turned off and cannot turn back on until you are finished cleaning it. Most models will have a plug that is located directly behind the cover. You could remove the cover first and unplug the fan, but just to be safe, go and temporarily pull the breaker for your bathroom. The fan is now safe to work on.
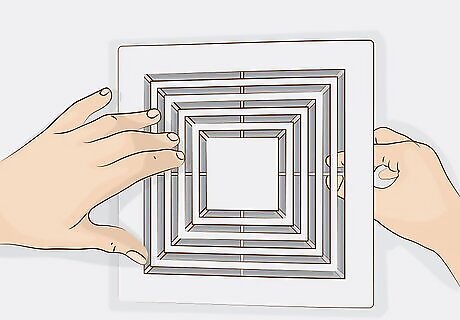
Remove the cover. Dust will fall when the cover is removed. To avoid the dust, position your stepladder such that you can reach the cover, but are not standing directly below it. Most covers will have 2 prongs on opposite sides holding it in place, others just need to be unscrewed. Remove the cover by pressing these prongs in or removing the screws, then set the cover aside.
Remove the fan. Unscrew the assembly that is holding the fan in place, then very gently remove the fan. Be careful not to drop the fan or hit it on the side of the exhaust pipe as that could potentially chip the fan blades. Broken fan blades will cause the fan to be louder and less effective.
Cleaning the Fan and Cover
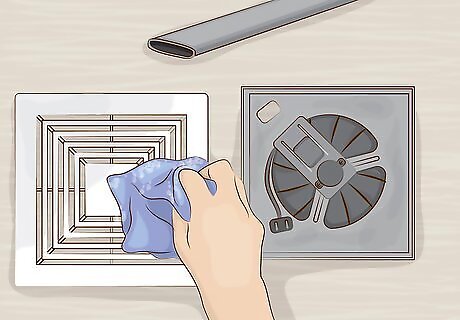
Clean the cover and fan. Start by vacuuming off the majority of the built up grime on both the cover and the fan. Then dip a rag, preferably a microfiber cloth, in soapy water and use it to wipe up the remaining dust. Be as thorough as you can, you will probably not do this again for a while. You can let the cover soak in a tub of hot soapy water, but the fan should be wiped by hand to avoid getting water on the motor assembly or plug.
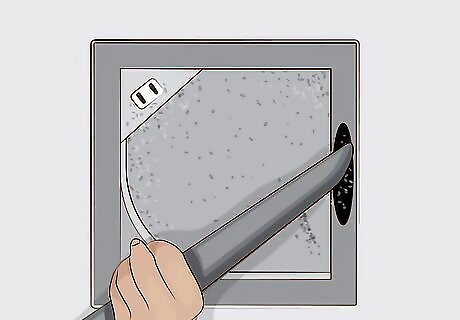
Vacuum the exhaust pipe. Use a crevice or brush attachment and vacuum off the inside of the exhaust pipe. If you can reach, also use your rag or cloth to wipe off what the vacuum could not get.
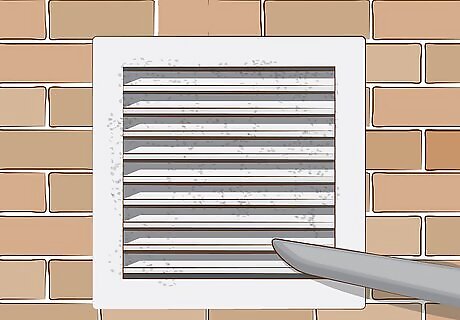
Vacuum the external exhaust port. This can be done later once the entire process is finished, but at some point you should go outside and find the exterior vent for your bathroom fan. Depending on where the bathroom is located, this vent will either be on the roof or the side of your house. Bring a damp rag to wipe off any dirt that has built up on the other end of your exhaust pipe.
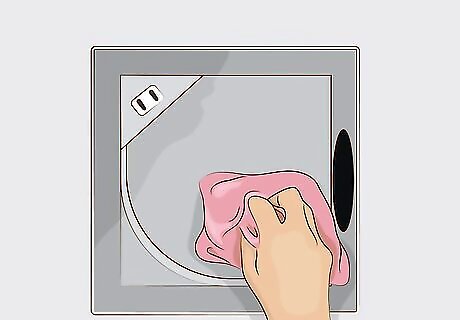
Wipe and vacuum the fan housing. If your fan had an accessible plug, be careful not to get any water inside the outlet. Doing so could result in electrocution or short circuit the fan when you plug it back in. Therefore, use a dry rag to wipe off the fan housing, then vacuum up any remaining dust or debris.
Reinstalling the Bathroom Fan
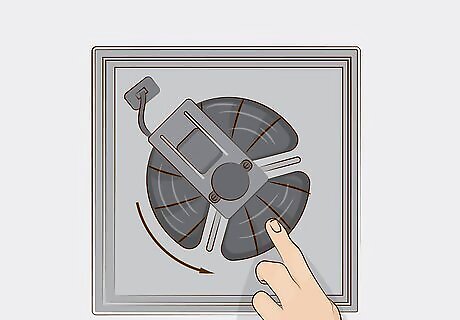
Put the fan back in place. Before reinstalling the fan, make sure that you cleaned off all the dust from in between each of the blades and dried it thoroughly. Carefully reinsert it into the exhaust pipe and screw the bracing back into place. Use your fingers and spin the fan around a few rotations to make sure that it is not rubbing against anything.
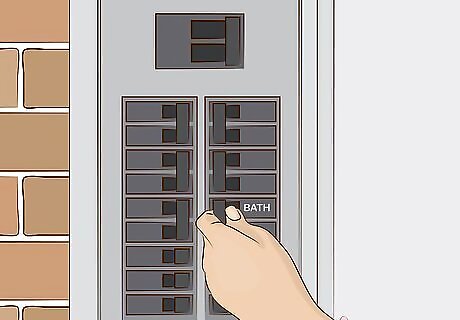
Turn the power back on. Plug the fan back into the outlet and reset the breaker for your bathroom. The fan is now dangerous again, so do not touch it or continue to clean it after this point.
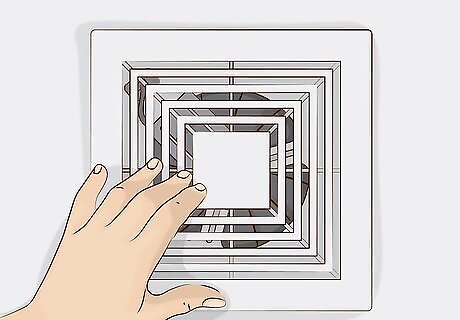
Reinstall the cover. Once the cover has dried, either screw it back in or bend the prongs until the cover snaps back into place.
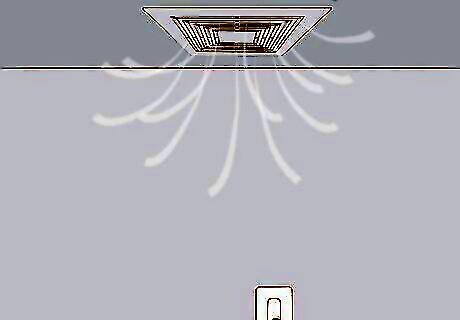
Test the fan. Turn the fan on again to make sure everything works as normal. The fan should be quieter than it was before and provide a higher amount of air flow.


Comments
0 comment