views
X
Expert Source
Haim ShemeshCarpet & Rug Cleaning Specialist
Expert Interview. 12 May 2020.
For smaller burns in less noticeable spots, you can use a few key strategies to repair your carpet. By snipping off the burned edges and gluing in new fibers, or gluing in a new patch of carpet altogether, you can make your flooring look as good as new.
Trimming the Burnt Carpet and Hiding Stains
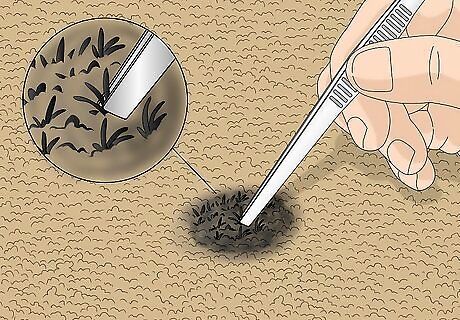
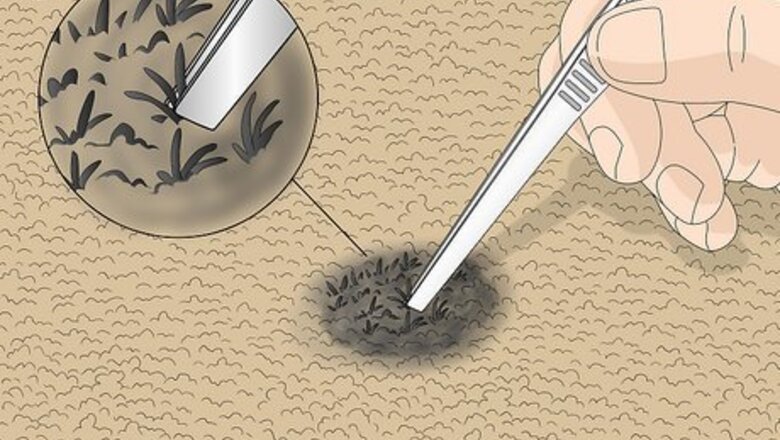
Loosen up the fibers with a pair of tweezers. You want the carpet fibers to stand up as straight as possible, which will make it easier to target the burnt pieces. Use the tweezers to brush the fibers back against the grain, plucking at them a bit to loosen them up.
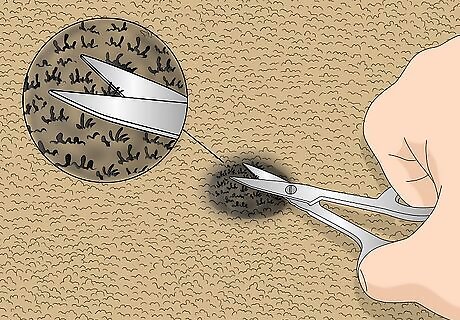
Snip off the burnt top layer with a pair of scissors. Try to only cut the black or brown burnt part, not the lower, unaffected layer. Go slowly and be patient, as the carpet might be difficult to cut through at first. Continue pulling up the fibers as you cut to make sure you’re not missing any burnt pieces below the top layer. You can use regular scissors or a smaller, sharper pair with a curved edge, like the kind often used for trimming hangnails. Brush the burnt pieces off to the side and pick them up with a vacuum cleaner or by hand later.
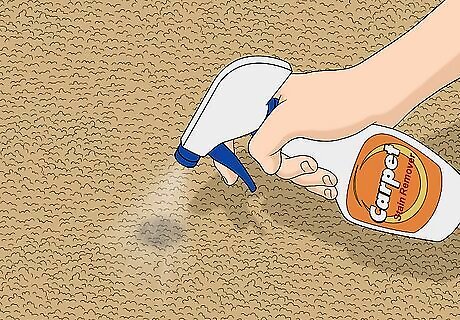
Spray carpet stain remover on the remaining spot. Follow the instructions on the bottle and scrub in the spray with a clean rag. Allow it to sit for as long as the bottle specifies.
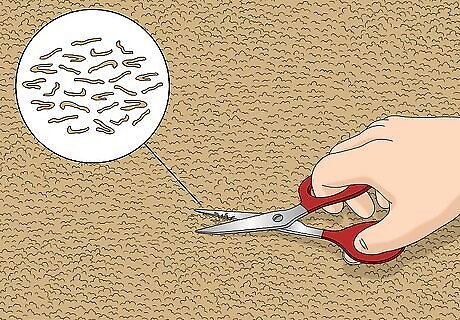
Cut some fibers from another area if a mark is still noticeable. Use a sharp pair of scissors or a razor to snip off some fibers from an inconspicuous area of carpet, such as inside a closet or along a wall. Try to cut the fibers to about the same length as the burnt pieces you just snipped off.
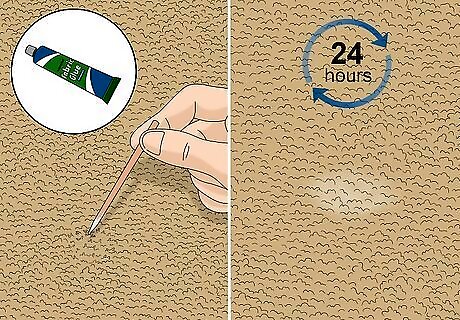
Glue the new fibers over the burnt spot. Use a toothpick or a small, flat screwdriver to apply a bit of transparent, waterproof fabric glue to the new fibers. Glue them onto the leftover fibers on the burned area and let dry for at least 24 hours. Then, trim the new fibers back down to the original level, if necessary.
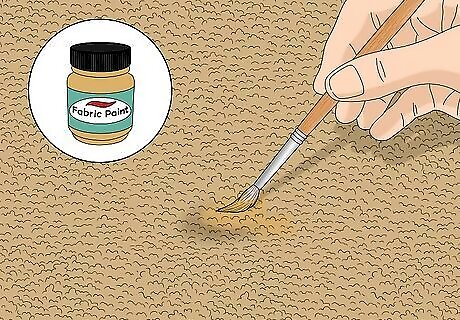
Cover the stain with fabric paint if you don’t want to cut more carpet. Look for a waterproof paint as close to the color of your carpet as you can get it. Use a thin brush to dab it over the affected fibers, then let dry for at least 24 hours, or as long as the bottle specifies.
Removing the Burnt Fibers and Patching the Area
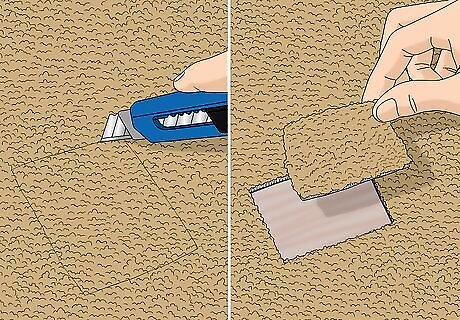
Cut out the burned area with a sharp razor. Cut it down to the adhesive base of the carpet and lift it out. Try to cut in a square or rectangular shape that will be easy to replicate.
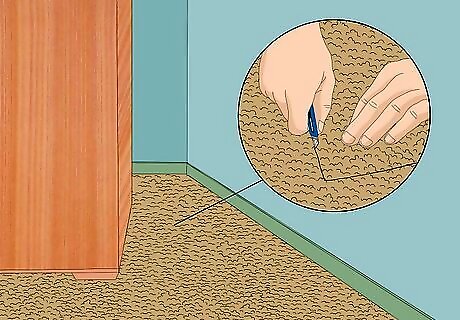
Snip out a section of carpet from an inconspicuous area. Using the burnt section of carpet you just cut out as a template, cut out a swatch of carpet from a less-noticeable area, like the back of your closet. If your carpet has a pattern, make sure it exactly matches that of the burnt section. You could also snip a section from loose carpet samples, which you might have left over from when the carpet was put in.
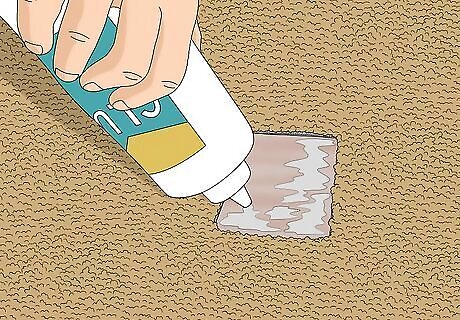
Spread glue on a piece of carpet backing and the new carpet patch. Cut out a swatch of woven backing that’s about the size of your new carpet swatch. Spread strong, permanent glue on the back of the piece of backing and the new carpet patch, and along the edges of the area where the burn was. Allow the glue to settle in until it’s slightly tacky. You can get woven carpet backing online and in most home improvement stores.
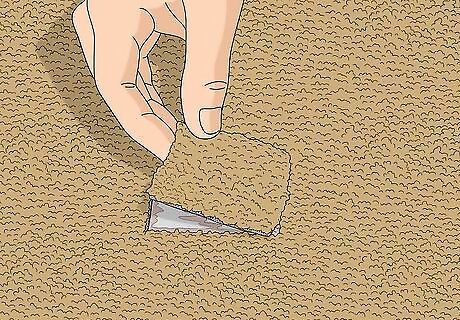
Place the backing and the new carpet patch into position. Slide the backing into the area where the burn was. You may be able to lift up the surrounding carpet to fit it more securely. Then, set your new carpet patch on top of the backing backing and gently press it into place.
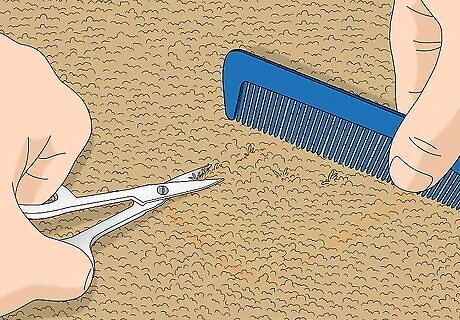
Snip off loose fibers and comb the patch to blend it in. Use a small, sharp pair of scissors to cut loose any fibers on the ends that look out of place. With a small, fine-toothed comb, gently brush the new fibers to match the surrounding area.

Place a heavy object on the area and let dry for 24 hours. Use a large book or heavy pot to hold the new swatch down. Allow it to dry for the rest of the day and night.


Comments
0 comment