views
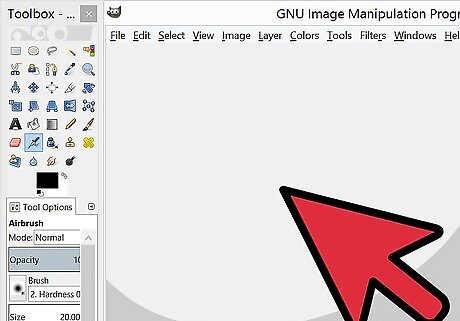
Download and open up GIMP.
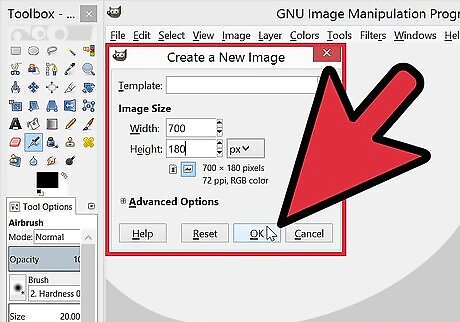
Go to new and create the banner at the specific dimensions for your project. No banner is the same size.
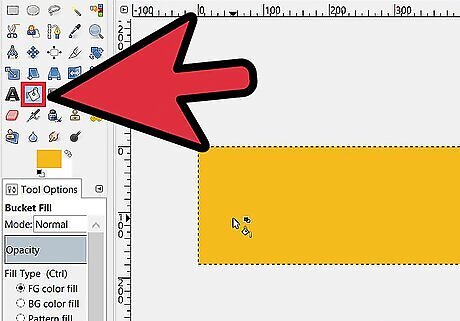
Use the bucket tool and make a background color. If you want it to go with a specific color for a specific theme then try to match the colors.
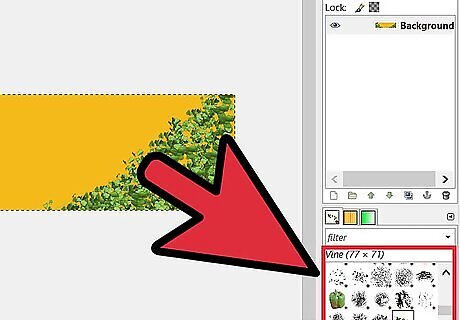
Go to the brush tool and see if you have any brushes which help with the specific project. Maybe add some oddly colored flowers to your banner. Just make sure it leaves room for the text and doesn't clutter everything.
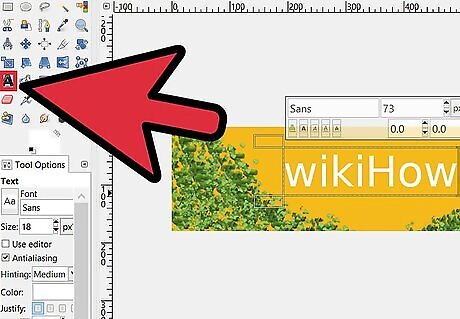
Use the text tool which will help make your project unique. Type what you need such as a title for the banner. You then need to resize it to the specific area you want it to cover. The text will still be small so before you make it huge and fit the box you need to experiment with the different types of fonts. Make sure it isn't odd font which doesn't fit with the color theme or the design.
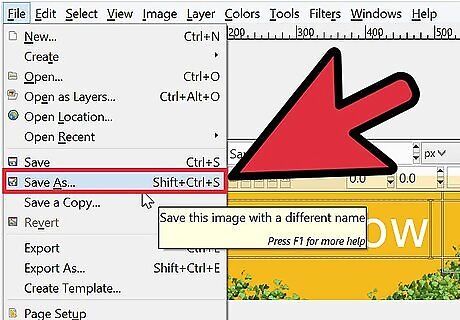
Once you have finished with that then go and save it. Try PNG or JPEG files because they're high quality files.
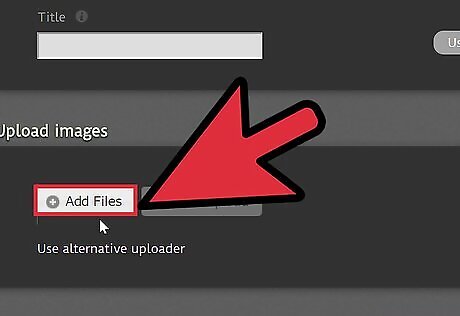
Upload it on your sites file storage, or a photo storage site and put it as a signature, a site banner, etc. You work should give an idea to the viewers of it that you're officially good at making banners.



Comments
0 comment