views
X
Trustworthy Source
US Occupational Safety and Health Administration
U.S. government agency responsible for setting and enforcing workplace safety standards
Go to source
By opening your panel and using a digital multimeter to check the voltage levels, you can easily see if your breakers are the problem. Just be careful when you work with live electricity!
Testing the Breaker with a Multimeter
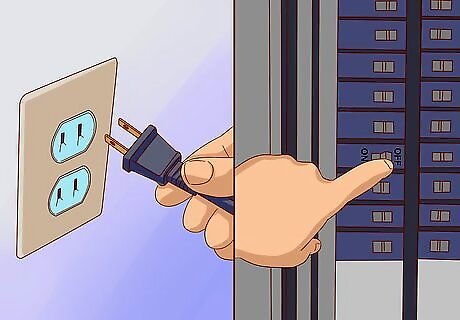
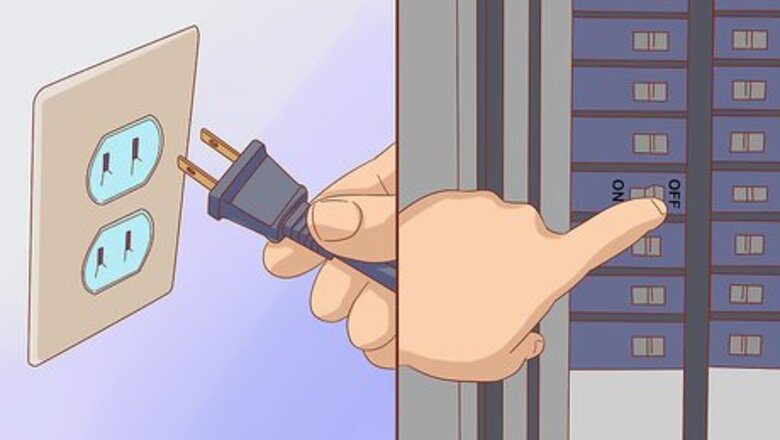
Unplug or turn off all devices connected to the breaker. Getting all of the electronics off of the circuit will prevent it from surging. If you have labels on your breaker box for what each switch controls, take the time to check what needs to be unplugged. If you're not sure what each breaker controls, unplug the electronics in the area where the breaker tripped before working on it.
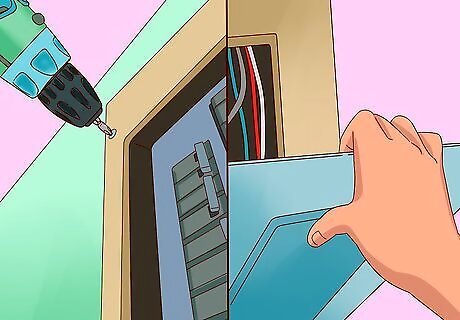
Unscrew the panel from the breaker box and set it aside. Use either a flathead or Phillips-head screwdriver depending on what screws are on the panel. There will at least be 2 screws, but there may be more. Set the screws aside in a safe place so you know where they are when you need to put the panel back on. As you remove the last screw, hold the panel up with your non-dominant hand and slowly remove the panel cover.
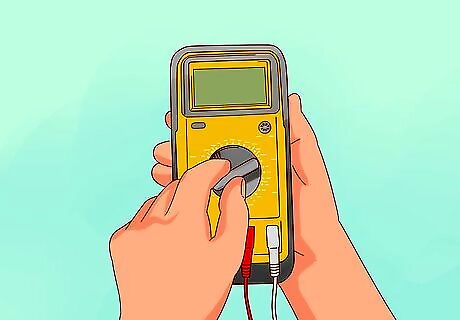
Turn on your digital multimeter. A multimeter is a machine that tests the voltage or current through electric components. Plug the black wire into the port labeled “COM” or “Common,” and plug the red wire into the port labeled with the letter V and the horseshoe symbol (Ω). This will ensure you're measuring the voltage of the breaker. Multimeters can be purchased at your local hardware store or online. Check the casing on the wires to make sure they have no cracks or damage. Electricity will travel through the cracks and possibly cause electrocution. If you see any damage, use a different multimeter.

Hold the red probe against the screw on the breaker you're testing. Hold the probe, the exposed metal end of the wire, so you aren't touching the exposed metal. Touch the end of the probe to the screw on the left or right side of the breaker.
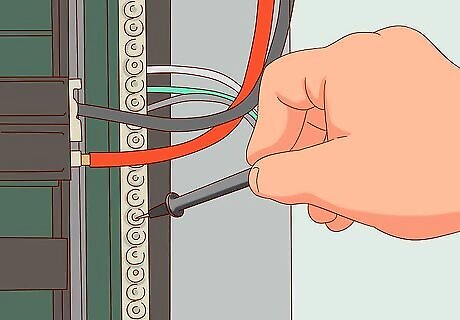
Put the black probe against the neutral bar. Look for where the white wires leading from your breakers attach. Place the end of the black probe anywhere on the neutral bar to complete the circuit on your multimeter. Do not touch the neutral bar with bare skin since it could cause electrocution. If you have a double pole breaker, place the end of the black probe onto the second terminal screw of your breaker to get the correct reading.
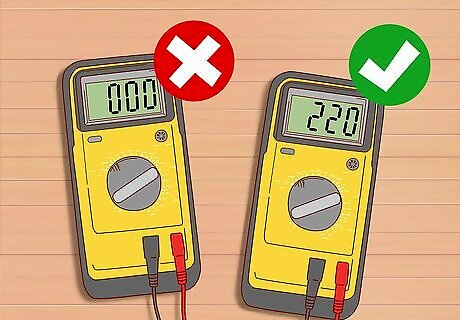
Compare the reading on the meter to the breaker requirements. If you have a single pole breaker, check to see if the reading is around 120 V. It may be slightly above or below, but this is fine. If the breaker reads 0, it needs to be replaced. If you have a double pole breaker, make sure the reading is between 220-250 V. A faulty double pole breaker will read at 120 V, meaning it's only operating at half power. The voltage of your circuit breaker depends on the size of the wire that comes into the circuit. For instance, if you have a number 10 wire, that's equivalent to 30 amps.
Replacing a Defective Breaker
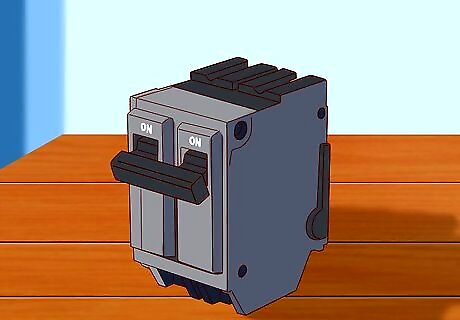
Find a replacement breaker with the same voltage. Look in the electrical section at your local hardware store for breakers that are the same size as the ones you're replacing. Single and double pole breakers typically range from around $5 to $10 USD.
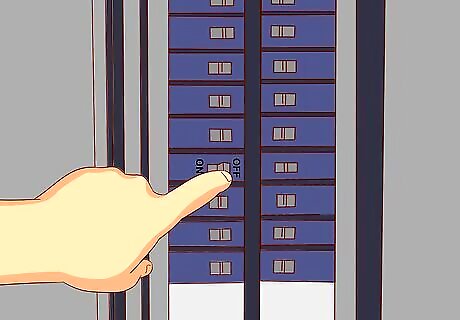
Turn off the individual breaker you need to replace. Push the switch into the off position before you start working on it. This prevents the current from traveling through the wires attached to that specific breaker. If your breaker has a main circuit switch on the top or bottom, turn it off to completely shut off the electricity. If you only do this for a few minutes while replacing the breaker, foods in the fridge and freezer will keep.
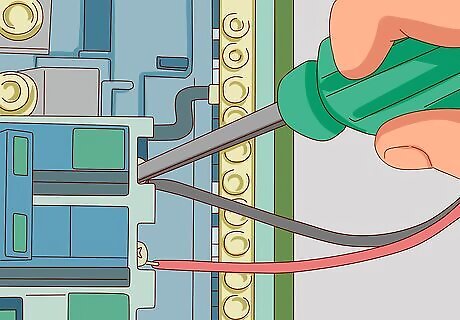
Loosen the terminal screw and pull the wires out. Use the appropriate screwdriver for the type of screw holding your wires down. Turn the screw until the wires start to feel loose. Use a pair of needle-nose pliers to pull the exposed wires out from the terminal, making sure they don't touch any other wires or breakers. Use tools with a rubber insulated handle to lower the risk of electrocution or shock.
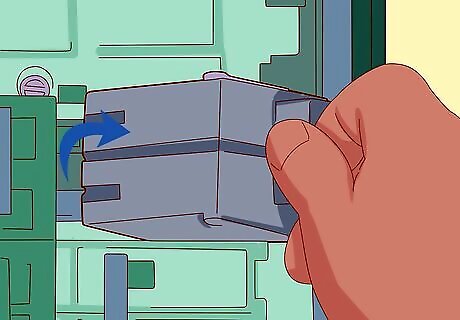
Grab the front part of the breaker and pull out the old breaker. Place 2 or 3 of your fingers on the side of the breaker opposite of the terminals and place your thumb near the terminals. Pull up on the side with your fingers to pop the clips out of place and remove the breaker. Do not touch the metal bars in the back of your circuit box if you did not shut off the main power. They are live and could cause electrocution.
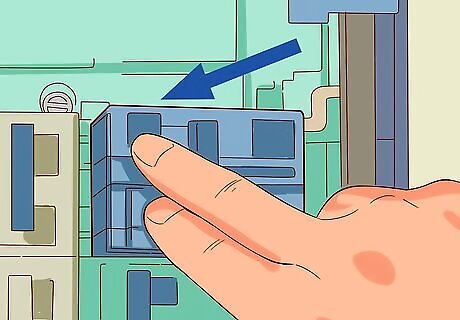
Slide the clips of the new breaker in place and push it in. Put the side with the terminals into place first so the clips latch onto the bar. Push the opposite side down to lock the breaker into place. Make sure your new breaker is in the off position before placing them in the box.
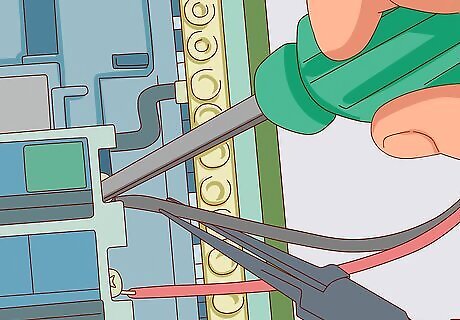
Use needle-nose pliers to hold the wires while you tighten the terminal screw. Hold the insulated part of the wire with the end of your pliers. Put the exposed end into the new terminal and use your other hand to screw it on. Make sure the screw is snug but not overly tight, or else you could strip it.
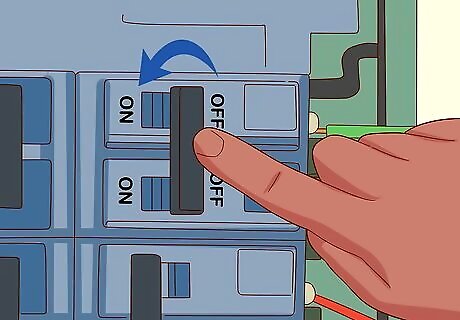
Turn your breaker on and reattach the panel to the breaker box. Flip the breaker switch to the on position and screw the panel back on to hide the wires again. Close the breaker box to wrap up.


Comments
0 comment