views
- The process of rebuilding your database is the same for both PS4 and PS5.
- Rebuilding the database reorganizes your PlayStation's hard drive so it can access data more efficiently.
- Rebuilding your database is safe, but it may take a while.
How to Rebuild the Database
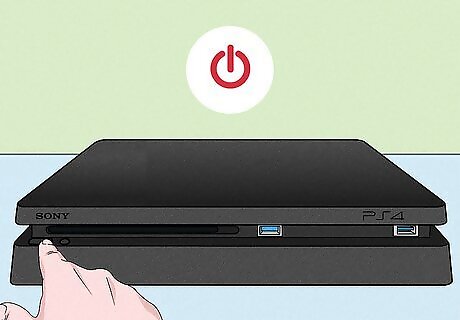
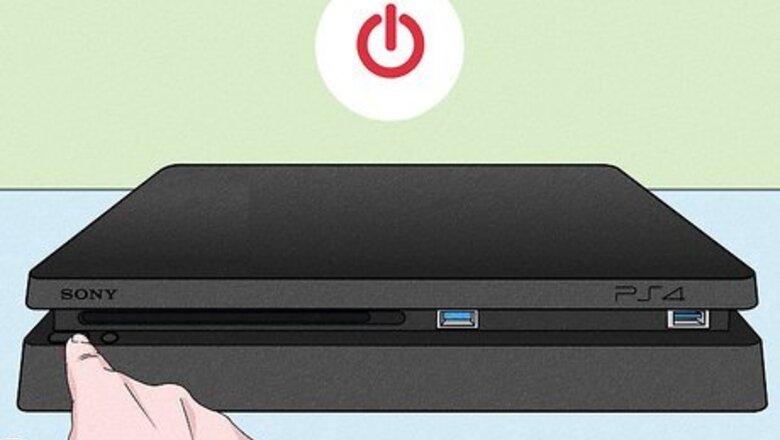
Shut down your PlayStation. Press and hold the Power button on your console for three seconds to power down your PS4 or PS5. Alternatively, you can press the PS button on the controller to display the Home menu, select the Power icon, then select Turn off PS4/PS5 and wait for the system to power down.
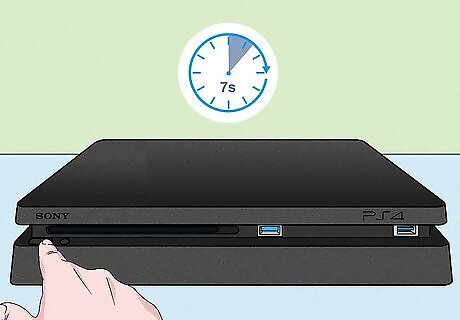
Boot into Safe Mode. Here's how: Once your PlayStation is shut down, press and hold the power button on the front of the console, then release the button once you hear the second beep. Make sure to release after the second beep, which you'll hear about 7 seconds after the first beep. When you release the button, the console will boot into Safe Mode.
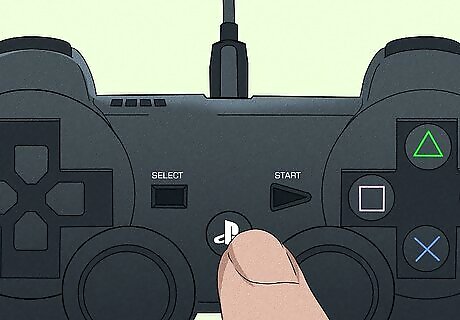
Connect a controller using a USB cable and press the PS button. The wireless Bluetooth driver does not work when the console is in Safe Mode, so you'll need to use a USB cable. Once connected, press the PS button to activate the controller.
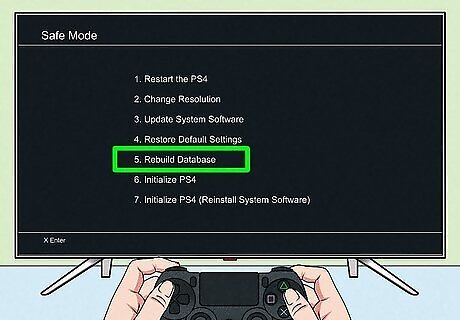
Select Rebuild Database. It's the fifth option in the Safe Mode menu. Highlight this option and press X on the controller to select it.
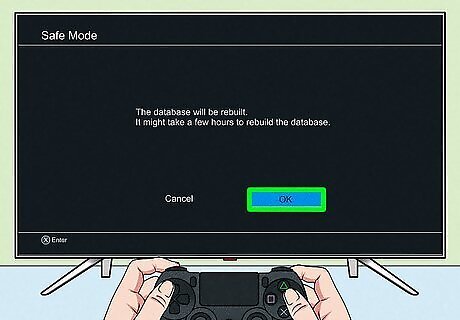
Select Ok. You will see a warning that this process may take a few hours. Press X on the controller to select Ok. This will begin the process of rebuilding your database. First, the system will do a system storage status check. Once the check is complete, it will start rebuilding the database. You will see a progress bar and an estimated time left while the system is rebuilding the database. Do not power off or unplug your console during this process. When the process is finished, your PlayStation will restart automatically.
When to Rebuild the Database

Rebuild your database when you are experiencing technical issues. If your PlayStation is booting slowly or not at all, the menu is slow, you have missing save files, you are receiving database errors (such as the CE-34054-6 error), you are experiencing framerate drops, your games are loading abnormally slowly, or your PlayStation is not reading disks. Rebuilding the database may fix some of these issues and improve the performance of your PlayStation system. Your PlayStation will automatically rebuild the database if it is not shut down properly. You should always allow this process to finish and make sure you shut down your system properly using the Power menu.
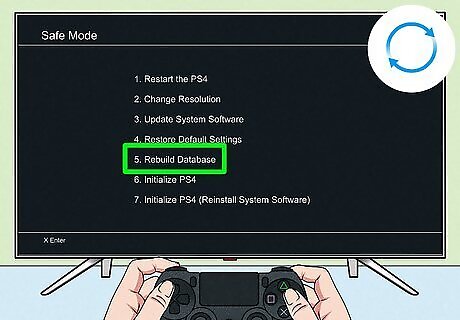
Rebuild the database regularly to prevent future technical issues. In addition to fixing current problems, rebuilding your PS4 or PS5 database can help maintain your system and prevent future problems. It's a good practice to rebuild your PlayStation database about once every 6 months are so.
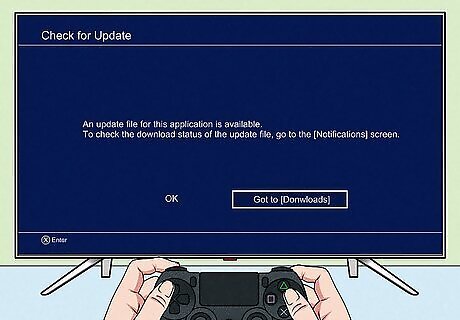
Rebuild your database after a large game update. If one of your games has an exceptionally large update, it's not a bad idea to rebuild the database after the update.
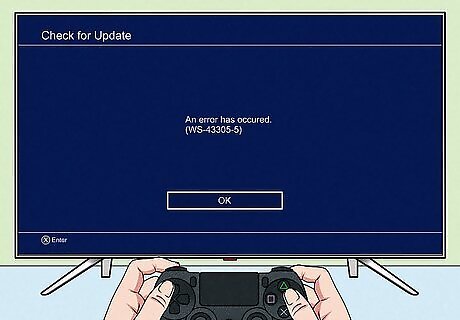
Rebuild your database if a game fails to update or install. If a game fails to install or update, or your system crashes or is forced to shut down during an installation or update, you should rebuild your database to remove any corrupted files.
What does it do?
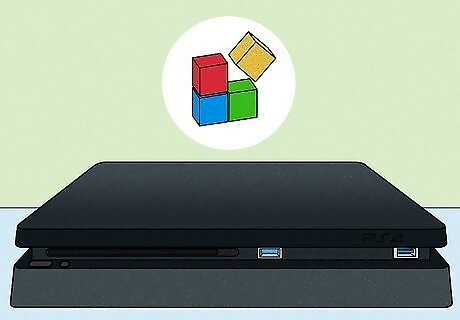
Rebuilding your database reorganizes the data on your console's hard drive, making it easier for the console to access data quickly. This reorganization can fix slow performance, make your PlayStation boot up faster, prevent games from freezing, and even resolve database corruption errors. It's similar to the process of defragging your hard drive on a PC.
Is it safe?
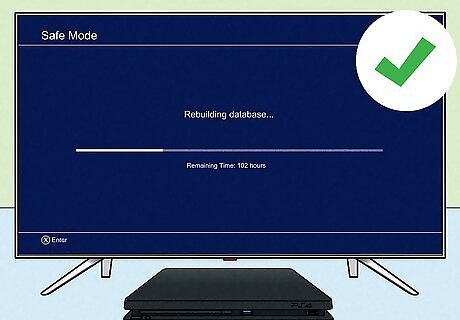
Rebuilding the database is a low-risk procedure that is easy to do. If it's been a while since you rebuilt the database, the process may take a while, but it is safe. If you rebuild your database frequently, it will likely only take a few minutes. Your game and save data should be safe. On rare occasions, your PlayStation may delete game data that it detects as corrupt. It is possible you may lose your recent game history and your recent notifications.


Comments
0 comment