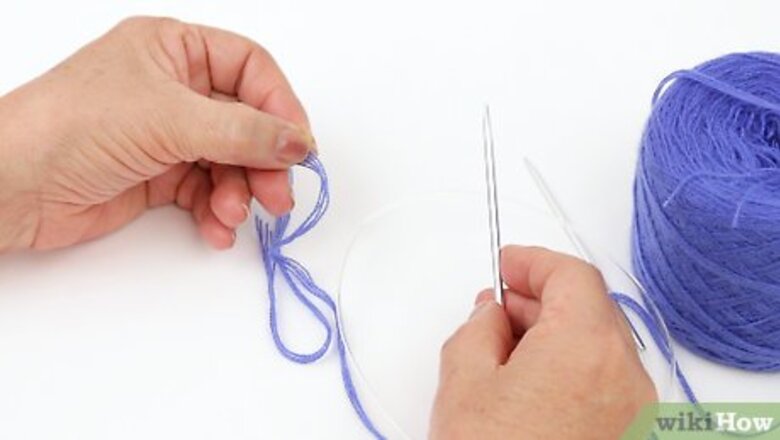
views
- Choose a needle size based on your project recommendations or yarn size. Use needles with an attached cable, or double-pointed needles for small projects.
- Make a slip-knot and loop it on your right needle. Then, cast on by looping the yarn around the left needle and inserting the right needle into the loop.
- Use a stitch marker or different colored yarn to keep track of your first and last stitches. Then, join stitches by purling into the first stitch.
Choosing Circular Needles
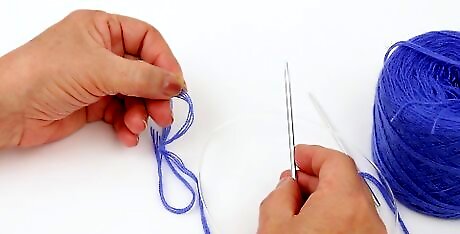
Select the needle size required for your project and yarn type. If you are using a knitting pattern, check the pattern for a needle size recommendation. If you are not using a pattern, you can check your yarn label for a needle size recommendation. This should appear as a number next to an image of knitting needles. Needle sizes are the same for straight and circular needles, so if you are using a pattern that calls for a pair of US size 8 (5.0 mm) straight knitting needles, you could use US size 8 (5.0 mm) circular needles instead.
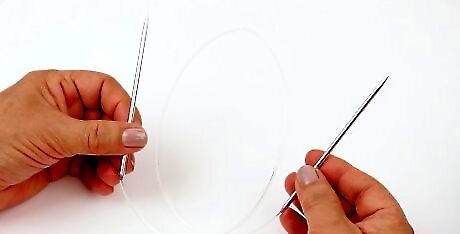
Choose circular needles with a small cable. Circular knitting needles have a cable in between them and they come in many different lengths. Check the length of the cable of the circular needles before you buy them. You can also check your knitting pattern (if you are using one) to see what size is recommended. For example, if you are knitting a hat and the finished circumference will be 20 in (51 cm), then you might go with a pair of 16 in (41 cm) circular needles. If the cable is too long for the item you want to knit, then you will not be able to complete the project properly. It will also make it much harder for the stitches to move around the cable.
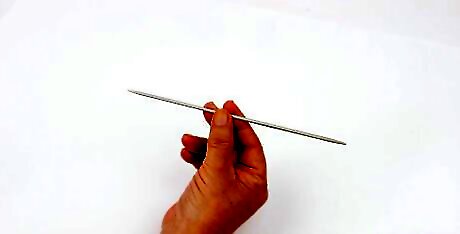
Get a set of double-pointed needles to increase or decrease. If you need to start or finish your project with a small circumference, such as for a hat, mittens, or sleeves, then you will need to use double-pointed needles along with circular needles. Choose a set of 5 double-pointed needles in the same size as the knitting needles you are using. For example, if you are using a pair of US size 7 (4.5 mm) circular knitting needles, then use the same size double-pointed needles.
Starting a Flat or Round Circular Needle Project
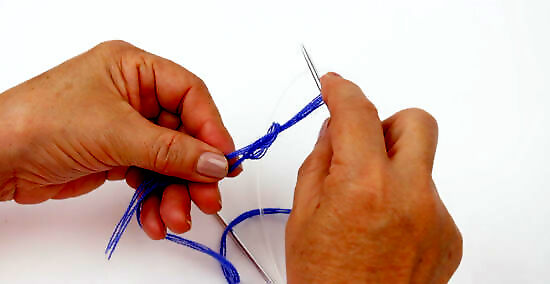
Make a slipknot and slip it onto your right-hand needle. Loop your working yarn around your middle and index finger 2 times. Then, slip the first loop over the second loop. Pull the tail of your yarn to tighten the knot around the base of the loop. Then, slip the loop onto your right-hand needle. The slip knot will count as your first cast on stitch. For example, if you need to cast on 40 stitches for your project, then you will only need to cast on 39 more.
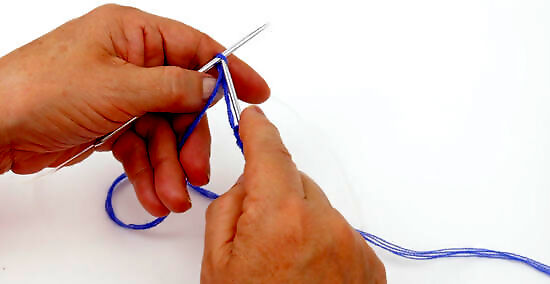
Cast on as you normally would. Hold 1 needle in each hand with the central cable hanging down in front of you. With the slipknot on your right-hand needle, loop the yarn around the left-hand needle, insert the right hand needle into it, yarn over again, and use the right-hand needle to pull the new yarn through the loop on the left-hand needle. Repeat this process until you have the desired number of cast on stitches. Make sure to consult your pattern (if you are using a pattern) to determine how many stitches you need to cast on. If you want to do an invisible join, then cast on 1 additional stitch after you finish casting on the number of stitches you need for your project. For example, if you need to cast on 36 stitches, add 1 for a total of 37 stitches.
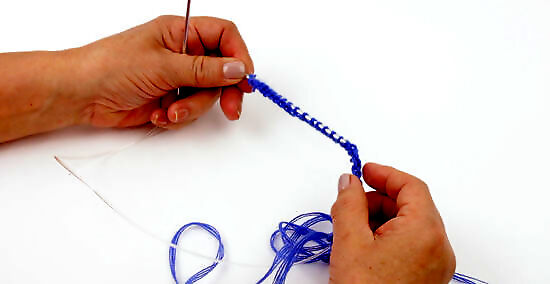
Turn your knitting project so that the working yarn is on your right. When knitting in the round or flat, the working yarn (yarn that you use to knit) should be on your right hand side. After casting on, the yarn might not be on this side. If not, then turn your work to position the working yarn on your right. You will only have to do this 1 time when knitting in the round. For the rest of your rounds, the yarn will slide around the needles and always be on your right. If you are working in rows, then you will need to turn your work after each row to keep the working yarn on your right hand side. If you are left-handed and would prefer to have the yarn on your left, then position it this way instead.
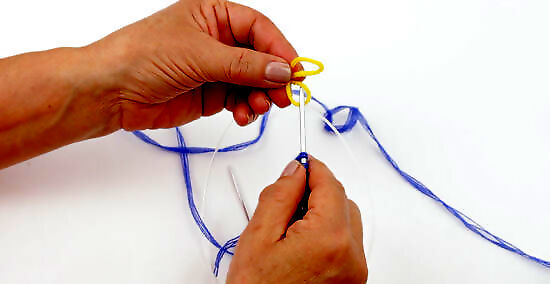
Place a stitch marker between the first and last stitch in a round. Before you join the stitches when you are working in the round, place a stitch marker to indicate where the first and last stitches are. This will make it much easier for you to keep track of where you are at if you are using a pattern, or if you need to follow a different stitch sequence for each round. If you do not have any stitch markers, get a piece of yarn in a different color than the yarn you are using and tie it around your right-hand needle between the first and last stitch.
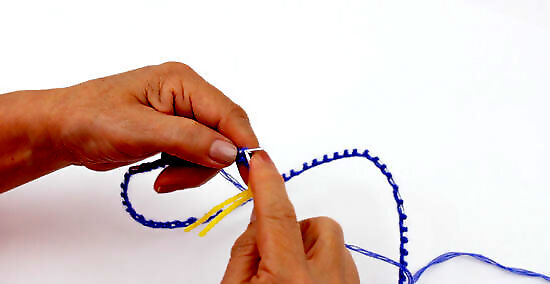
Join stitches in a round by knitting into the first stitch. All you have to do to join the round in a circle is knit or purl into the first stitch. Consult your knitting pattern (if you are using one) for any special instructions on joining the round. Then, continue knitting the round according to your pattern or as desired. To avoid a visible gap in your round from joining, cast on 1 additional stitch before turning your work. Then, turn your work and slip the first stitch onto your right hand needle. Slip the extra cast on stitch over the slipped stitch. Then, slip the stitch back to the left hand needle and continue knitting the round as usual.
Finishing a Round or Flat Knitting Project
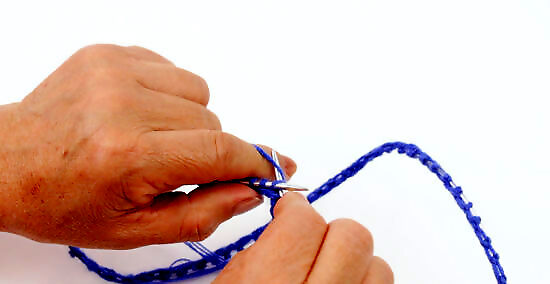
Knit the rounds or rows according to your pattern or project. If you are using a knitting pattern, follow the instructions for how to work each round or row. To work rounds on circular needles, keep knitting in 1 direction going around the circle. You do not need to turn your work. To work rows on circular needles, knit back and forth across the rows and turn your work after each row. Make sure to keep the stitch marker in place if you are working rounds. Move it from the left to right needle after each round to keep it in position.
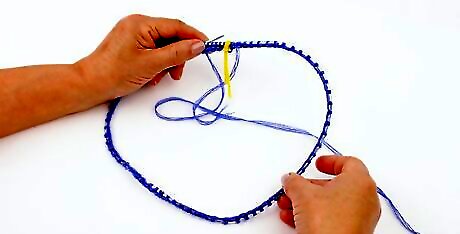
Monitor the direction of the stitches when you knit in the round. Knitting in the round can be tricky, especially for the first few rounds since there is a risk of twisting the stitches. Make sure to check the direction of your stitches often as you work the first few rounds to ensure that they do not get twisted. You might find it helpful to adjust the stitches after every 10 stitches or so to make sure they are straight.
Transfer to double-pointed needles to decrease in the round. Work any decreases as indicated by your pattern or as desired. When you are ready to transfer the stitches, begin your next round with the left-hand circular-needle in your left hand and a double-pointed needle in your right hand. Knit ¼ of the total number of stitches onto the double-pointed needle to transfer them then pick up a new double-pointed needle and work the next ¼ of the stitches onto the round. Continue to work stitches onto the double-pointed needles until you have transferred all of them. Then, work the rest of your project on the double-pointed needles. Master new techniques step-by-step. "I've knitted for years but never tried circular or double-pointed needles before. Following the detailed instructions paired with slow-motion videos made everything click. Now, I feel empowered to use these needles for small circumferences and knitting in the round. Such a great guide for building skills." - Mary D. Get visual help for knitting challenges. "I was struggling to cast on just a few stitches to start a project. The videos showing circular needle knitting with more stitches really helped me visualize it better. I love having the written steps combined with visuals to make tricky techniques doable. This will expand what I can knit." - Esme K. Make in-the-round knitting understandable. "As a beginner knitter, I found knitting in the round really confusing. This article's advice on stitch direction and using markers makes it so much clearer. Now, I can knit hats, sleeves, and more pieces seamlessly. I appreciate how this resource makes circular knitting make sense." - Jill H. Build skills through practice. "Even with years of knitting experience, I still found circular needle techniques daunting. But this guide breaks circular knitting down into clear beginner steps. Practicing the detailed techniques shown in the videos built my skills. Now, circular knitting feels fun and doable thanks to this great learning resource." - Sue C. Have a story our readers should hear? Share it with 1 billion+ annual wikiHow users. Tell us your story here.
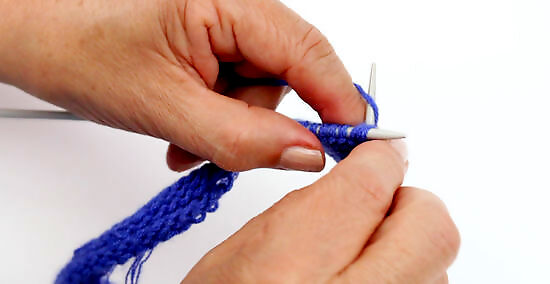
Cast off as you normally would. When you have finish knitting your rows or rounds, you will need to bind off the last row or round of stitches. To do this, knit the first 2 stitches in the row or round. Then, use the left-hand needle to lift the first stitch you knit onto the right-hand needle up and over the second stitch. Then, knit 1 and lift the old stitch over this new stitch. Repeat this until you have cast off all of the stitches in the row or round.
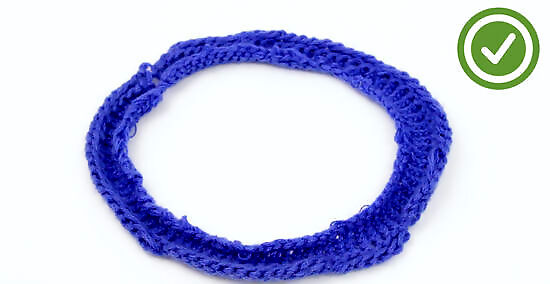
Tie off and cut the excess yarn. After you have finished casting off your stitches, cut the working yarn about 6 in (15 cm) from the last stitch. Tie a knot through the stitch and then cut the yarn about 0.5 in (1.3 cm) from the last stitch to secure it. If desired, you may also weave in the end of the yarn instead of cutting it. Insert the end of the yarn through the eye of a yarn needle and weave it in and out of the stitches along the edge of your project.








Comments
0 comment